|
This post will mainly be about the 3D modelling, UV mapping and texturing that went in the last week before GGC.
Somewhere between 1-2 weeks before GGC we had to make some changes to our graphics to save time. Therefor i sat down one day, locked myself up in my apartment and started creating a human base. With this i could create all remaining characters to the same quality, reusing the same animations, rigg and most of the skinning. This was a great time saver and i only wished we had done so from the beginning.
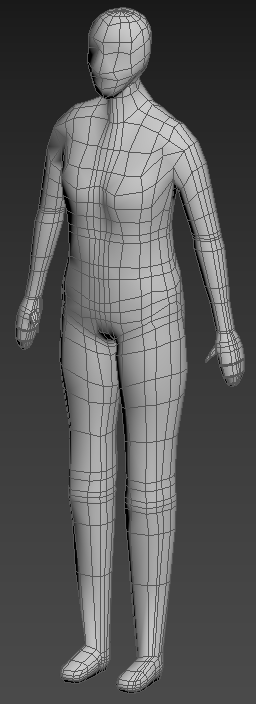
This is the human base i created, it’s based on a turnaround of a real person taken from google.
To save polys i made mittens instead of hands with fingers and same with the feet. All of the characters i was going to use this mesh for also had boots, therefor i made the feet similare to boots.
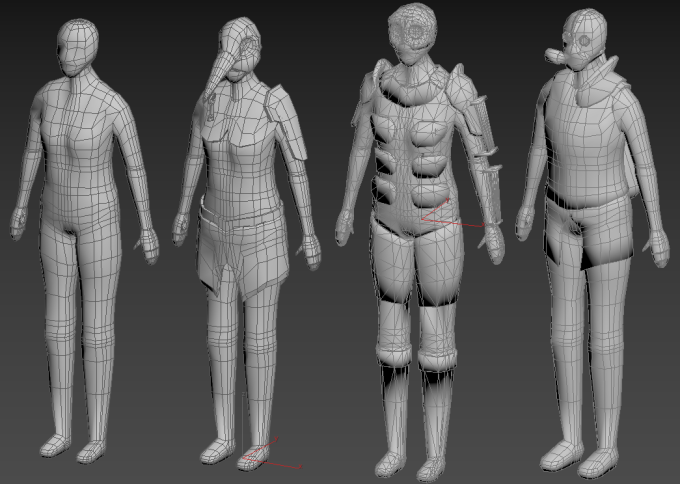
(Credit: Borrowed this Picture from my teammate Maximilian Bergström)
These are the 3 characters i was able to create based on the first mesh. These are all based on the concept arts shown in Big Game Project Post 1 and Big Game Project Post 2. Some parts had to be removed though because of time constraints, alot of details did not make it on to the models. This was also to save on the polycount. Each model are around 6k Tris.
Creating the mesh however was not the only thing that needed to be done.
Next up was UV mapping. The UV mapping was mostly the same for all characters, at least for the parts they shared, obviously it was very different for the parts they didn’t share. UV mapping is not that different from sewing clothes, you can break it up in almost the exact same way you would if you would try to sew it. You hide the stitches in the same places and so on.
As for texturing time was running short and ended up a bit rough to say the least.
Next post will be the last post, i will mostly write about how everything went at GGC.
About Sebastian Engstrand
2015 Graphics
|