Scaling Light – Progress Indicator
|
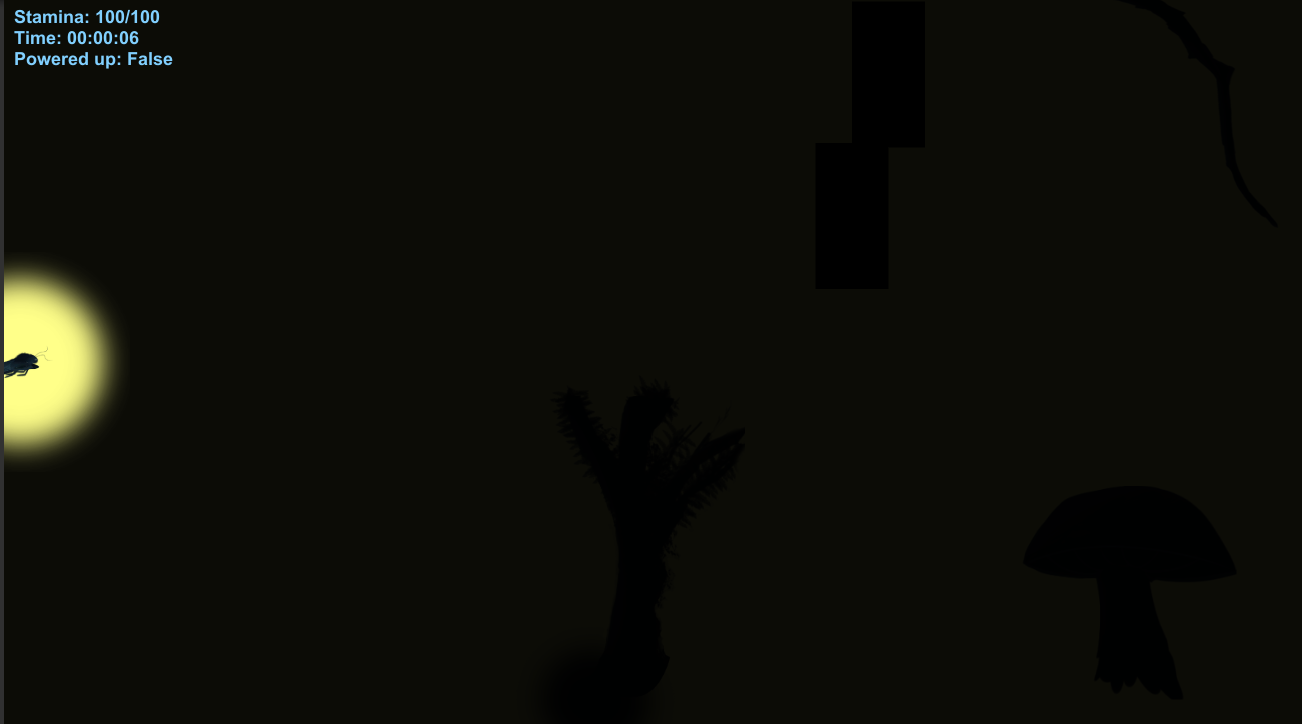
Hello. In this blog post I will talk about creating a object that scales as the player progresses through the level. In our game’s case the object is a light that the player is attracted towards and the closer the player gets to it, it increases in size. If you’d like to learn more about this project you can check my previous blog posts “An Easier Sprint Overview” where I talk about changes to a template that we received from our teacher when first introduced to a project methodology called Scrum, “Designing a Main Menu That Fits Your Game” where I talk about creating a menu that connects with your game in terms of it’s visuals and mechanics and “Presenting Your Game” where I talk about our Alpha presentation for the game and how it was made in such a way that it connects with the game in terms of visuals and mechanics. The purpose of having a light that would scale up as you progress was just that, to show progress to the player. The way we decided to do that was to have a light at the end of the screen, that as you traverse the level would increase in size and would eventually reveal what it is, in this case the end of the game. It is supposed to not only show progress but also peek the interest and curiosity of the player in order to keep the player moving forward. While working on this task I’ve gone through several tries and mistakes until finally reaching a working feature with the help of our Lead Code, Jacob Lindberg. Going trough several tries and thinking of a few different ways to solve this was overall a fulfilling experience that taught me quite a bit about coding and also showed me why mathematics is important in coding. After researching about the subject and finding a few ways in which it could have been done I narrowed it down to one single way which looked more easy to understand and somewhat cleaner overall. You can find more information about the code I used as reference here: “Code Reference“. I then proceeded to adapt it to our needs. I added reference points such as curentPoint and endLevelPoint, both public GameObject so they could be easily changed location if need be. As a starting point I followed the reference code completely except for the minor adding of public GameObject’s. The end result unfortunately was it working in terms of changing the scale of the object but in reverse to how it was intended. Instead of the object starting small and increasing as you traverse the level it would start big and decrease as you traverse the level. Bellow you can see the original size of the object (a placeholder in this case):
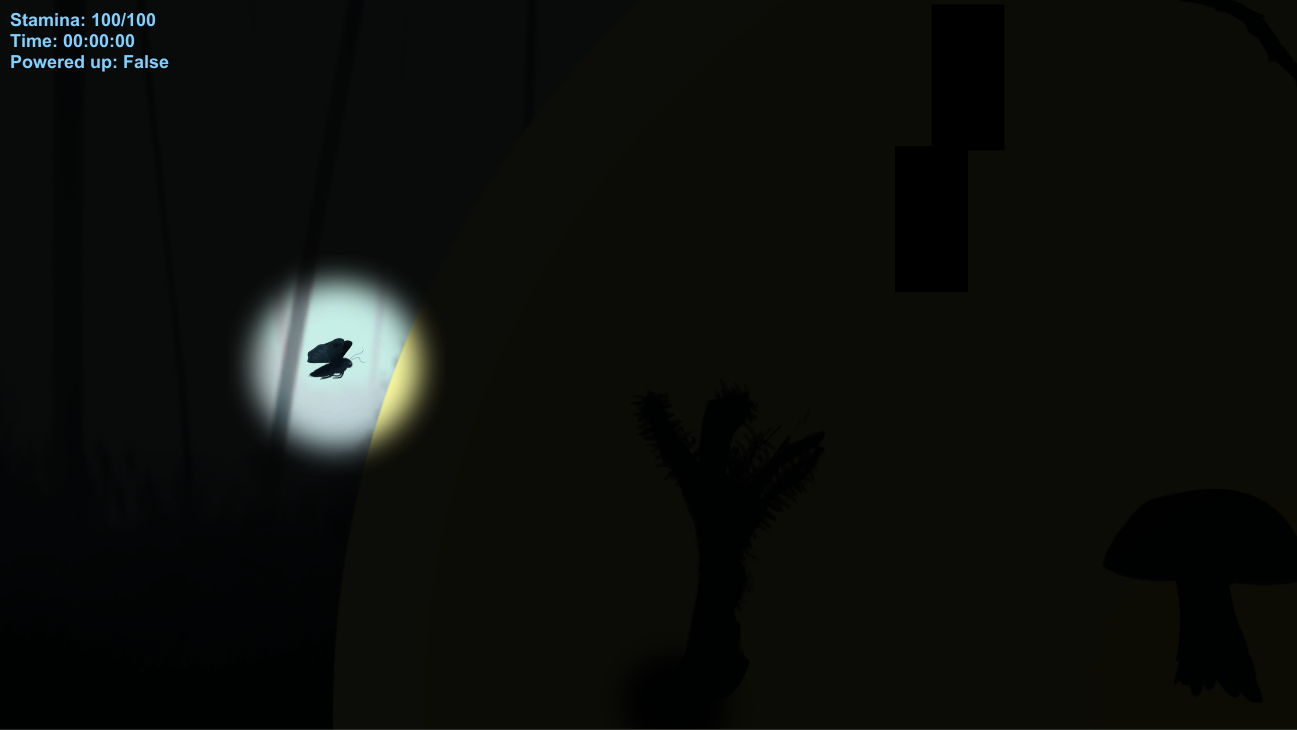
Bellow you can see how the size would start big and slowly decrease in size as you traverse the level:
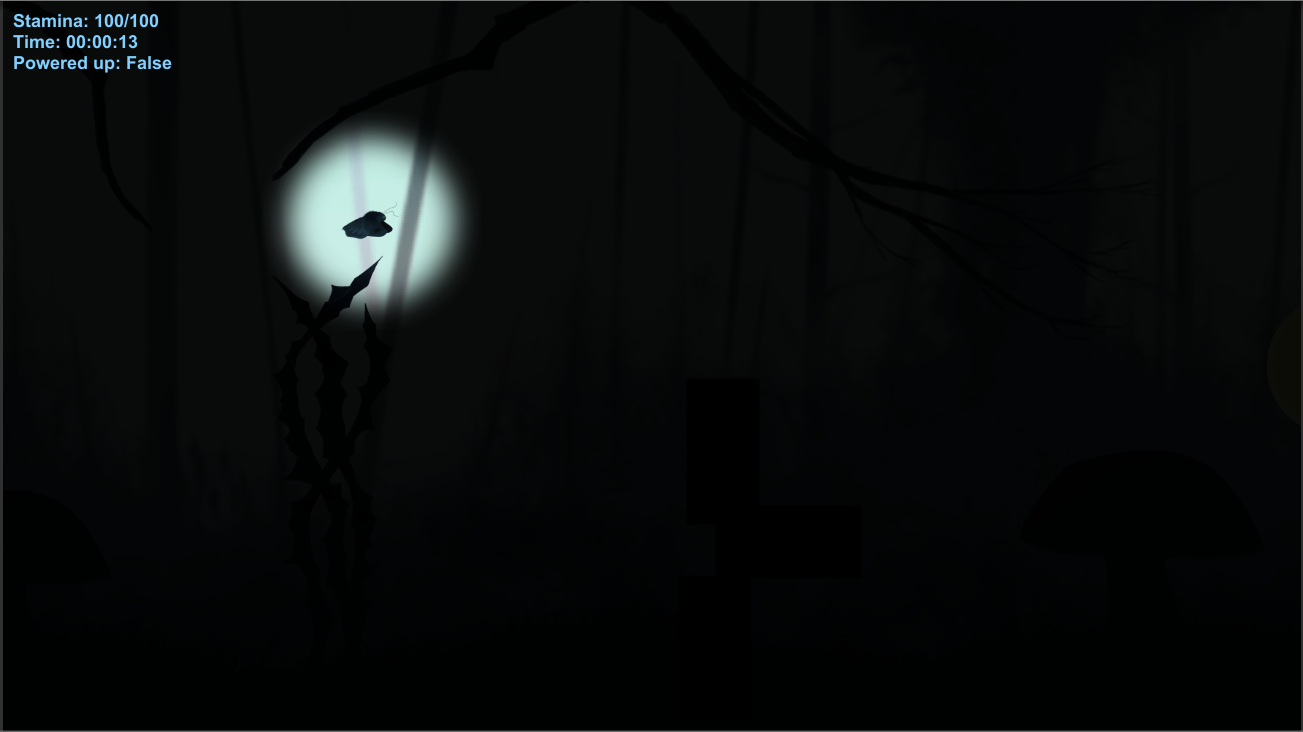
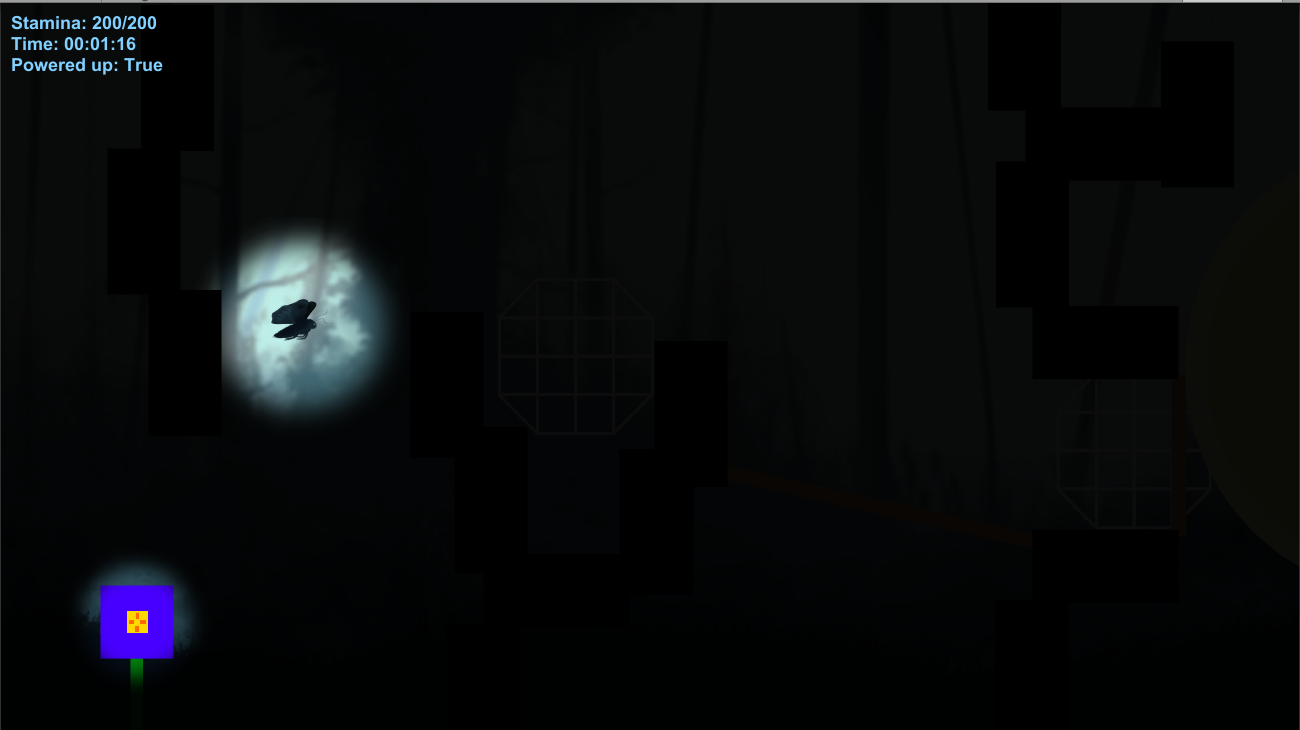
This is a similar representation of how it looked as the code has since been fixed and there’s only so much you can break on purpose. (Backups have been made of course) After seeing that result I decided to try a different approach. Have multiple points throughout the level and as the player approaches them the light would increase in size. I tried with 3 different points at first splitting the level in 3 different sections. The problem with this was that the increase wouldn’t have been smooth but since I wanted to make it work somehow at least, I tried that in the hopes that I can find a solution for a smoother scaling up later.The idea was that it would have point A to Point B as reference. Once the player would reach point B the object would increase in size by the traveled distance. It would continue doing so by taking Point B to Point C.It ended up being somewhat messy and clunky to write.Not only that but instead of working, it completely made the object disappear. Needles to say I abandoned that idea and decided to focus on the previous one. I tried for a couple more hours to wrap my head around it but I could not find a solution to have it scale up instead of down. As a result I decided to take this with our Lead Code as too much time spent of this could have ended up being unproductive for the project. In the end it was solved by mathematics which brings me back to my point of how I learned mathematics is pretty important in coding. Bellow you can see the object starting small and then in a second image getting bigger.
Overall this has taught me a lot about coding and showed to me how easily you can get stuck on something at certain points during a project. Bellow you have the entire code with both tries, in it’s full messy and honestly ugly to look at state: Bellow you will find the end script. The yellow highlight is the solution (which can be noticed in the previous image as well) and the red boxed text is my original take on it:
Thank you for reading and see you next time! Next time, Presentation level design. |