Characters and animations – Part 2, MakeHuman and Motionbuilder
|
Time to continue where we left off! We have the animations, now we just need some characters to put them on. With the time we had for this project, and the amount of characters we wanted to have in the game it seemed unrealistic to try and make the characters ourselves. Fortunately, there is a great free software we could use to ease this process for us; MakeHuman. With this software one could design a character to ones liking (including adding some clothes and expressions), add skeletons to them and then export them as ready FBX files. This (we thought at first at least) saved us a great amount of time as we only had to make our own textures to them. In reality though there were some quirks for us to go through to get what we wanted.
The first thing I noticed was that the characters had 6 material IDs, which seemed very heavy and unecessary for what we wanted to do. We wanted to change this down to 3 material IDs. A problem though (which we didn’t notice at first) was that if we added any layer on top of the characters skinning layer or merged the layers, the skeleton ended up looking completely broken in our animation program Motion builder. The trick we noticed was to only work in layers beneath the skinning layer when changing the material IDs. This was at first a tricky and confusing process but the steps we ended up with was the following:
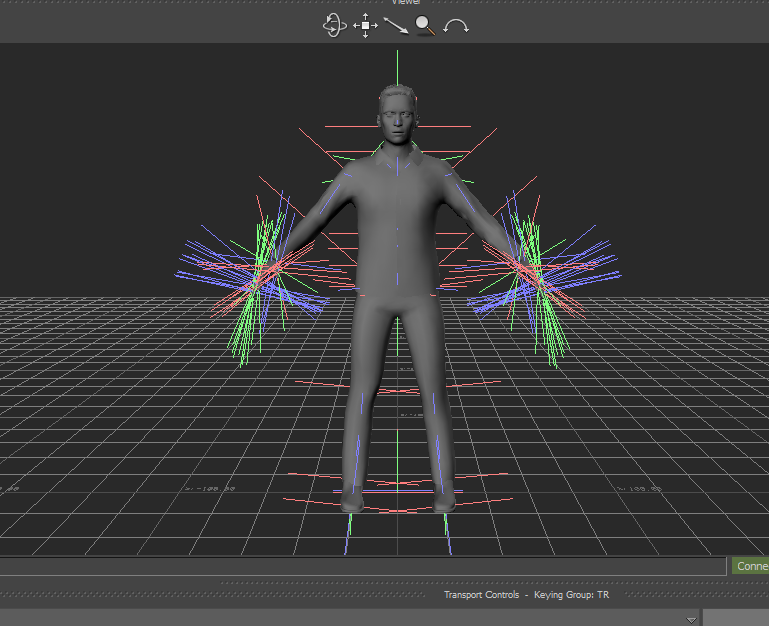
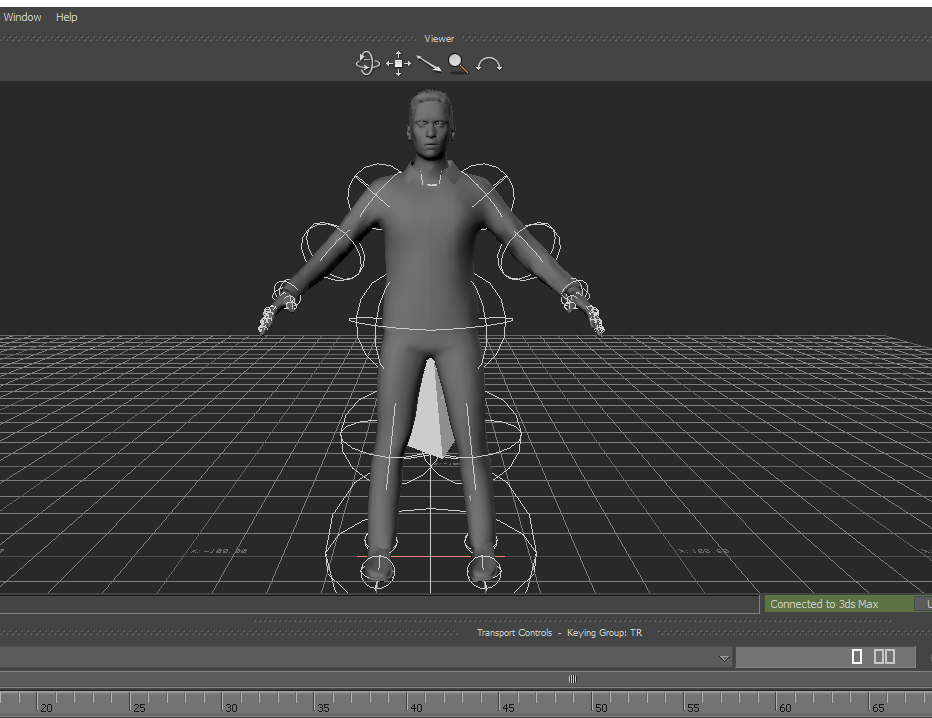
Once in motion builder the skeleton had to be defined and the character put in a T-pose. When this was done the character could finally be used for animation.
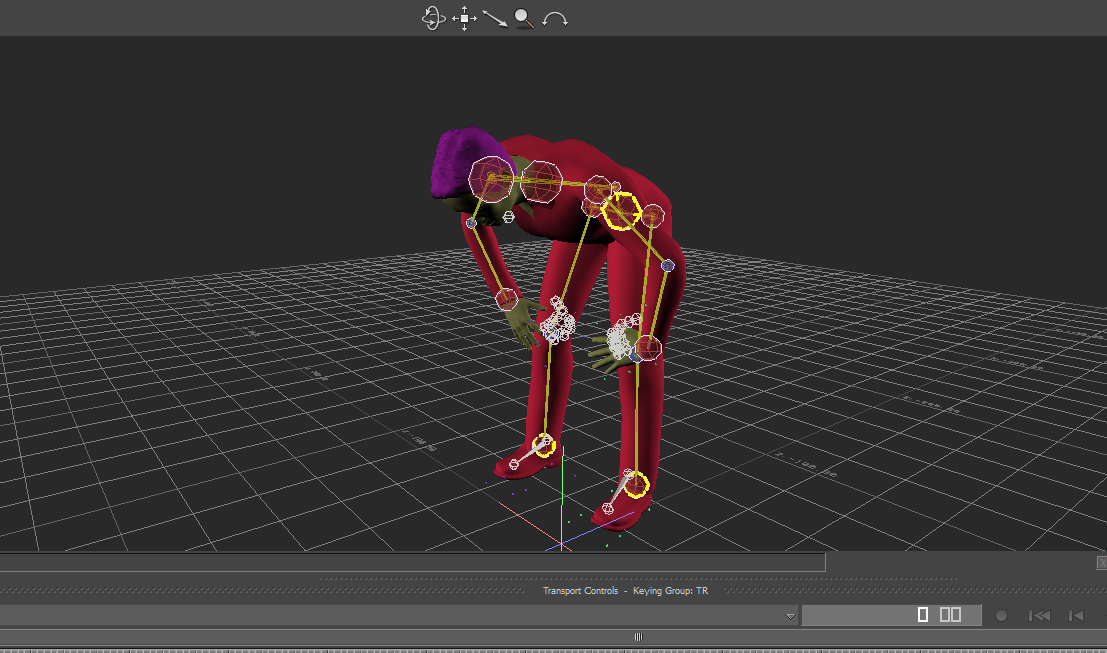
The character was then plotted to the animations and then cleaned up and could finally be put in the scene.
In the end we ended up with about 15 characters in the game, which is quite impressive considering the time pressure we were under. And it was quite worth it too as it brought a lot more movement to our scene. |