Now you’re thinking with portals!
|
This week I’ve been working on various things, and most of it has been animations (with some GUI tweaks/additions). While animation by itself is interesting topic, it’s probably less interesting to read about how I applied the 12 principles of animation for our characters. An animated portal on the other hand is a bit different, due to the variety and expectations of motion they present. For out game we want a portal for the character to exit through after the level has ended, instead of just having an abrupt end. Early on I decided that it would be a swirly portal, where different sections move at diffent velocities. Initially I thought it would be easiest to make separate parts in photoshop, and then animate them using the same Anima2d system we use for 2d bone animation. The first version of the portal does look swirly, but not particularly interesting. It has the swirl strands extending from the middle, and some circular motion distortion. I then went on to create a second layer I could then put ontop for animation.
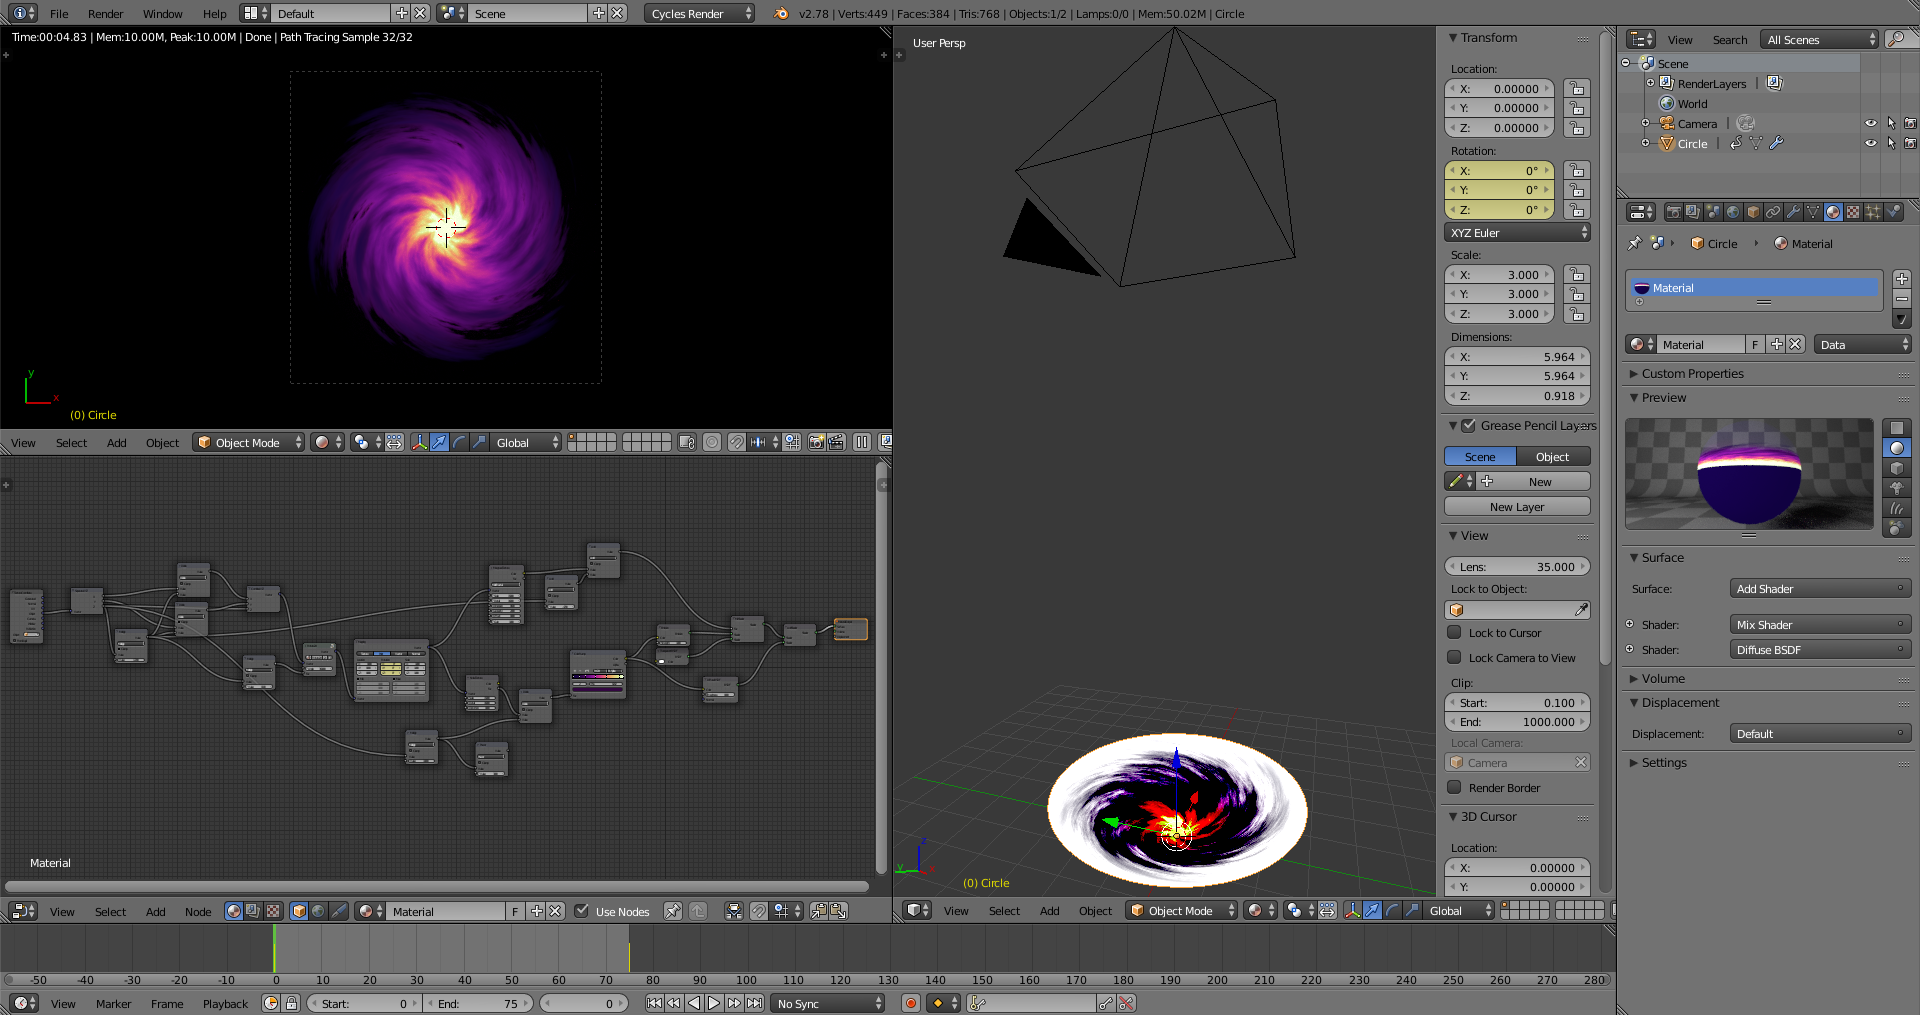
As someone who has a fair amount of experience with 3D modelling. So I tried to make the portal using the tools I was comfortable with instead, which was Blender and its shader system, to create a swirling portal.
The mesh is just a simple cone, with the lowest point at [0, 0, 0] and the top edge at [x, y, 1] (x is north-south, y east-west and z is up-down). The coordinates of a specific point in the material can easily be accessed throught its material node editor. I used the z axis to create the gradient from the center and out.The texture itself is a simple procedural musgrave texture, combined with a noise texture for the transparency falloff towards the edges. I used the z axis to rotate the textures to create the swirl. The rotational movement is done by rotating the entire mesh. To add additional movement and to create a more interesting swirl, I rotated the texture itself out of the surface. The node textures create procedural 3d textures, which when viewed on a surface only show a slice of that texture at that particular depth. So when you rotate or move a 3d texture out of the view, it shows the same texture, but at a different depth. I made a few images that might explain what a 3d texture is better than I can with words. The red lines are the edges of each surface (and all surfaces consists of triangles). The textures are set to use white and transparency to fill the volume. The first image is a “Musgrave Texture”, and the last one is a “Checker Texture”.
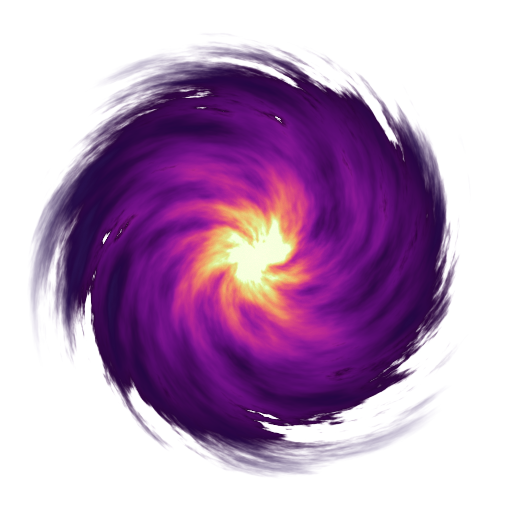
I rendered the frames as individual png files. I tried to put them together as a sprite sheet with Sprite Sheet Packer, but it doesn’t put them in a good order for Unity to read as an animation. So I just have them as separate files for now, even if that comes with a slight hit on performance. Below is a static image from the resulting process.
Making the mesh, and the material didn’t take that long. It was the rendering of all the frames that took the most time in this process. It’s something to be aware of if someone wants to do something similar. |

 This was much more colourful, which fit our main character more, but this was done by using the “Divide” layer blend mode. Unity doesn’t have blendmodes as far as I know, which meant that if I wanted to keep this look, then this would be a single image. As the complexity of this asset increased I realized that this would be very difficult to animate. I felt that motion is very important for this type of asset because it is meant to attract the players attention and make them move towards it. I stopped working on this asset and went on to figure out a better solution, something that would create a much better result.