Pre-Week 16: Finished Lighting Character
|
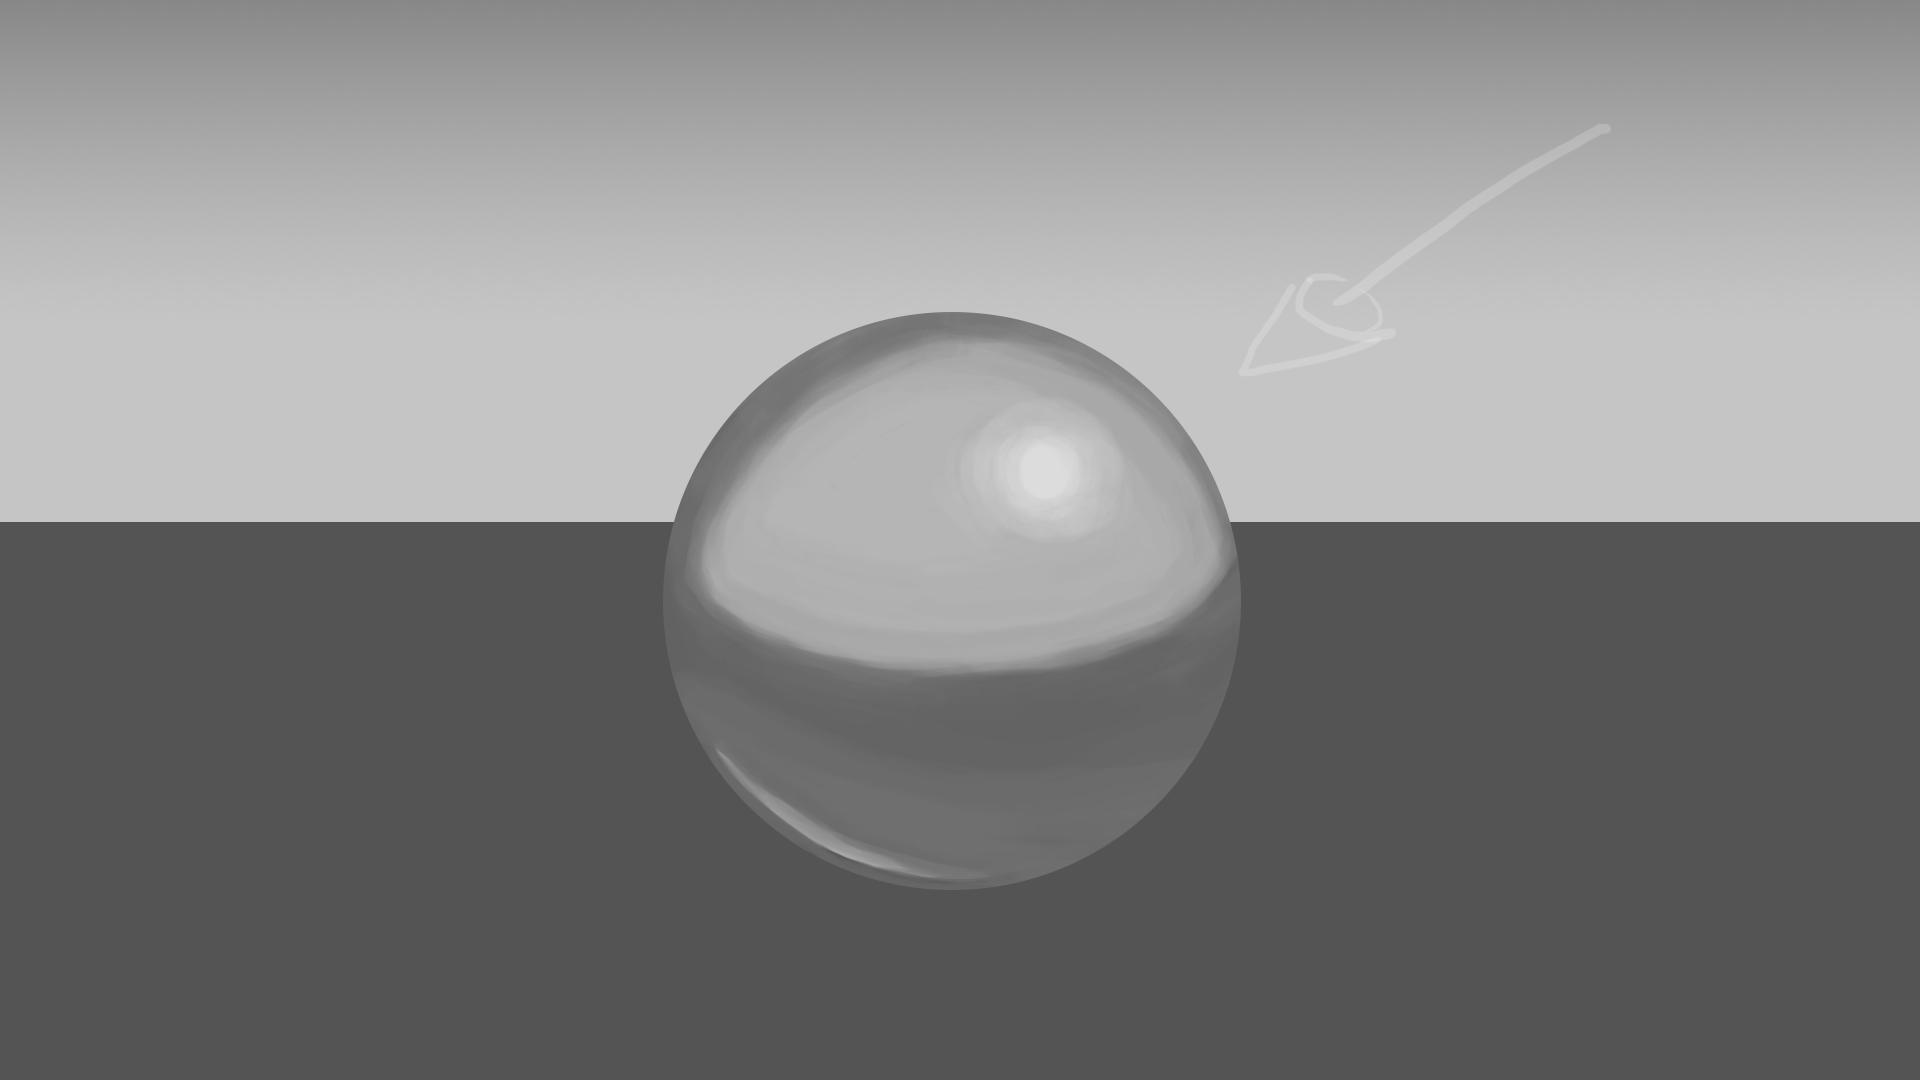
So, the lighting of the character is now finished. Originally I worked on lighting a shiny sphere and the result I achieved can be seen below.
The basic idea to applying light to any object is to first cover the object in a single color. Second you determine where the light source is in relation to the object, then color the area that is closest to the light source in a brighter gradient, while areas farther from or not touched by light as much darker. Once the areas have been determined and marked with a brightness, you try to use gradients of the same color to make the two contrasts blend together naturally. So, if you used the value 75 for the dark half, and 25 for the bright half, you use the values inbetween to blend them together. I personally prefer to make leaps of 2 in the values initially just for a rough blend. For example, go the the place where you want the value 25 to end and where you want the gradient to start getting darker. Draw a few strokes with the value 27 next to the 25 followed by 29, 31, 33, and so on. Once you reach 75, you are finished creating your gradient. To make it look smoother, you now take the even values and apply them between the ones you have already painted. 30 between values 29 and 31, 32 between 31 and 33, etc. It may not be the best method, but that is the one I used. Since the sphere is supposed to be shiny you have to factor in the reflection of the environment. In the above image, you can see my attempt to distinguish the light source in the environment as a very bright spot on the top-right area of the sphere. The top half of the sphere is significantly brighter in contrast to the bottom half just like the background. As the reflection covers a rounded object, the environment becomes distorted when looking into the sphere, unlike a flat mirror. Imagine it like looking into a shiny spoon. As such, the line in the reflection that represents the horizon line (the line separating the light-grey and dark-grey in the background) becomes curved around the object and not straight. Anyway, moving on to the character.
Since my character doesn’t have any really shiny objects on her (or atleast not the version on display), I don’t have to factor in reflections. Although I wanted to remake the character from scratch I simply couldn’t make much of the concepts I had. So, I went back to the original design. So I first tried to figure out how I could fit her pose into an enviroment suitable for the character. Naturally, my original design of the character couldn’t be implemented directly into a piece of scenery, as I originally didn’t have a plan to do so. In the original drawing, she looked like she was leaning against something and I had to make an object for her to do so against. Or as is the case with this version, sitting on the object. As she is supposed to be an engineer, I imagined her in her workshop leaning against or sitting on a crate where she stores a bunch of crates with parts and tools. So I adjusted the character’s pose, shifting the position of her left leg to bend backwards, towards the crate and moved her right arm outwards and placed it as if she was trying to explain something to another person out-of-view. In the process of moving the hand I discovered that the neck looked really stretched, so I used the Photoshop clone tool to copy and move the head into a more suitable position then erase the previous head. I also adjusted the haircut to look more natural. I just couldn’t have the hair float in the air, and I should have done something about it sooner. As for the lighting, I covered each part of the body in a flat color, located the source of the light and then added a brightness to each part in the direction of the light. Then I used the method descibed earlier, increasing or decreasing the value of the gradient to suit bright or shaded areas of the body. I had some problem determining how the shadows would be cast according to the light source, but I feel somewhat content with the result I achieved. In retrospect I also noticed I forgot to have a shadow cast behind the crate, which I will fix later. That’s all for now. |