The Creative Process
|
Hello and welcome to the 5th and last blog post from this course, Game Design 2. This time I’m going to give you a deeper look at my creative process. More specifically, I’m going to talk a bit more in detail about how I created this weeks asset: The King. The King was designed to play a passive role in the game. However, in the original concept he plays the role as the last boss. But we had another idea. The encounter will instead consist of both a mini puzzle part and a boss battle. When you enter the throne room, the boss (Kings Guard) first tries to protect the king without attacking the player. This is the puzzle part in which the player has to figure out how to get around the Guard and kill The King. The boss battle with the Kings Guard then starts where the player has no choice but to kill or be killed. We decided to make the encounter like this in order to be able to have multiple endings, one where the player kills both The King and his Guard (and hopefully feels bad about it), and one where things ends peacefully and the player walks away. The peaceful ending would in this case be a “hidden” one and the player has to preform a non intuitive action for it to happen. Anyway, what I was getting to is that this is why I designed The King the way I did. In order for the player to feel bad about killing him I wanted him to look non threatening and a bit fragile. And to strengthen his passive role, that he has no intent of hurting the player, I made him sit unarmed on his throne. But enough about that, lets move on to the actual process of creating The King.
As always, I started of with drawing a pencil sketch. This time though I actually used a ruler and two dots in order to get a better sense of the perspective. One point above for the upwards horizontal lines and one point at the bottom for all vertical lines. The next step was to move over to Photoshop and fix the sketch. I made what I like to call a “blueprint” of the throne. The only tool I used for this was the line tool. The line tool makes it easy to see where lines are going to intercept which I find especially useful when drawing in perspective. 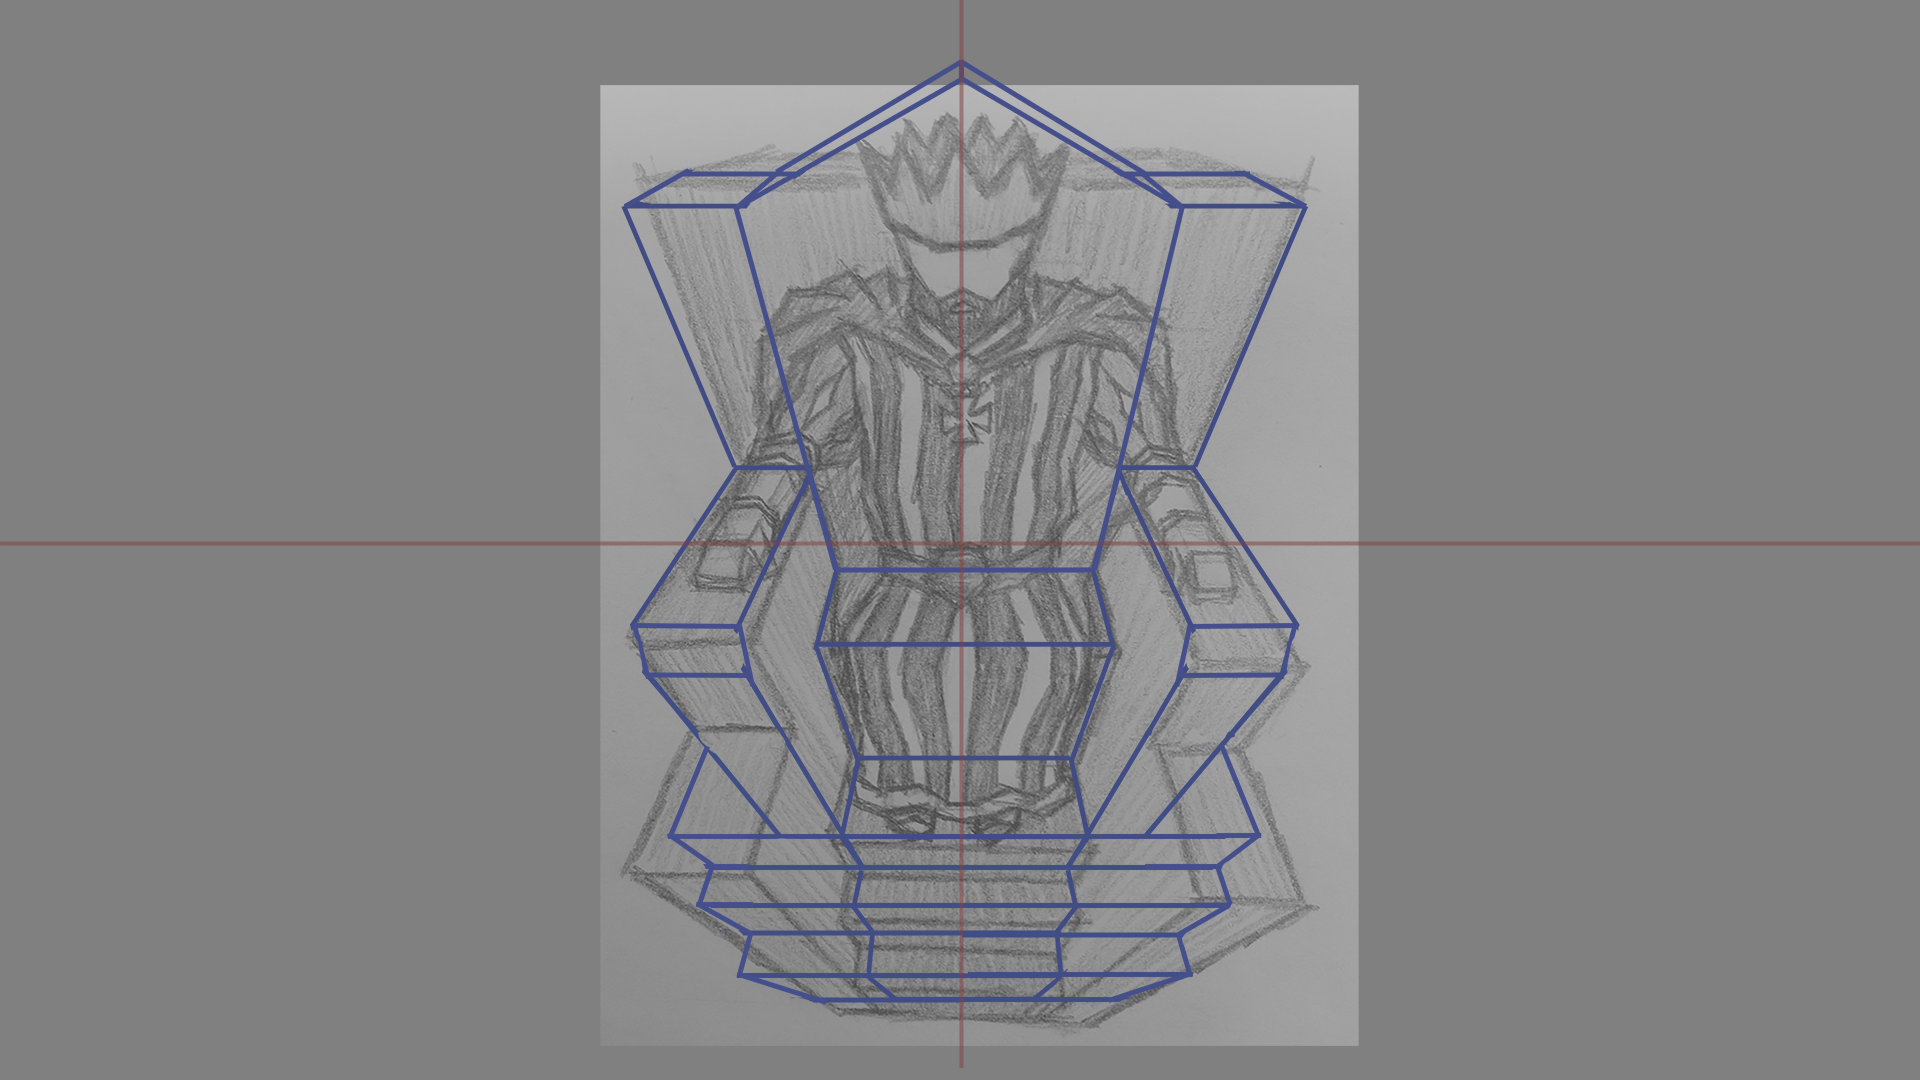 I also took the opportunity to change/ add some details to it. The extended stairs was a common factor in many pictures i found when I researched and they took the throne in just the right direction. Also, the backrest was way too short which I fixed by adding an extra shape to it. I also slightly changed the perspective of it in order to compensate, otherwise you wouldn’t see the top of it.
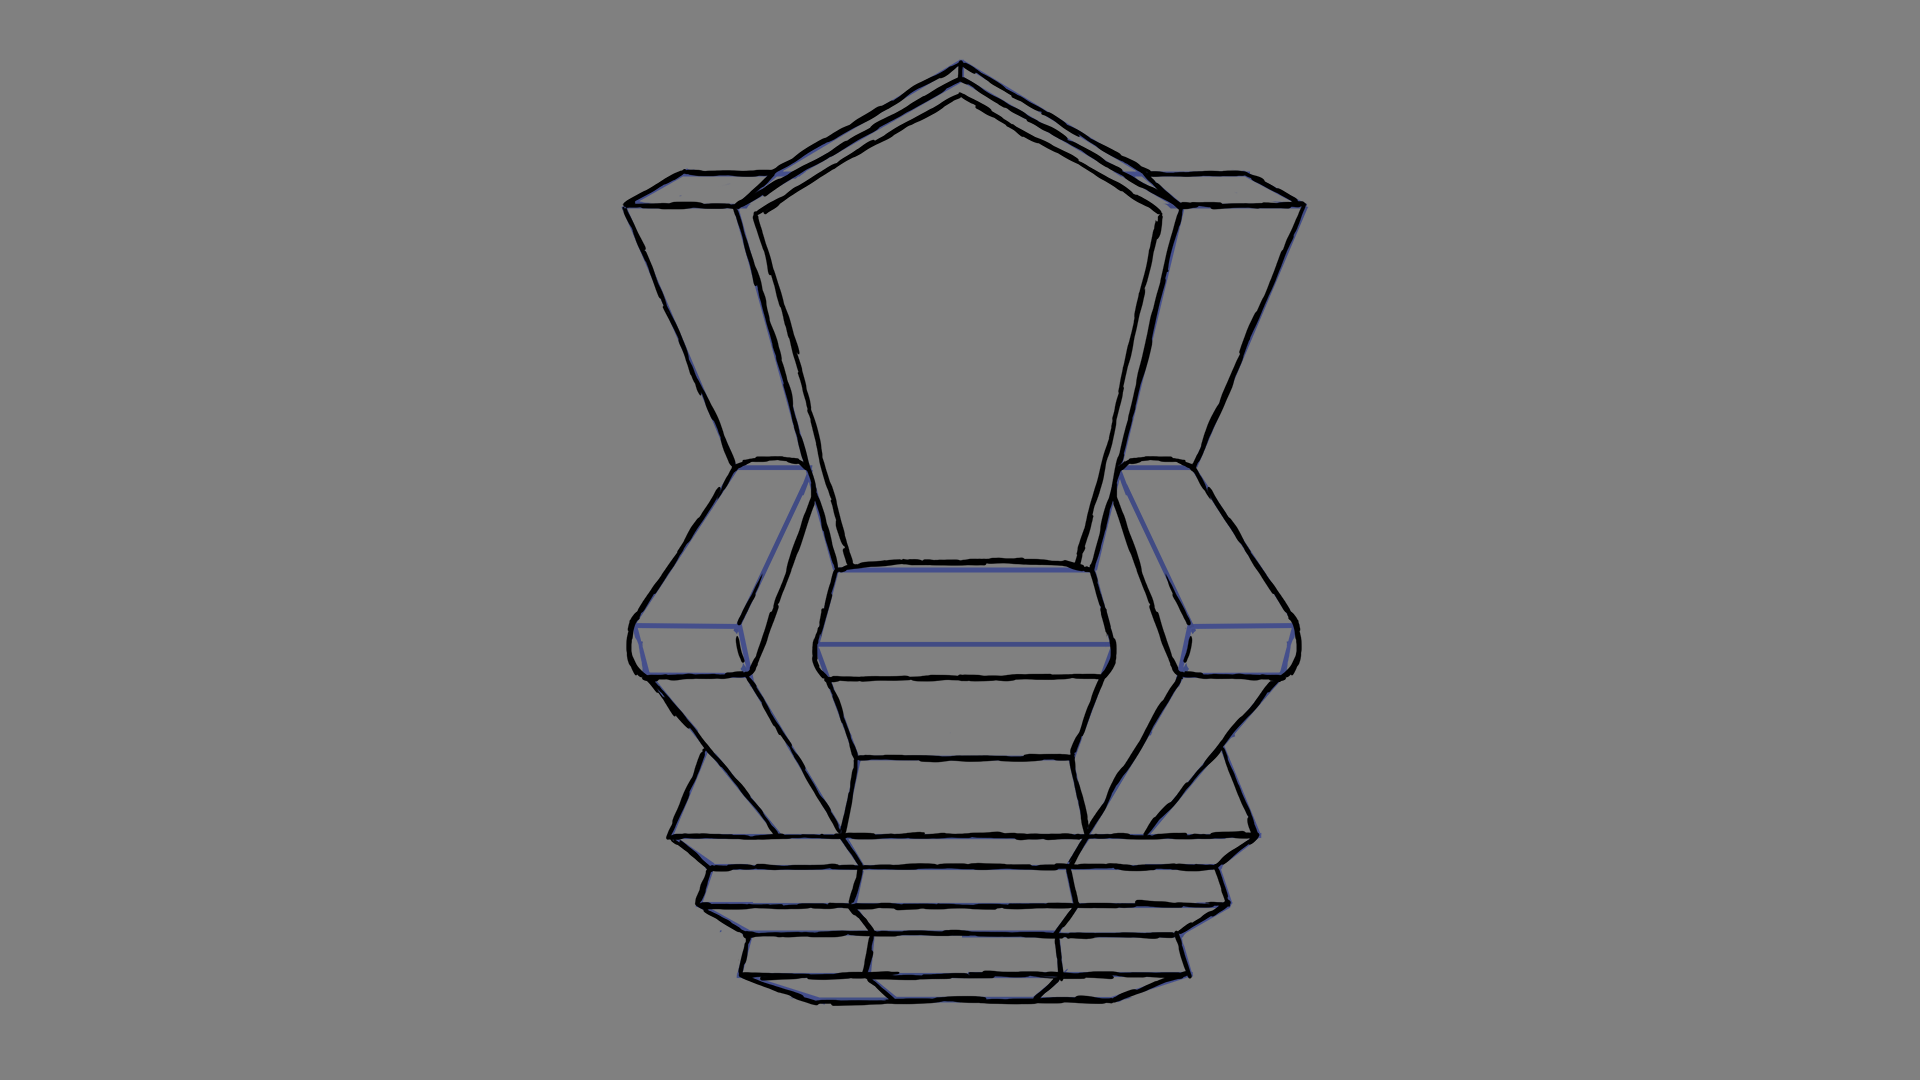 After that I simply drew the line art in a new layer on top of the blueprint, again adding new details as I pleased. A frame to the backrest and cushions for the seat and armrests. A throne have to be comfortable right?
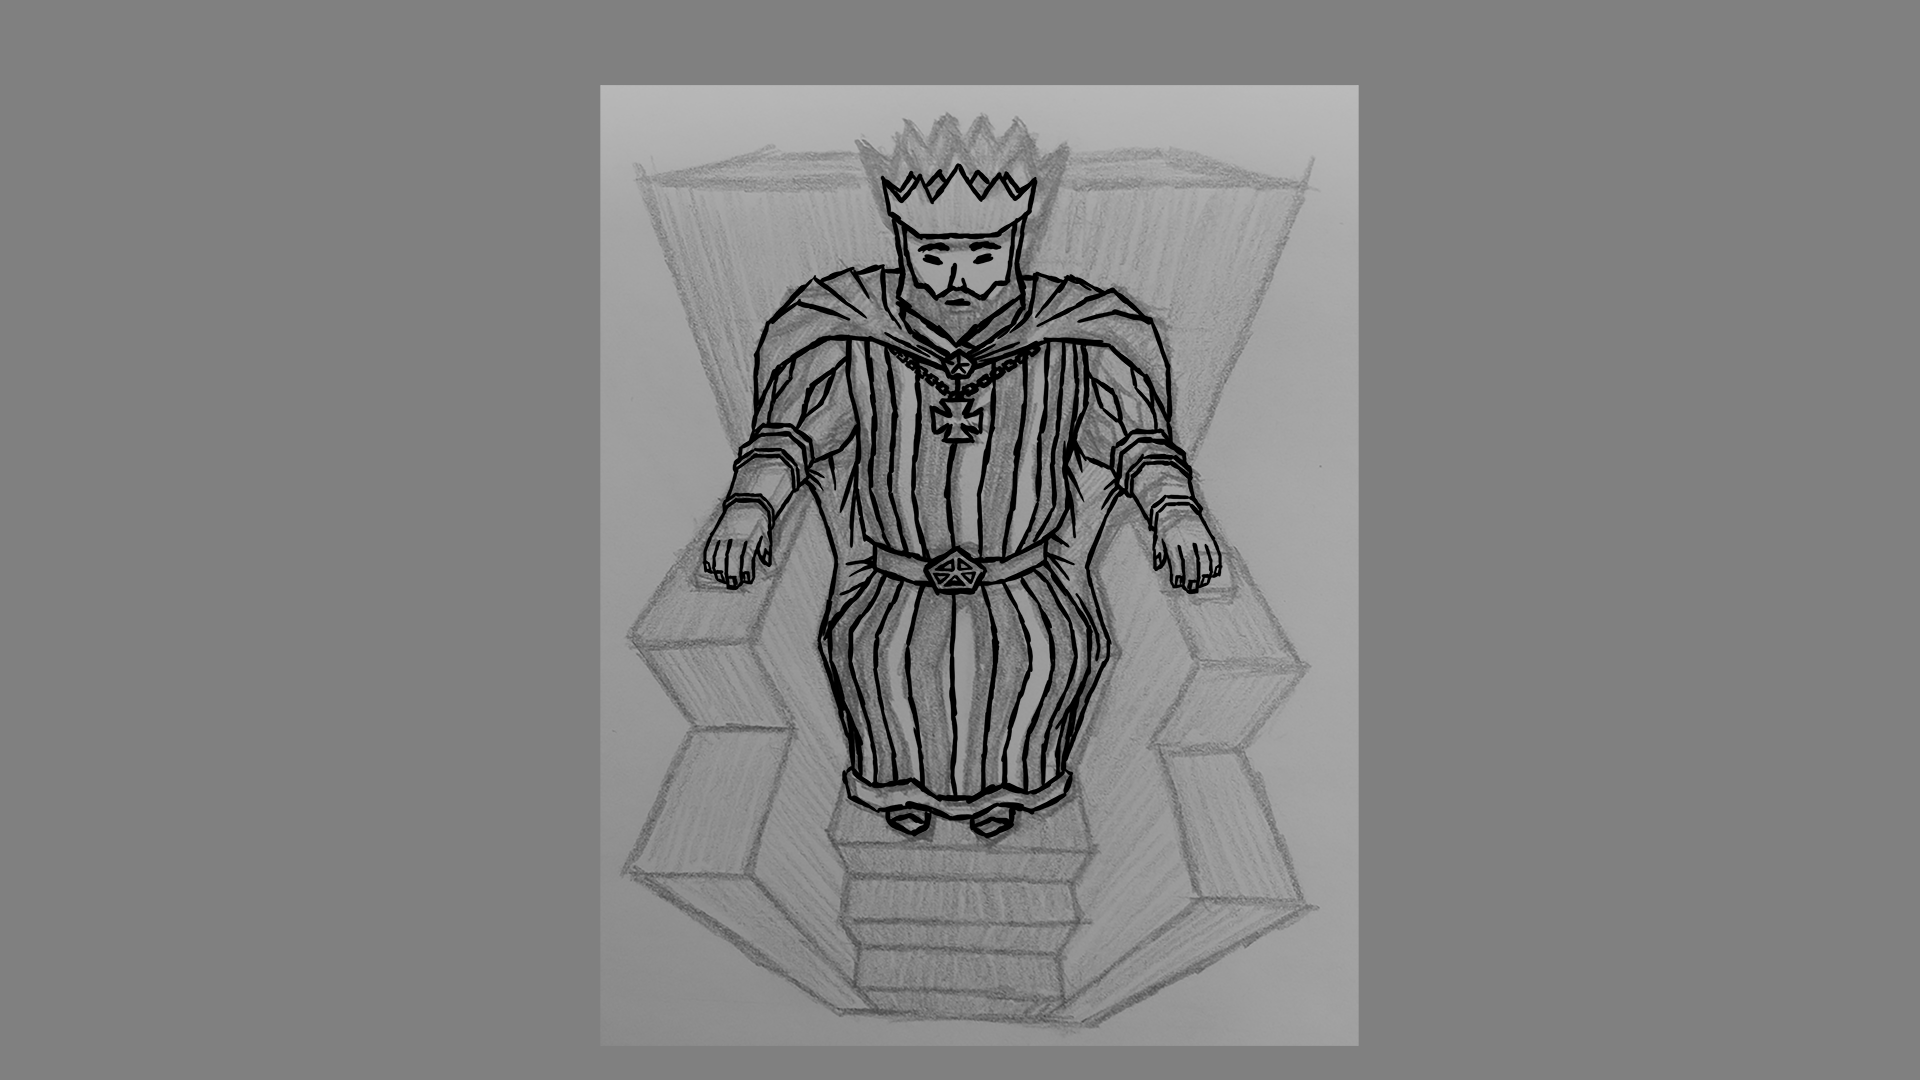 Then it was The Kings turn. The original sketch was good enough to go from so I didn’t trouble myself to “fix” it. I of course had to add details that I had left out in the sketch such as the hands, the belt buckle and the face. I also noticed when drawing the head that it was way off. One might think that it was obvious from the start but the thing is, when you draw something, you quickly get used to how it looks even if its completely “wrong”. The picture you had in your head when you started drawing easily gets stuck and hinders you from seeing what you actually draw. This is why iterating on the same picture multiple times is so important. Another good thing to prevent this when drawing digitally is to flip your canvas every now and then.
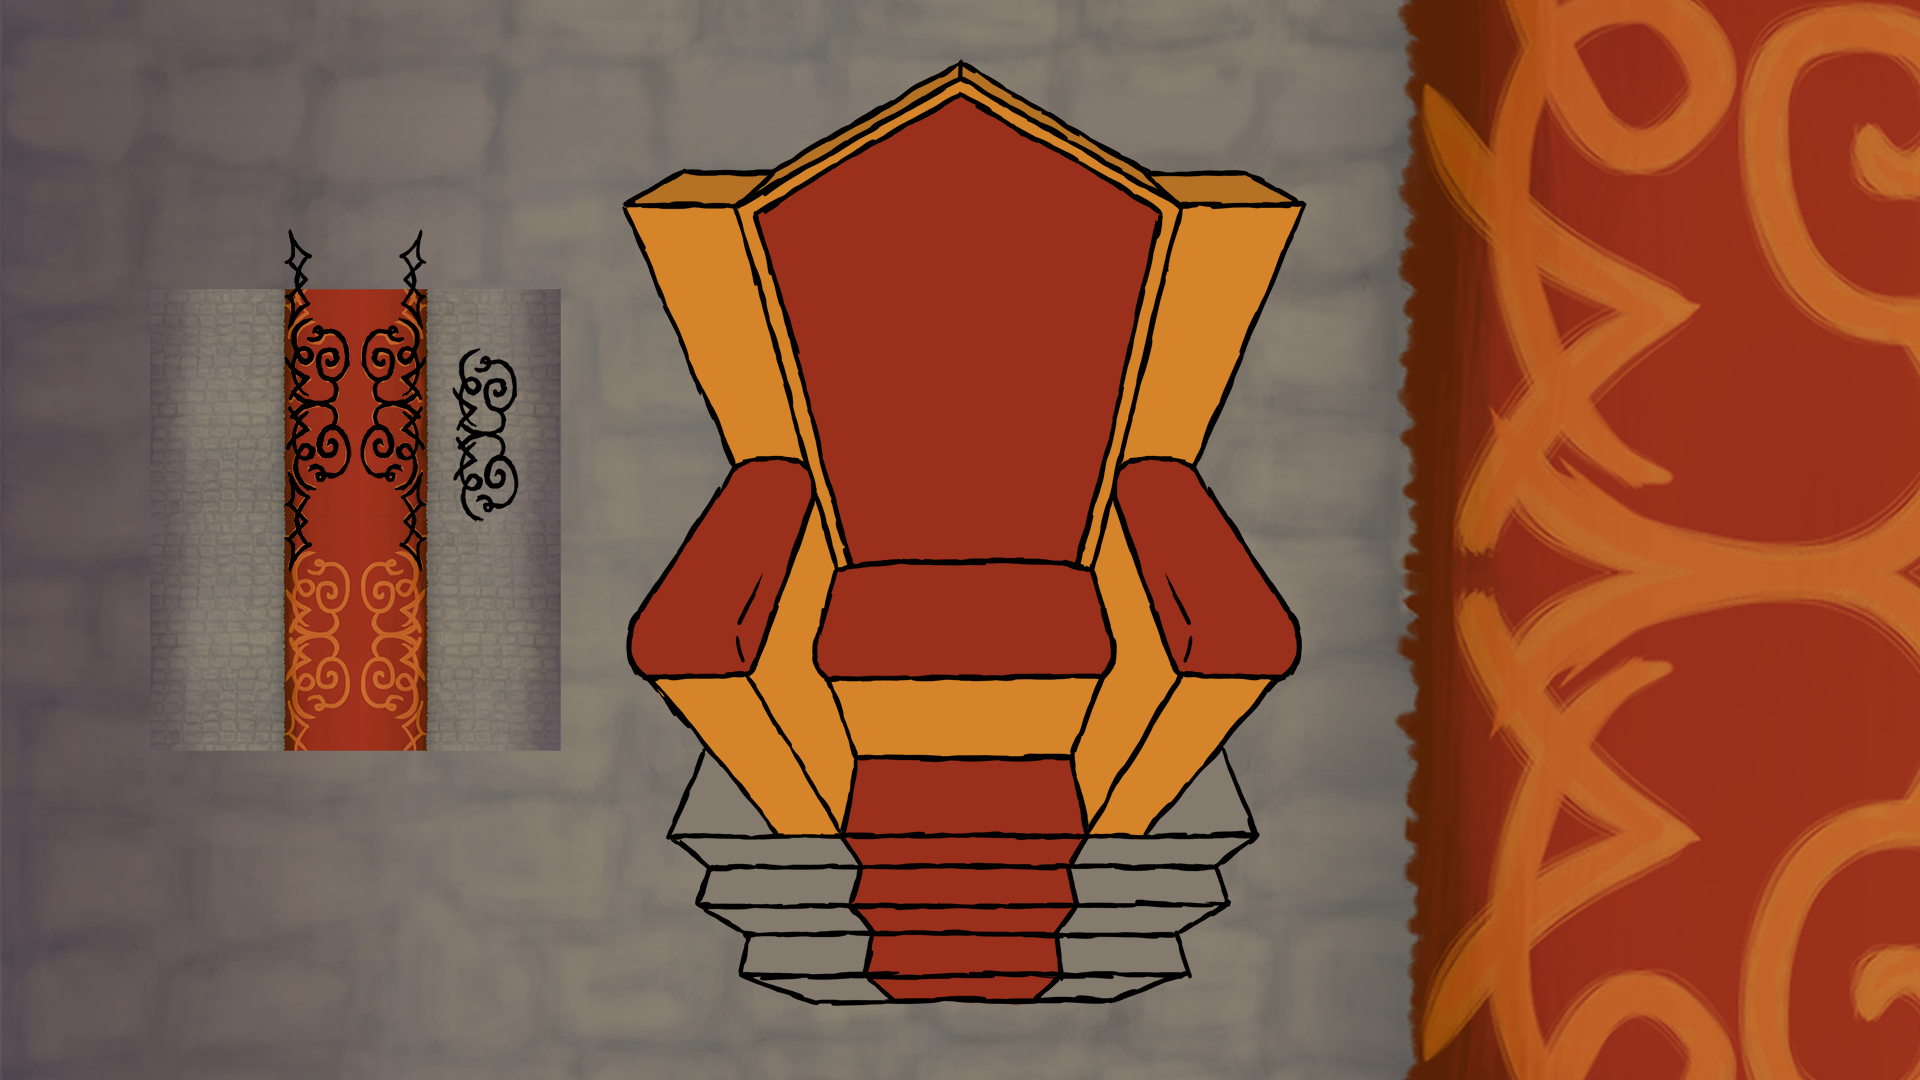 When I had all line art done it was time for color. Because I wanted the throne and The King in different layers I had to color them separately. I reused the red color of the carpet in the background art, created by my team member Jonathan N Andersson, as well as the grey color of the floor. When it was fully colored I discovered that it was a bit boring and so I decided to add some texture to it. The way I did it was fairly simple. I first copied and shrunk the background to a pleasant size. Then I just drew on top of the carpet pattern and created a few different separate patterns. I then used the transform tool to fit them onto the throne wherever I desired. It took a while to get them into the right perspective but I eventually got the hold of it. 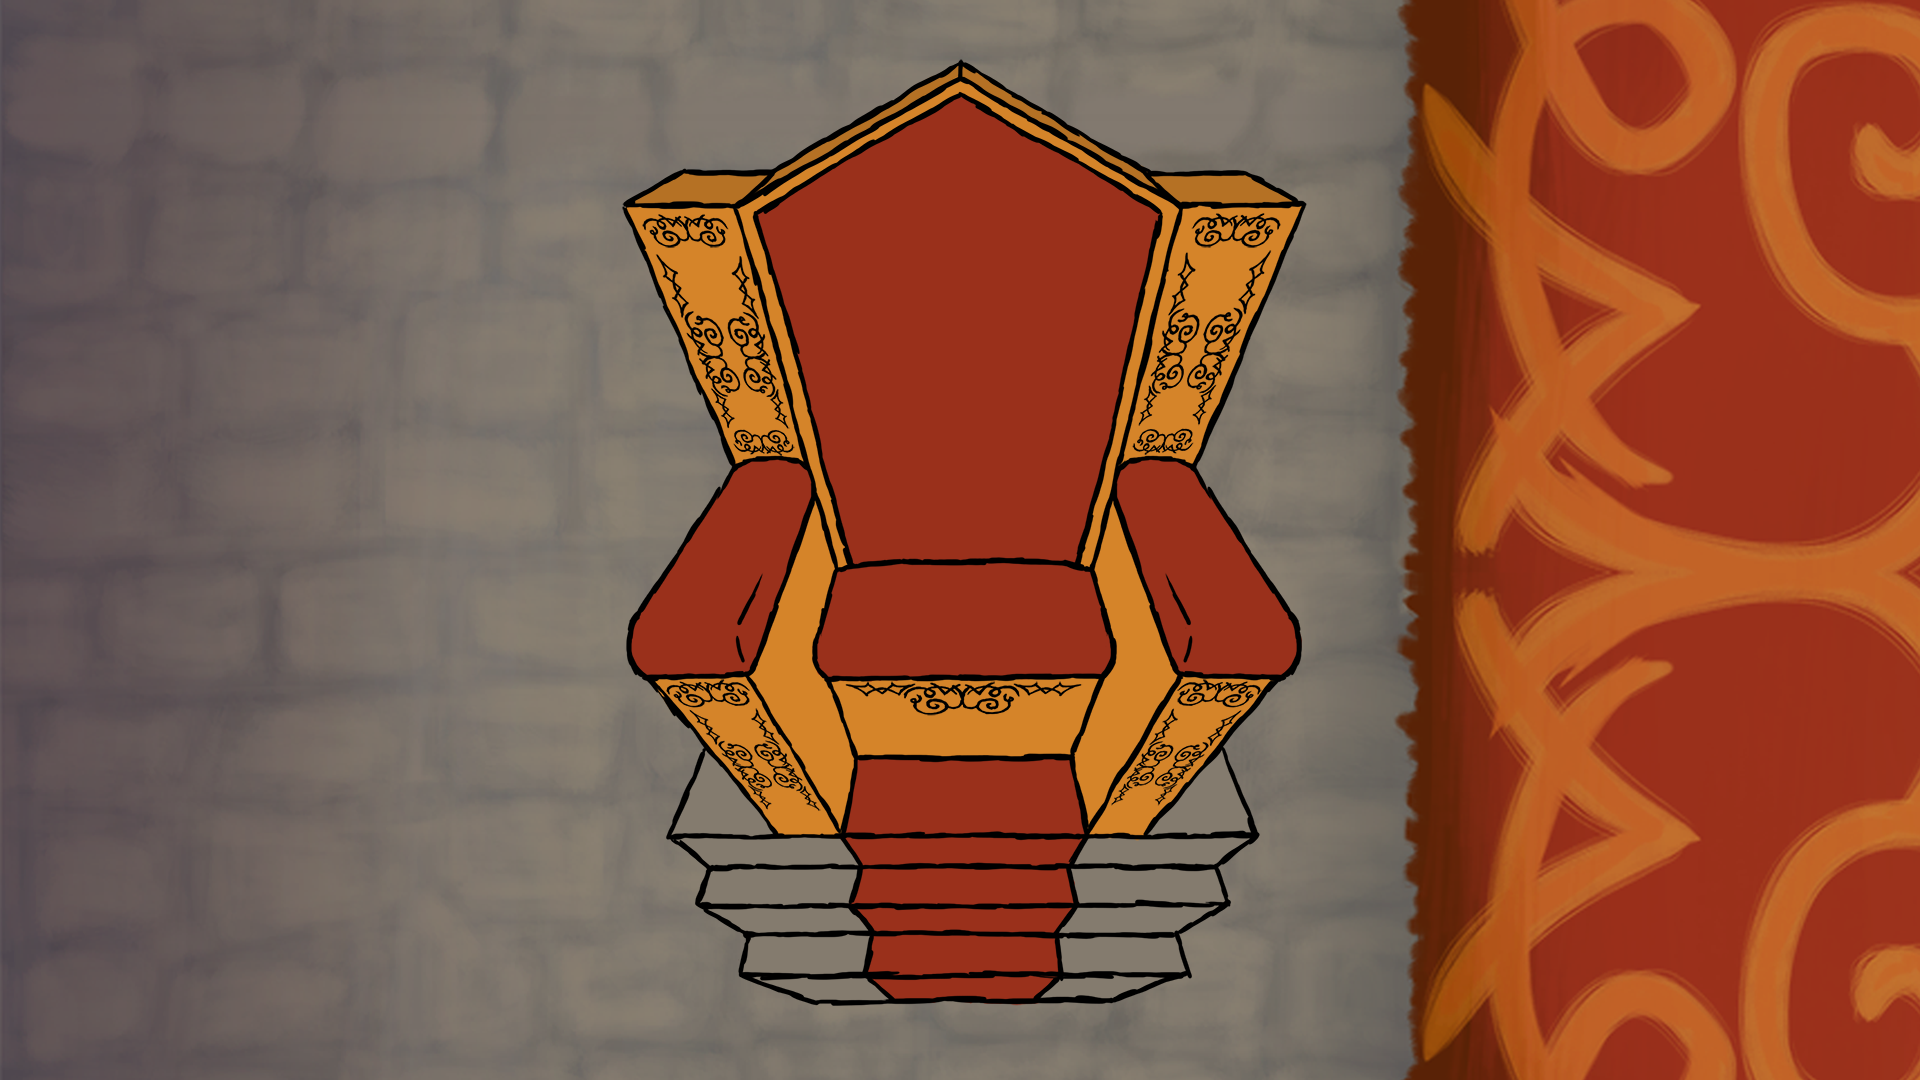 Now all that was left was to color The King and place him on his throne. I reused most of the colors from earlier work in order to be consistent. I also always keep all different colors and parts of my paintings in different layers so they are easy to change if needed. 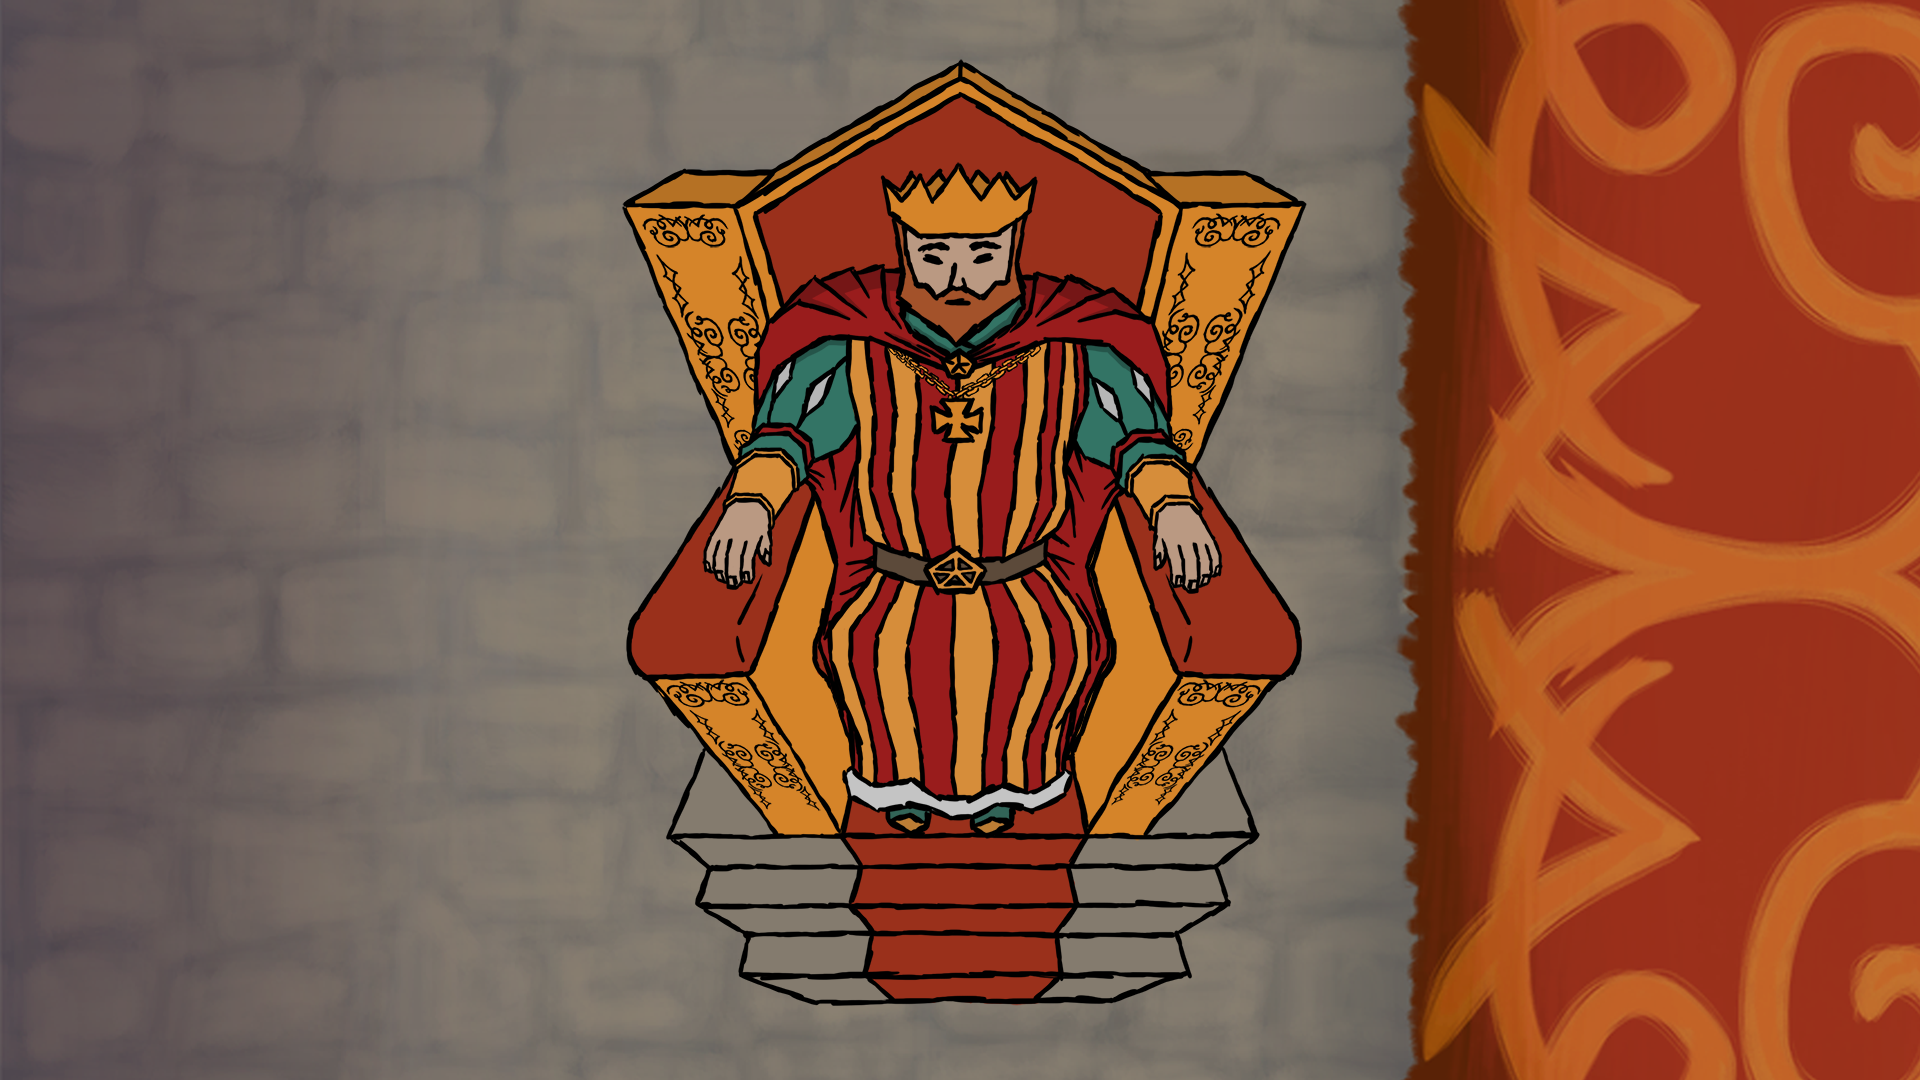 And with that said I just want to end this post by thanking you for reading. I hope it was interesting. Good bye!…for now |

