Week 2 – Extended Player
WhatFor the second sprint for our game I was tasked to extend our player characters functions. I needed to extend our collision with the screen boundaries, enemies and enemy projectiles, which would also defeat the player character. I was also tasked with making the first instance of our melee attack. For this I needed to create or utilize:
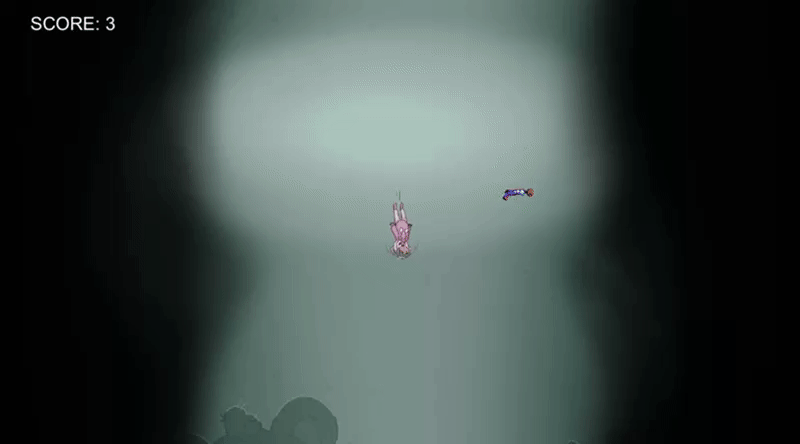
HowThe colliders were as aforementioned already implemented in the game, and therefore I could tweak the sizes of the colliders easily. What I needed to add to the code however was a lose condition. So that if the player character were to collide with a enemy or an enemy bullet, the player would lose the game and be taken to the Game Over menu. How I did that is by using the Unity tags. For example, all the enemies are tagged with ”Enemy” so I can easily access them by checking if the object the player character collided with is an ”Enemy”. Same with ”Enemy_Projectile”. This way I could just check for those requirements and then set the player character as inactive, and from there set the Game Over menu to be active instead. On the topic of the Game Over menu, it was just a basic Unity UI panel, with a UI button that woul restart the game when pressed. How I did that was that when the button was pressed, I called a function that would restart the scene.
The melee attack was the big task of this week. What I wanted to do was to have an inactive object follow the player character at all times, and when the requirements are met, it is switched to being active with its own collider that would destroy enemies in range. In my first attempt I tried making the melee attack a child of the player character. Which would mean that it would always follow the player character. This however would come with its complications. Since the player character and melee attack were parent and child, they would share the same physics. Therefore when the melee attack was active, the melee attack’s collider would become the player’s collider. This means that the player character would more than quadruple their collider’s size. This was a problem I really wanted to fix, but in the end I went with a more ugly way of solving it. I instead separated the two object and made it so that the melee attack woul know of the player characters position at all times. This was done by making the RigidBody2D of the player character visible by the melee attack. It could now follow the player character correctly by every frame changing its own position to that of the player character’s RigidBody2d. After that I made a function that would enable the object if the player pressed the right mouse button, and another that would reset the object to being inactive when the attack duration was up. I also made the variables dynamic so that our designer could test different blast radius’ or attack duration. WhyWe needed the player to be able to lose so that we could mixture and test with difficulty and collision. We needed a way to restart the game so that the player does not have to quit the entire application and load it again just to try another time, also it would be easier to test without having to go through that process. We really didn’t need the melee attack this early, but because we did we have had a lot more time to test it and discuss what needs to be done with it in the future. |