3D Course – Assignment 3 reflection (textures)
|
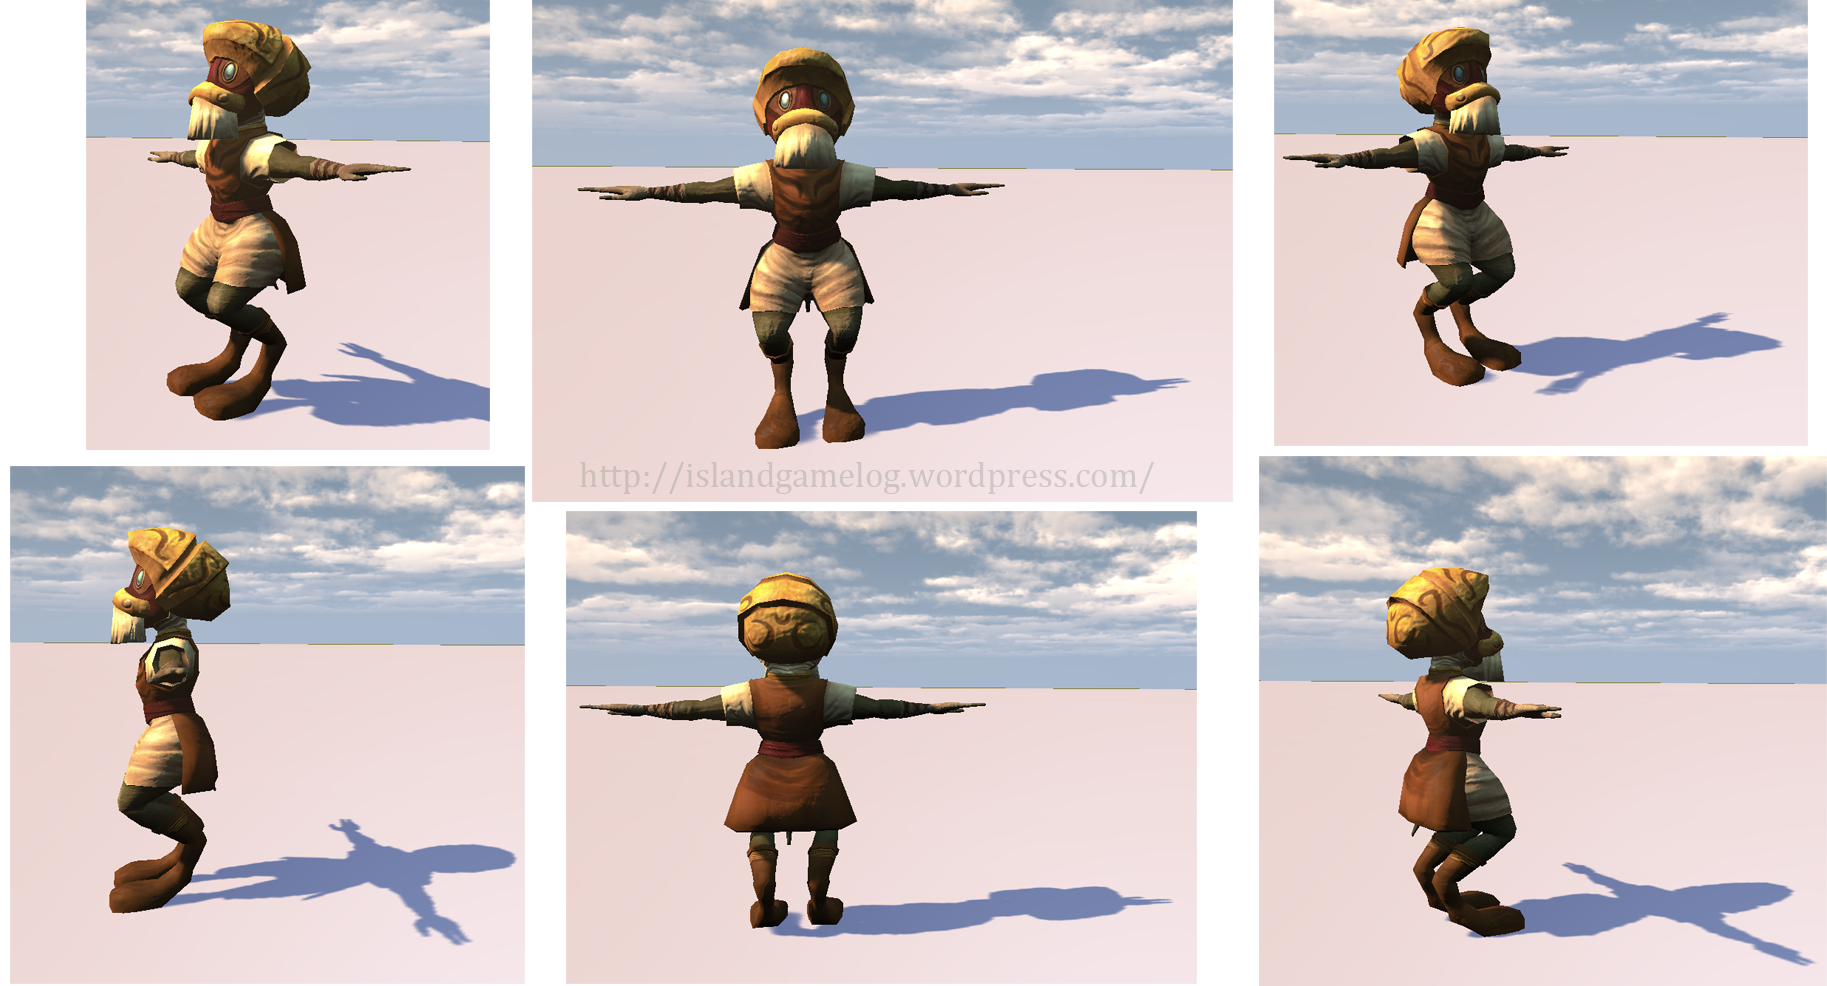
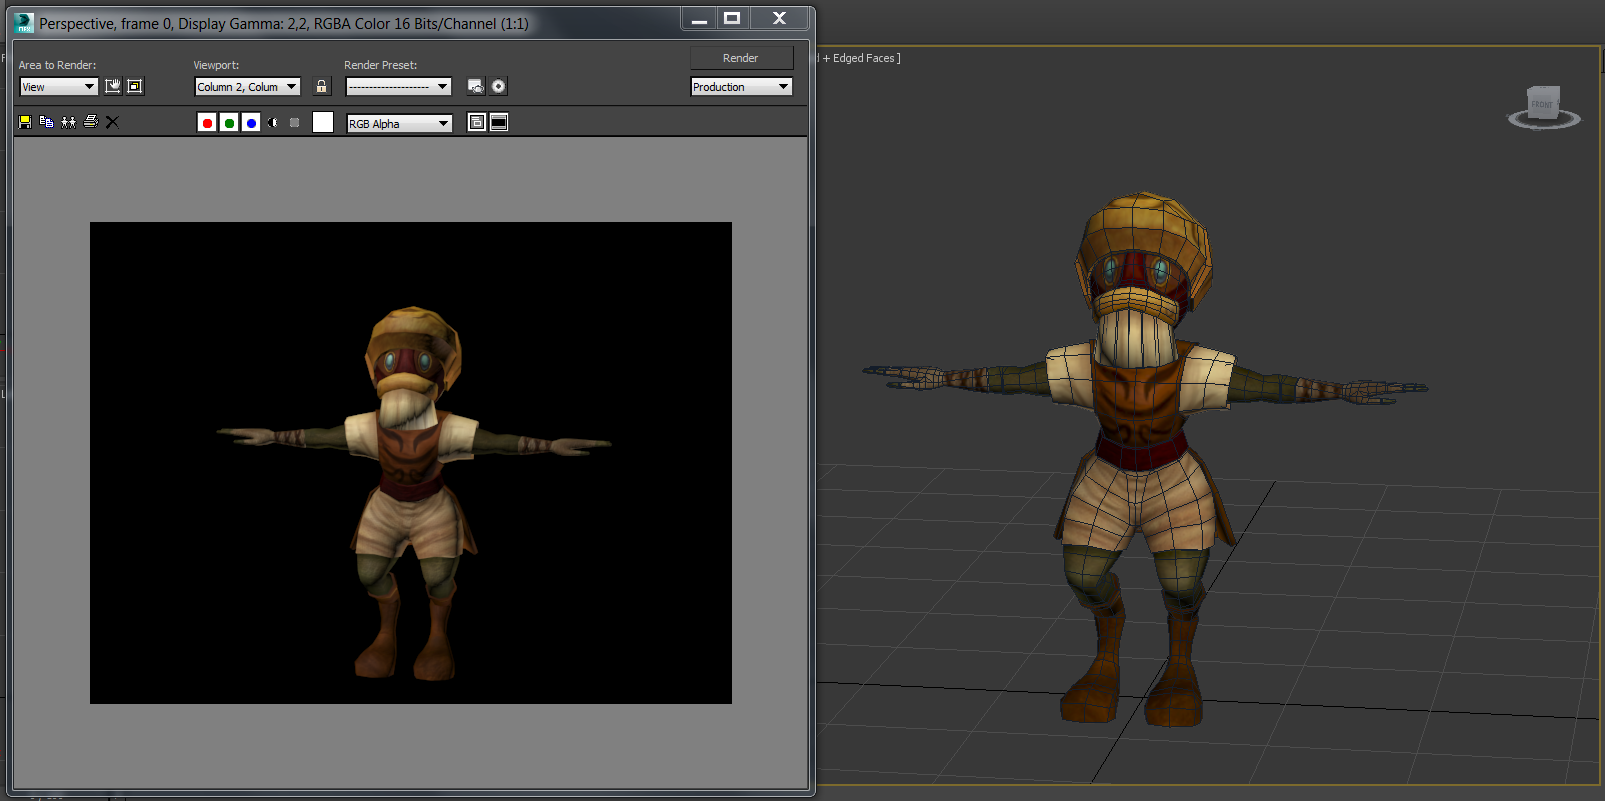
This is my reflection post for assignment 3, and I will be mostly talking about the texture work. Here’s the finished model of the character JigTick in UDK, with the final textures:
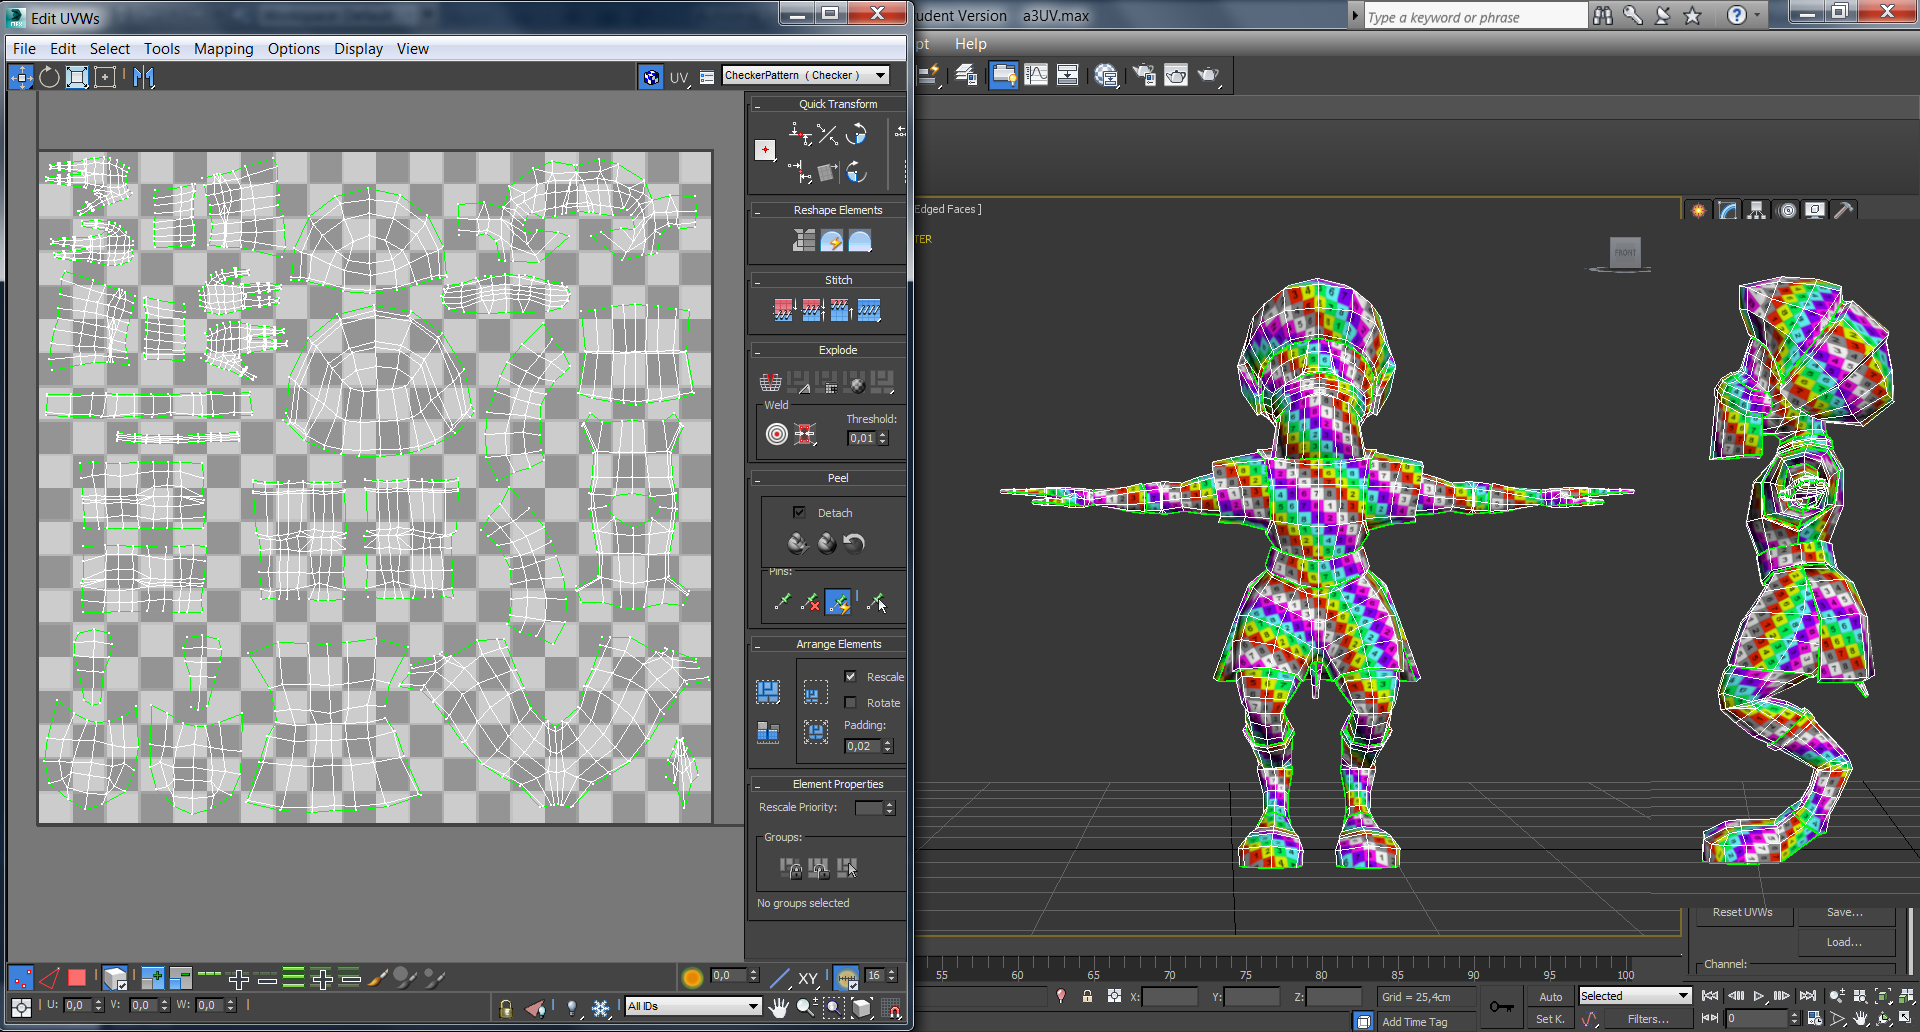
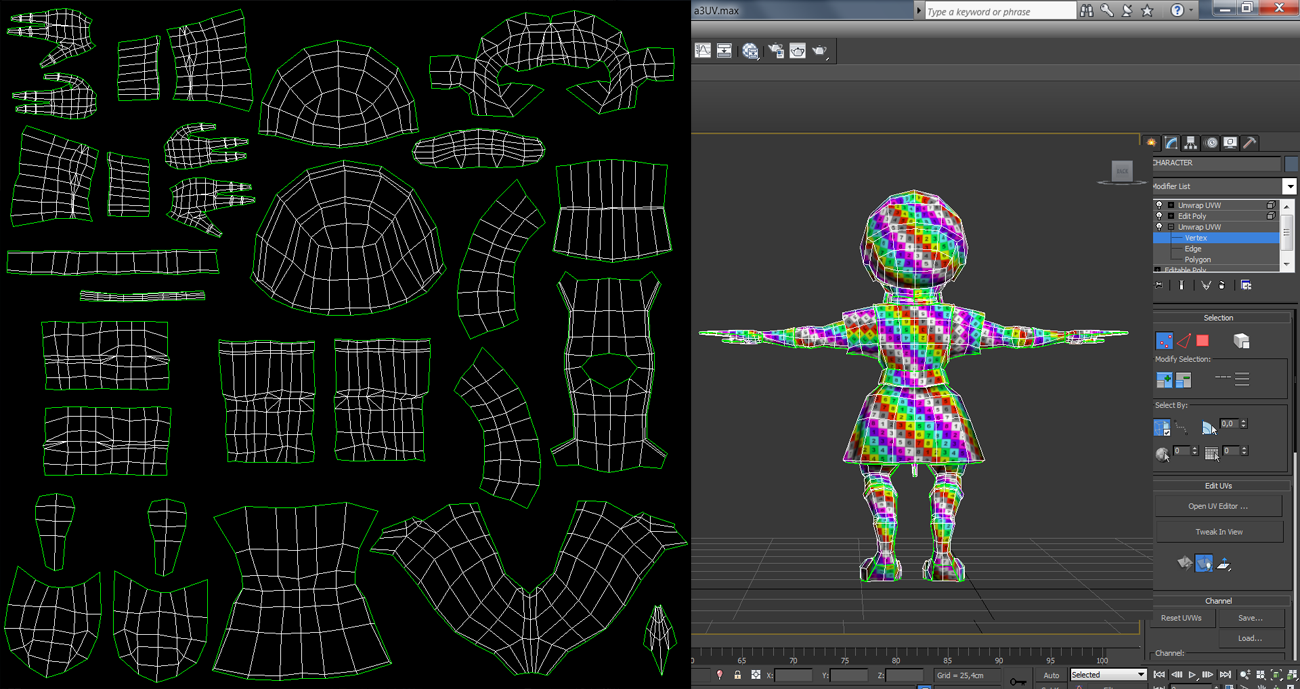
(The scene is a bit bright, but I haven’t found out how you change the environmental light in UDK yet so it will have to do…) So, what can I say about the texture work for this assignment? I unfortunately had to rush it a bit since I had gotten very behind in the 3D course work, but I’m still pleased with the result. Before I’ll talk about the different texture maps I used, I’m going to talk a bit about the UV for the model, since I only had begun working on it when I wrote my previous post about assignment 3. In these following two images you can see the UV layout along with the character model (with UV checker on).
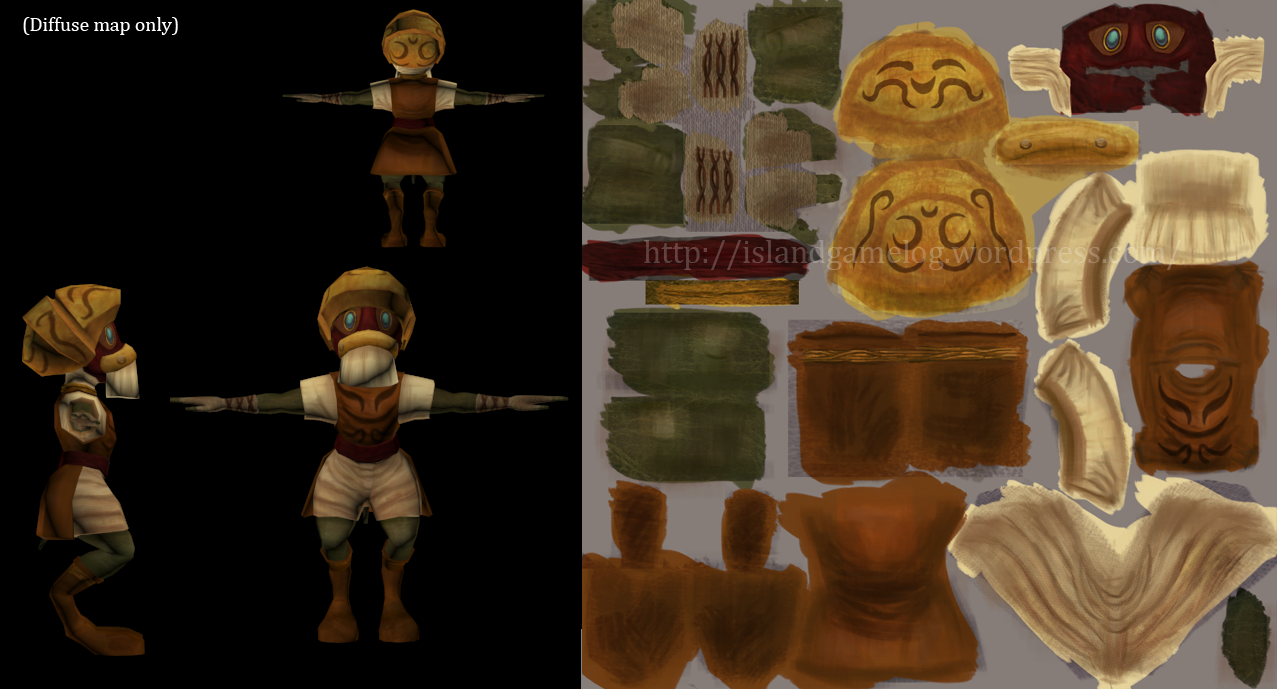
I think the UV layout and placing of seams went rather well this time. Everything fit in, and I thought that it worked well when I textured the character. I’m not sure if I placed the seams in the most optimal ways though, but I tried my best. The character’s unusual legs created some trouble when it came to the shoes, so I decided to divide them up in three parts, which perhaps wasn’t a good solution. (I couldn’t really come up with a better idea…but then I don’t really know if it was a bad solution or not. It worked out when I did the texturing though.) I’m wondering a bit about what one should focus on when planning the UV. I know I thought about where I would place the seams to make the relaxing phase easier in order to save some time (there were still some parts that got a slight bit tangled up that I had to straighten out, like the legs), but I think it would be really interesting to hear and learn some more about how one can plan the UV. (And also what to avoid etc…) We went through UV rather fast in class when we first learnt about it, and even though I can do UV mapping now, I’m not entirely sure on how it really works. Anyway, moving on. I’m going to talk a bit about the textures that I did for the character, and I’ll start with the diffuse map:
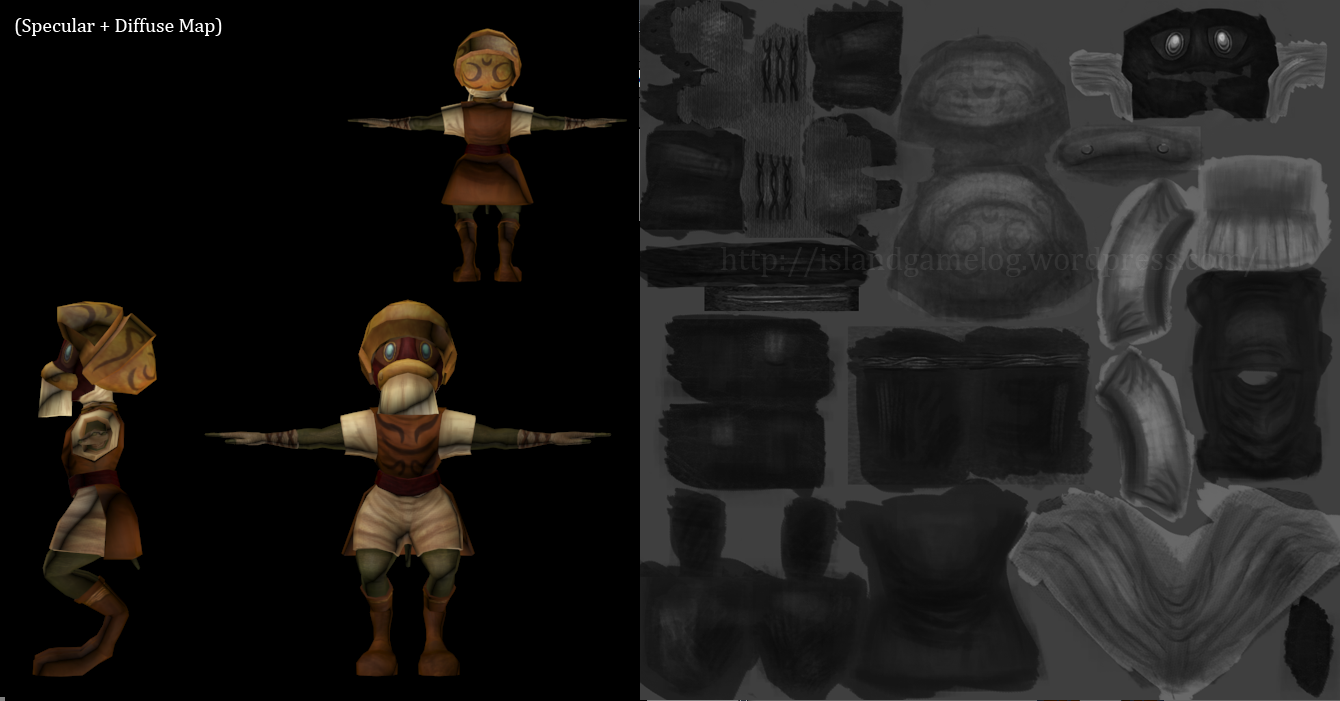
At the start I merely used the eyedropper tool in Photoshop and picked the colours from the concept art that I had for the character and painted in the different parts in their respective colour. I then began working on the details and blending in some textures, and when I was done with that I played around with the colours to find a good overall feeling. I ended up making the colours a bit warmer than in the concept art, and I also made the white cloth look a bit more used (especially the pants) by adding some browns to it. The character is often wandering the desert, and thinking about all the sand and dust, I don’t really think that the clothes would be that clean. He does care about his appearance, so I couldn’t add too much dirt to his clothes though.
When it comes to the specular map, I tried to make the character look a bit less glossy than my earlier assignment models, and I think I succeeded rather well. The eyes and the helmet are what reflect the most light, and the other parts are more matte which creates a nice balance. JigTick’s skin is rather rough, so I thought that it probably wouldn’t reflect light that well, and when I looked at my references for the cloth parts (linen and leather) they weren’t exactly glossy materials either.
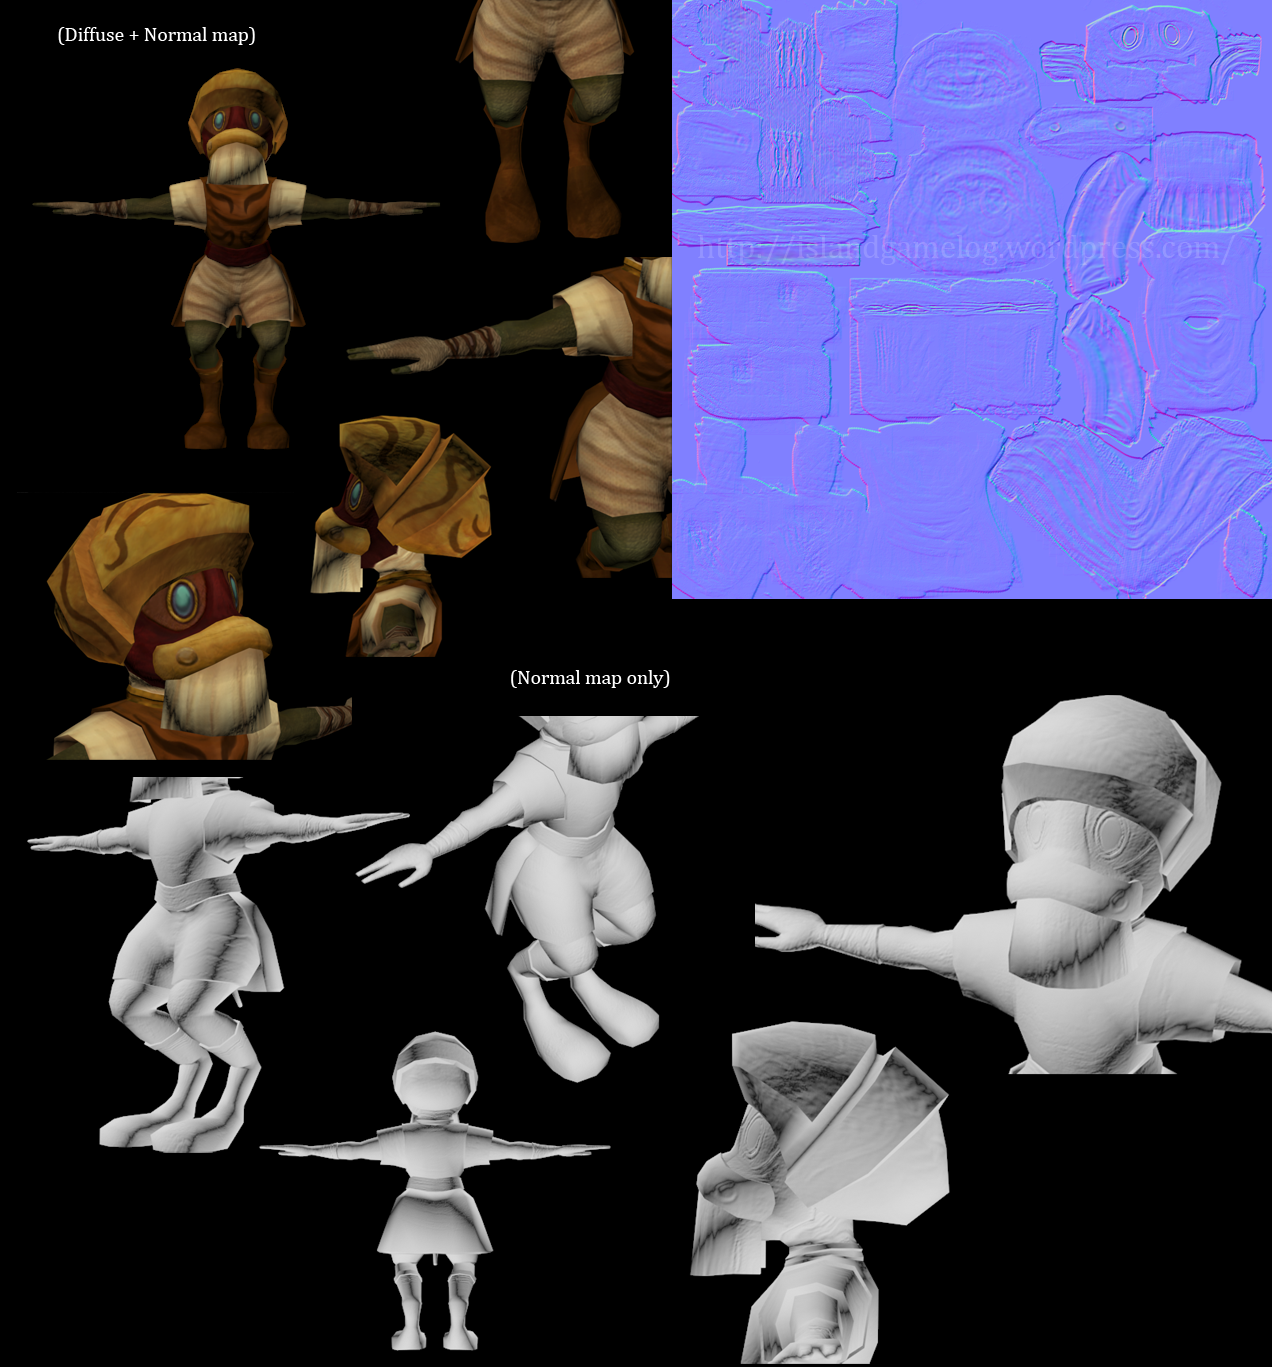
For the normal map I focused on JigTick’s mask and his eyes, and I also tried to accentuate some of the textures (in the skin and cloth for example). I thought that I maybe would try and add some scratches to his helmet or shoes, but I decided not to in the end. I find normal mapping very difficult and I didn’t really click with the normal map program that we tried in class, so I create my normal maps in Photoshop with the plugin that we downloaded at the beginning of the course. As it is now it takes a lot of time for me to create one, and I’m wondering if there’s some easier way to do it. I’m going to try and look it up a bit more, and hopefully I’ll find something that will facilitate it. Lessons learnt: I can’t really think of anything specific that I learnt with this assignment. I could make use of all that I had learnt from the two previous assignments, and I think that the organic modelling was the biggest challenge with this one. I had a lot of trouble when it came to creating the hands, the legs and the face but it worked out well in the end. (Or at least I hope?) It was very difficult sometimes, especially since I was so far behind I the course and got really stressed out because of that, but I had really fun with this model. Now that I think of it, I did learn how to use the mirror function in 3dsMax, and it was really great since that was something I’ve wanted to learn for a while. It really made the modelling a lot easier, and I will definately use it more in the future. – – –
I feel that I’ve learnt a lot in this course, and I can’t almost believe that I didn’t even know how to use 3dsMax a month ago. It’s been a really great course and I think that it was really sad that I couldn’t keep up with it. (I really wanted to, but it was a bit too stressful for me.) Thanks for a great course Nataska! |