|
In the 7th week of the 3D course, we looked at anatomy and were divided into groups, where we looked at each other’s drawings (that we had brought to class) and gave feedback on the anatomy.
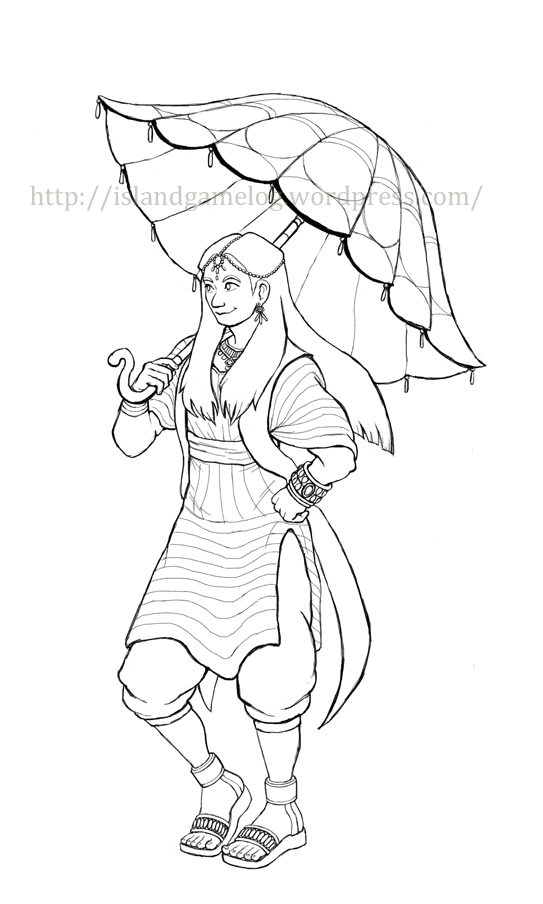
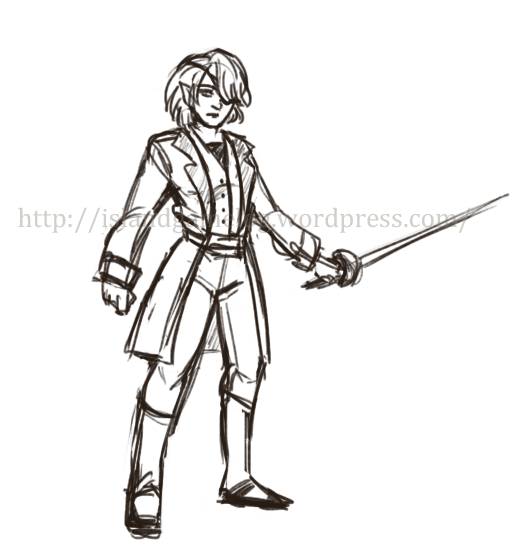
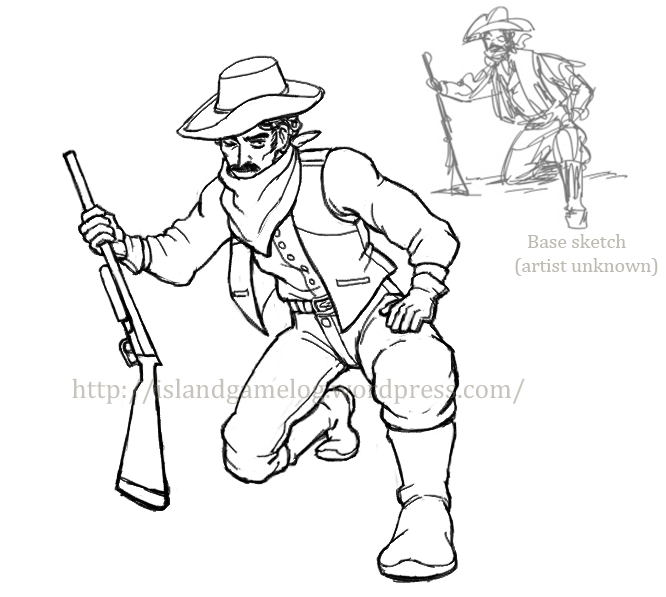
Here are some examples of my 2D drawings, some are rather recent and others are assignments from last year’s 2D course. I haven’t had that much time to draw lately so I unfortunately don’t have that much to show…
  
(I don’t enjoy cleaning up lineart that much at all, and only do it if I really have to. That’s why the 2D assignment drawings are a lot “cleaner” than my other drawings…)
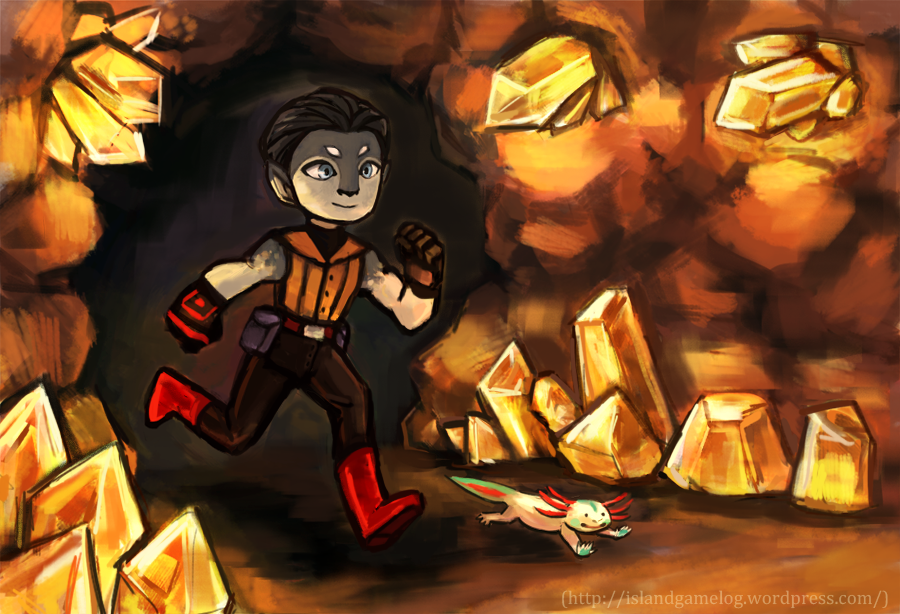
One other reason that I don’t really have that many drawings to show is because I’ve been focusing more on painting these last years, and one very recent example of how I paint is the action pose image I did for the character package in assignment 3:

Reflection over my anatomy knowledge/skill, and the feedback that I got:
Feet are something that I really need to get better at. Both hands and feet have always been a bit difficult for me to draw, but I practice drawing hands every now and then so I’ve gotten a lot more comfortable with drawing them lately. Feet on the other hand…well, I could really practice drawing them more. Otherwise I think I have a pretty good sense of anatomy, but it would probably be good to study it more in general.
The feedback group that I was in basically gave the same feedback to one another. It seemed that we all had a pretty well-rounded knowledge of anatomy, but that we struggle a bit with drawing the hands and the feet. We were all aware of our weak points, and we could all agree that we needed to practice them more.
To get better at drawing, I’ll study hands and feet more, observe my own and practise drawing them from different angles. I’ll also look up how other artists do them, and if I can find any good tutorials and ways on how to construct them. I will probably look up some more about human anatomy in general, since it’s been a while since I studied that ,and it’s something that’s good to rehearse once in a while.
– – –
- 6 Month plan to improve on anatomy
If I were to create a plan for the next 6 months for someone that wants to improve their anatomy knowledge, it would look something like this:
1st-2nd month: Hands and feet
- 1st month – Hands
The first month of this anatomy improvement project would be dedicated to drawing hands. They are a bit complex with all the different joints, and are something that many artists struggle with, so it’s really important to take some time to study and practice drawing them.For the first part of the month, you would look and study your own hands and draw them from different angles and poses. (Always focus on angles first of all. Drawing poses is the second step.)The second half would be focused on studying the construction of the hand (joints, muscles), and you would be referencing anatomy books and hand reference pictures.
Set a goal where you have to draw 10 drawings a few days every week (depending on how much time you have), and save all drawings that you make. It will make it easier for you to see how much you’ve improved, and if you need to practice more.
Extra exercise: Look and study hands of different age and fitness. How do they differ from each other?
- 2nd month – Feet
This month would be focused on drawing and studying the feet. Like with the hands, drawing your own feet would is a really good way to practice, since you can pose it and look at it from any angle that you want (or at least every angle and pose that’s physically possible for you to do and be able to hold and look at).
You should also look up and study feet reference photos, and practice drawing them as much as you can. Set a goal every day (or twice a week or anything that works for you) where you have to draw at least 10 or more feet. Save all the drawings you made and look back at them at the end of the month.Like with the hands, you could focus on your own hands during the first two weeks of the month and then move over to the anatomy and construction of the feet.Extra exercise: Look and study feet of different age and fitness. How do they differ from each other?
1st– 2nd month goal: To be able to draw hands and feet in different angles and poses, and have a good knowledge on how to construct them and how the joints work.
3rd– 4th month -> Chest and arms, Hips and legs
- 3rd month – Chest and arms
During this month, you would look at the chest area of the body. You should study the construction and anatomy of it, how the muscles are placed around the ribcage, and look at how the arms are connected to the body. Study the anatomy of the arms as well. Since this part of the body isn’t that expressive on its own (except the arms, but then the hands are the most expressive parts of them) focus on the anatomy and construction and draw the body from different angles.Try and practice drawing poses as well, but since the chest area of the body is very stiff on its own, look at the arms and shoulders. They’re the most flexible parts and studying how the muscles work, when lifting an arm for example, is a very good exercise.It’s good if you can use your knowledge of hands and draw them when drawing your arms, but the main focus is to learn about the construction and anatomy of the arms and how they’re connected to the body, so if you want to take a break from drawing hands it’s no big deal. (It’s good if you can draw them on the arm though, and not just separately).
- 4th month – Hips and legs (+ spine)
This month is where you would look at the hip section of the body and how the legs are connected to it. Study the construction and anatomy of the hips first, and then move on to the legs. Study how the muscles are placed and connected around the hips and legs, and how the joints work.Like with the chest the hips are a bit stiff compared with the legs (it’s mostly the spine that creates the movement for the chest, waist and hips) so focus on the legs when you want to draw different poses. Draw the feet on the legs if you want to, but the main focus is the leg anatomy this time. Study how the joints in the leg work.At this point, if you feel that you have understood the hips and chest construction well, study how they’re connected to each other by the spine. The spine is very important, and it’s probably best if you can study it simultaneously when looking at the chest and the hips. You could always study it separately too, as long as you learn how it affects the parts that are connected to it.
3rd– 4th month goal: To be able to draw the midsection of the body (chest + arms, hips + legs) and if possible also how they’re connected to each other by the spine. You should understand how the arms are connected to the chest and how the legs are connected to the hips.
5th-6th month
This last phase would be a kind of “putting it all together” period. Here, the focus would be drawing the whole body and practise drawing it from different views and angles and in different poses. You would also look at and draw different body types, study their shapes and differences in muscle mass and body fat.
- 5th month: Draw the whole body in different views and angles (no advanced perspective drawings unless you want that challenge), and study and practice drawing different body types. The drawings should be similar to those of a character turnaround, and not too advanced. Study the construction of the body, and how the levels of muscle mass and body fat can vary from one body to another. Don’t focus on details such as the face (unless you feel that it’s important), the point is to get a good general knowledge of how to draw the whole body, and it’s really only the head shape and neck (if someone has a narrow neck, double chin or something that affects the body silhouette) that’s important.
- 6th month: Draw the whole body in different poses, and practice drawing the same poses but with different body types as well. Study and reflect over how the muscles and body fat behave when in a pose, and how it differs depending on the body type. If it’s difficult to find any good references for different body types in the same pose, try and think logically and draw how you think that it would look. If you feel that it doesn’t work out, just practise drawing the different body types and study whatever references of different body types (in a pose) that you can find.
5th-6th month goal: To have gained a better knowledge of the anatomy of the whole body, but also have learnt about different body types and how to draw them. The only area that hasn’t been covered is the face, but since it’s complex and expressive like the hands and the feet, it’s good to practice that separately.
– – –
It isn’t maybe the best plan, but I think someone would be able to follow it and (hopefully) be able to improve at least a little when it comes to anatomy. It would have been good to have been able to include the head (+ face) and the spine a bit better, but I think that it maybe would have been a bit too much.
One solution could have been to have combined the hands and feet for one month and then had the head, neck and face the second month instead, but I don’t know…it takes time to learn how the hands and feet work and it would probably be really good to focus one month each on those.
About Rebecka Nyström
2013 Graphics
|