Captain’s log, stardate 94979.93.
|
We are approaching the Gotland Game Conference at a rapid pace, and despite many tasks ahead I thought I would log process of the Mage character. Okey, enough Star Trek and let’s get down to business. We’ve just had our Beta presentation (it went okey, much to fix) and the team agreed to take the rest of the day and work on our reports. Since I’m a bit behind on the blogs, I thought I would write down my thoughts on the Mage. So – in the last post I discussed Motion Capture, so the following posts will be about the characters that came alive thanks to Mocap. There will be two Mages on the game which are the players characters, named Samael and Demiel (yes that is a Supernatural reference, very proud of it). They will have identical animations because animating four characters in ∼ 5 weeks is already a lot of work, and since the Mage has 25+ animations I couldn’t have done a satisfactory work on all of them in time if there had been 5 characters to animate.  The cleaning process of the Mage went rather well, the biggest problem was the meditating takes where the character sits down, and the cameras couldn’t pick up the markers on the lower legs, but I thought that would be easy to fix later in MotionBuilder (spoiler alert, it wasn’t). But more on that further down. Rigging and skinning was easy peasy, so no need to waste words on that. The first major problem was actually the mesh. I was almost finished with polishing the animations when we discovered that the thigh-knee-shin-ankle-ration was way off, making the running and sitting animations look reeeally weird. So, the mesh had to be remade and with that the rig, skinning and animations. At the same time we realised that the Mage’s mantle and skirts also had to be skinned and animated with the base mesh, so back to square two (square one being the mocap). 
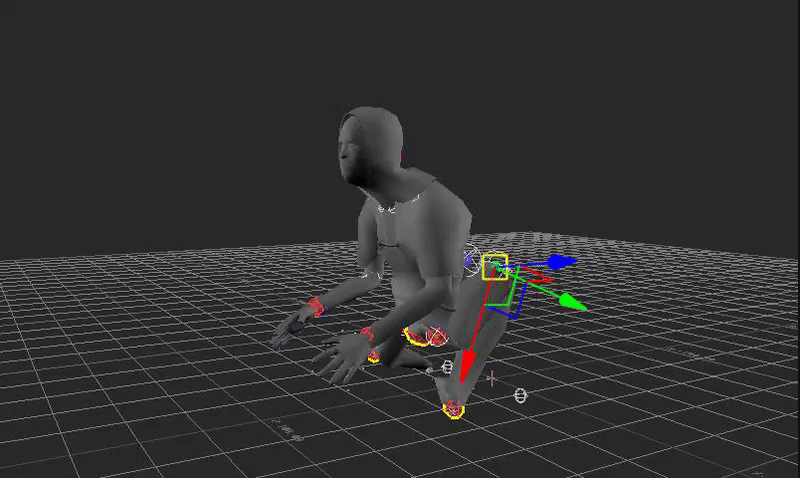
So, when the new mesh was rigged and skinned I could start over with the animations. Thankfully mocap makes everything so much faster and better, so there wasn’t much time lost on the do-over. And now with the proper leg ration it started to look quite alright! The work went along smoothly, and with all the practice I got from already having polished the animations it went fast as well. My main issue was MotionBuilder itself, as it has a lot of personality and can sometimes decide to crash when you accidentally move around the UI, or stops responding every single time you save the project. So, that’s it about the general work. I thought I would show you my process when working on an animation. When exporting from Motive (the mocap software) and importing to Motionbuilder, what you get is a skeleton that has all the movement. So then you import your rigged and skinned character, mumble some incantations, wave your fingers at the computer, and simsalabim you have a moving character! (Or you can just push a button and make the character follow the mocap). Then you go through all the takes to check that everything looks alright. If it does, then you plot the character, which basically means that you bake the whole thing together, and now your character has a control rig with the same movement as the mocap, but now you can tweak it. What I do next is center all animations to the center of the world, and then go through the animations and find all necessary poses. Once you’ve done that, you go through all of them again and to the pose matching. So basically you add a layer on top of the mocap data-layer and on the first frame you add the correct pose. For example, all casting animations starts with the Idle_Ready, so if they all have the same start and end pose there will be completely seamless transitions between the animations. Then you need to check for clipping. If body parts clip through each other the game will feel wonky and unpolished. So once again, you go through all animations and using animation layers, you move the parts out of the way. After that, you can go into story mode if you wish, which is basically the same technique as editing video files. You cut the clip into chunks that you wish to edit the speed on, so for example if I have a falling animation, I want the impact to go a little faster and the falling itself to go a little slower, in order to make the animation more dramatic and satisfying. 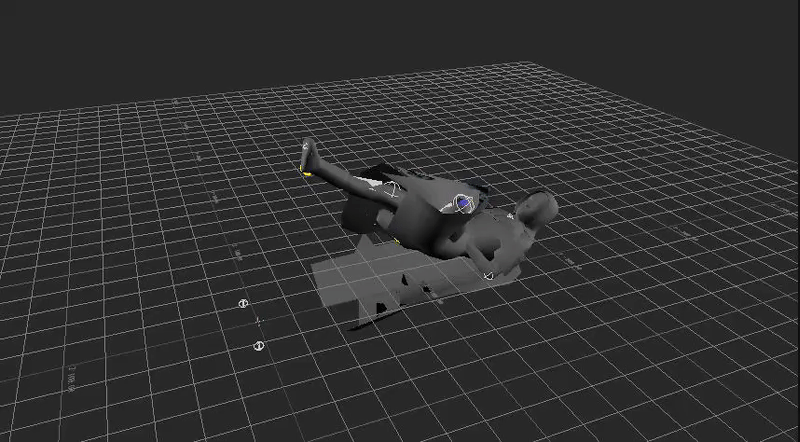 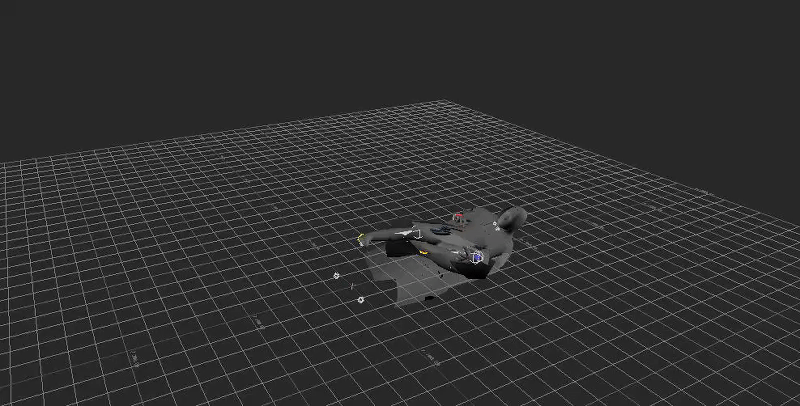 So – back to the disorderly meditation animations. Here is what it looks like before polishing, and with the old mesh;
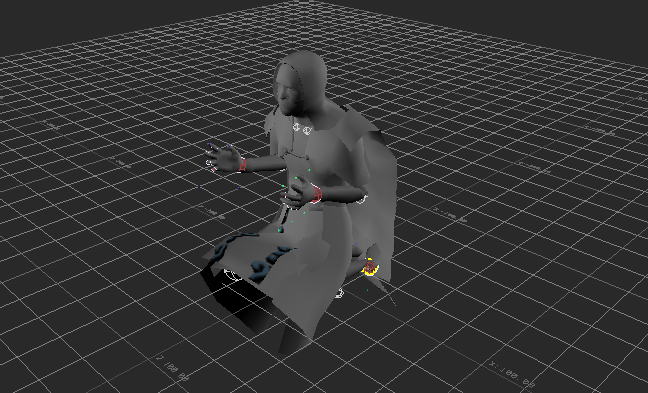
To fix this, I took away all animation from the legs, manually put them in the right position and keyframed so they would stay in place. Since this is a very passive and calm animation it didn’t matter that the legs remained still, and the skirt covers the legs anyway so they won’t be visible. The mantle and skirt will also have a cloth simulation in game so if won’t look this stiff;
Well, I feel like that is enough info on our main character. I hope you enjoyed this post! |