Project Aetherial Blog Two
|
Introduction First playtesting session and ALPHA presentation is now done! The team received a lot of relevant feedback and will, to the best of our ability, try to adhere to that, as we move unto the BETA. As mentioned in the last blog, I am the graphical artist in our team responsible for the “common” enemies. At this time, I have designed and implemented two of four enemies into our game. This weeks’ blog will handle the design and work in progress animation of the third enemy, the sky ray. In the previous blog entry, I have written about my concept, color and design approval processes. Therefore, for this blog, I will choose to target the animation process and the challenges I have faced this far. The Sky Ray The aether-ray, as it was called in the concept document, was renamed to sky ray in our project (all enemies in our project is named “sky” followed by what type it is), but otherwise kept the behavior described in the concept document. As such the sky ray will spawn at the right side of the screen and shoot at the player from a distance. Once hit by the player, it will die and fall down. The animation of the sky ray is therefore in two cycles, one idle/moving in place, and one where it gets hit and falls to its death. 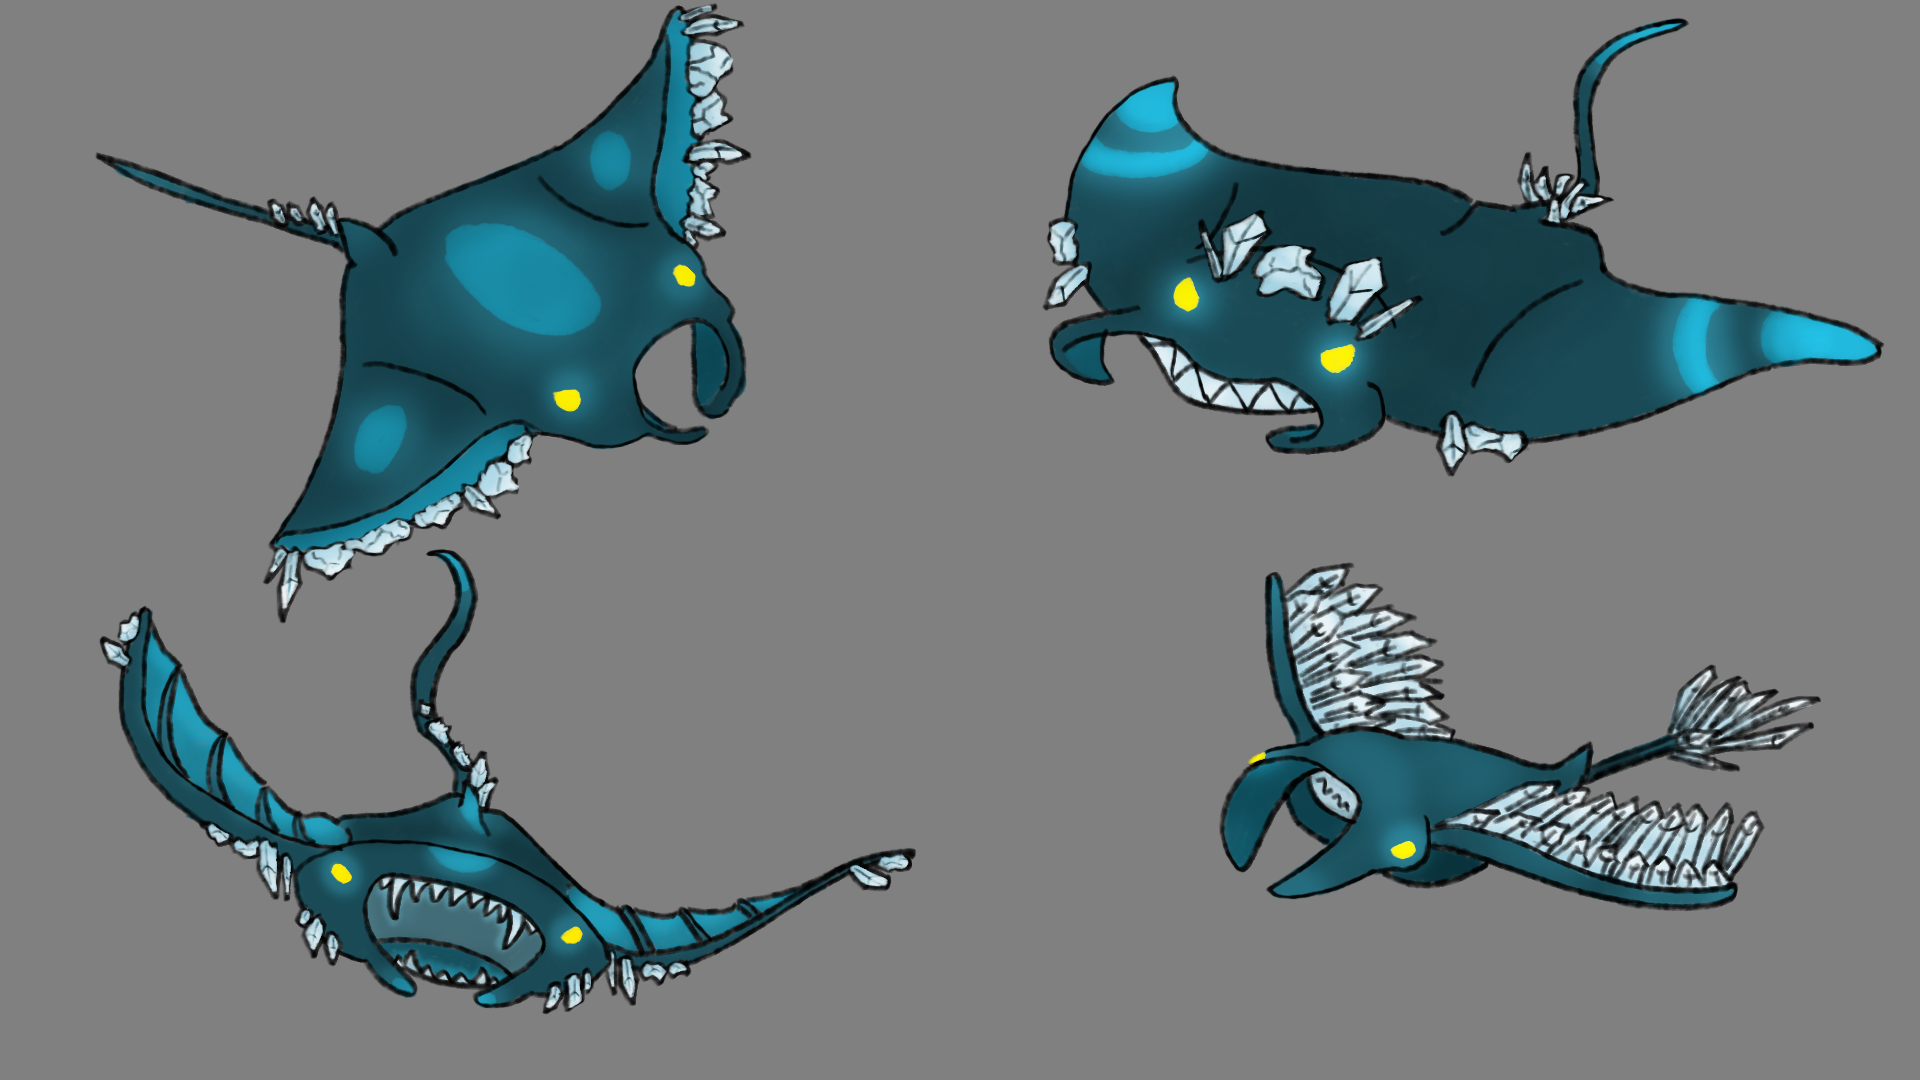 Using Photoshop for animation For all animation, I use the timeline tool in Photoshop and animate frame by frame. Since these animations also is a part of a graphics minor assignment, we have to animate in 24 frames per second, while my other animations have been 12 frames per second. This is not really a problem, it just requires more frames if you want a slower movement, while few frames will make the movement rather rapid. I have started testing using multiple layers more, to mixed success. Having the line art and colors on different layers is all good and normal, but this time I tried doing different parts of the enemy on different layers. I have heard this can make the process easier, as you then can tweak each different body part separately, but I did not feel comfortable using this method. I will probably keep doing all the line art on one layer, colors on another one, and the crystals on a third one, since I have had trouble getting the crystals to look nice in my previous animations. They have the unfortunate tendency to “jump all over the place” between frames. I will have to wait and see if I find a solution to that particular challenge. Animation attempt one For the first attempt I did a complete sideway view of the ray, same as with the two previous enemies. I felt this was a static and boring perspective, when it came to the ray. Looking at the animation, the fin (or wing if you want to call it that) turned out decent. The tail fin lives its own life, which is a common theme for all my tail fin animations thus far. This is one of my animation difficulties I will try to solve, maybe by doing the tail fin on a separate layer (though I do not like that method), or just by pure training and studying real life tail fin behavior.  Animation attempt two For the next attempt I tried a different perspective, which I was happier with. Here I made the mistake though of animating at 12 frames per second. Instead of changing to 24 frames, I kept it as a template for further animation.  Ongoing animation attempt three This is the animation I am currently working with, with a perspective resembling the second attempt. Since my teams’ designer has approved of this version, this will probably end up being the finalized attempt. The current animation is a rough outline but has some of the core movement and behavior of the different body parts. I will first correct the line art and get the movements as smooth as possible, before adding crystals, color, lightning, and texture.  Death animation This is not yet started, but I have a general idea of how I want to animate the death sequence. Since the enemy will be shot from straight ahead, the power and momentum should make the sky ray first flinch “upwards” and then later fall downward. By animating this way, the impact will look more forceful and visually interesting, instead of having the enemy immediately plummet to its doom (as ended up happening with my first animated enemy). 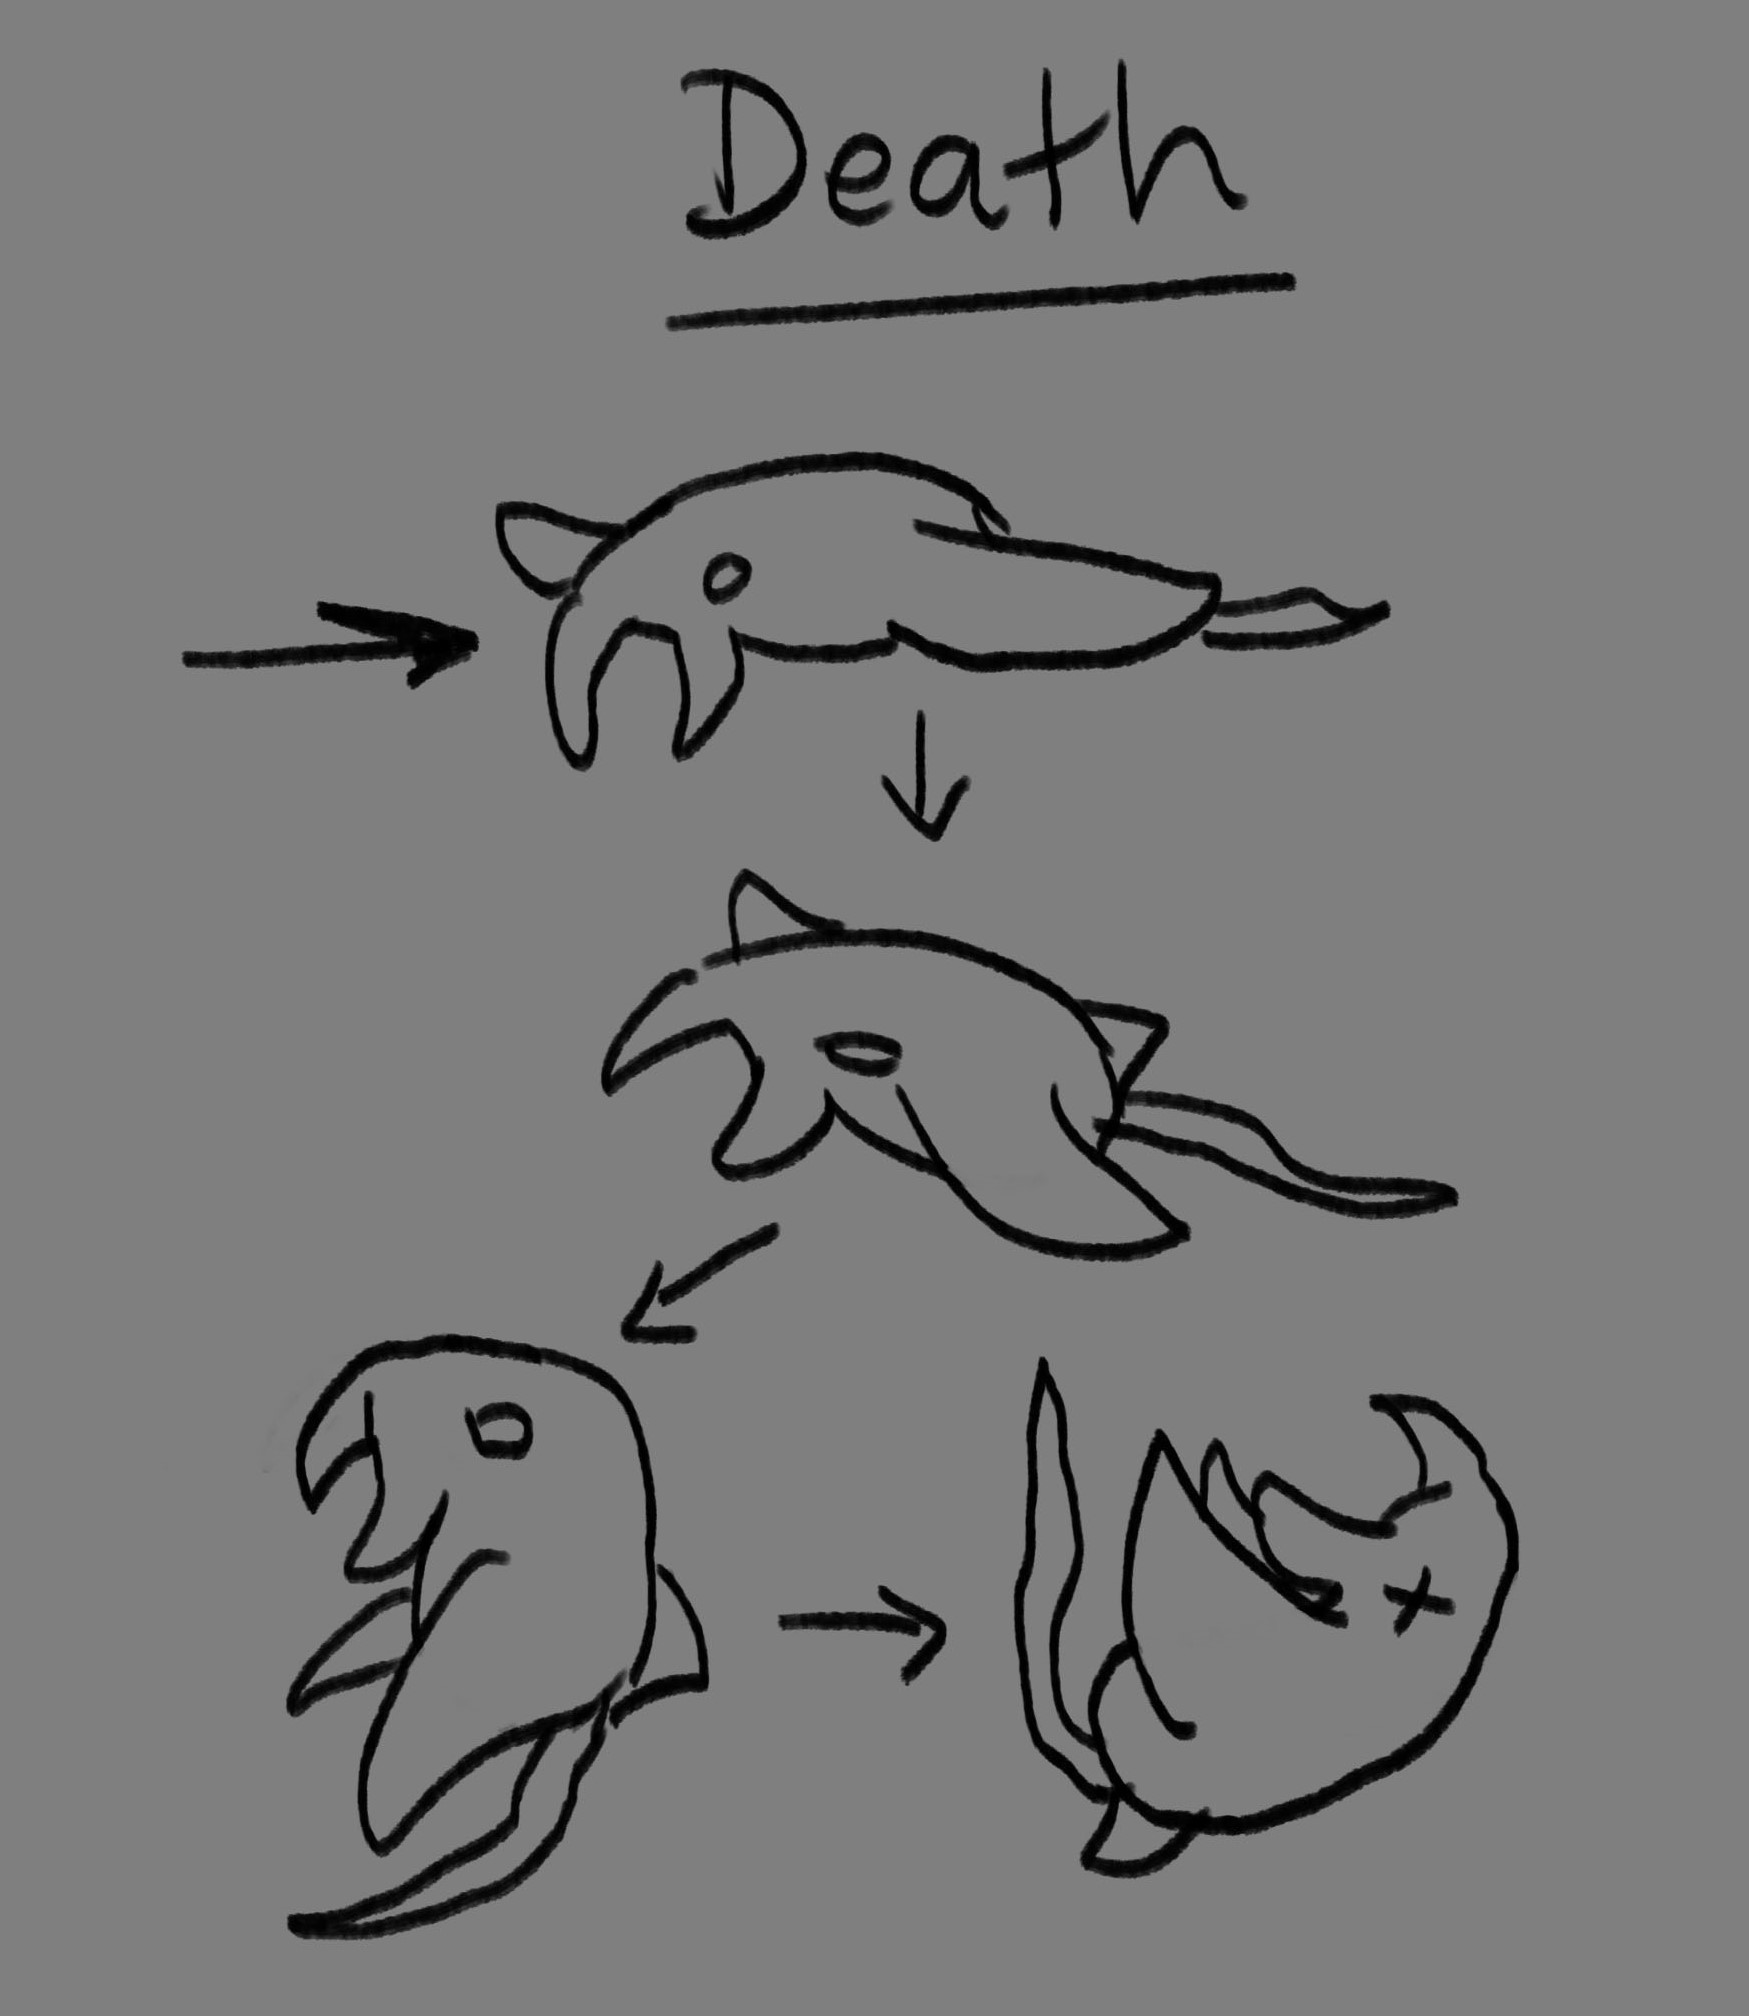 This is the end of blog number two. Thank you for reading! //Therese
Advertisements
(function(){var c=function(){var a=document.getElementById(“crt-1152496747”);window.Criteo?(a.parentNode.style.setProperty(“display”,”inline-block”,”important”),a.style.setProperty(“display”,”block”,”important”),window.Criteo.DisplayAcceptableAdIfAdblocked({zoneid:388248,containerid:”crt-1152496747″,collapseContainerIfNotAdblocked:!0,callifnotadblocked:function(){a.style.setProperty(“display”,”none”,”important”);a.style.setProperty(“visbility”,”hidden”,”important”)}})):(a.style.setProperty(“display”,”none”,”important”),a.style.setProperty(“visibility”,”hidden”,”important”))};if(window.Criteo)c();else{if(!__ATA.criteo.script){var b=document.createElement(“script”);b.src=”//static.criteo.net/js/ld/publishertag.js”;b.onload=function(){for(var a=0;a<__ATA.criteo.cmd.length;a++){var b=__ATA.criteo.cmd[a];"function"===typeof b&&b()}};(document.head||document.getElementsByTagName("head")[0]).appendChild(b);__ATA.criteo.script=b}__ATA.criteo.cmd.push(c)}})(); (function(){var c=function(){var a=document.getElementById(“crt-392842190”);window.Criteo?(a.parentNode.style.setProperty(“display”,”inline-block”,”important”),a.style.setProperty(“display”,”block”,”important”),window.Criteo.DisplayAcceptableAdIfAdblocked({zoneid:837497,containerid:”crt-392842190″,collapseContainerIfNotAdblocked:!0,callifnotadblocked:function(){a.style.setProperty(“display”,”none”,”important”);a.style.setProperty(“visbility”,”hidden”,”important”)}})):(a.style.setProperty(“display”,”none”,”important”),a.style.setProperty(“visibility”,”hidden”,”important”))};if(window.Criteo)c();else{if(!__ATA.criteo.script){var b=document.createElement(“script”);b.src=”//static.criteo.net/js/ld/publishertag.js”;b.onload=function(){for(var a=0;a<__ATA.criteo.cmd.length;a++){var b=__ATA.criteo.cmd[a];"function"===typeof b&&b()}};(document.head||document.getElementsByTagName("head")[0]).appendChild(b);__ATA.criteo.script=b}__ATA.criteo.cmd.push(c)}})(); |