Pixel Perfect in Unity
|
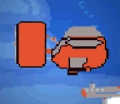
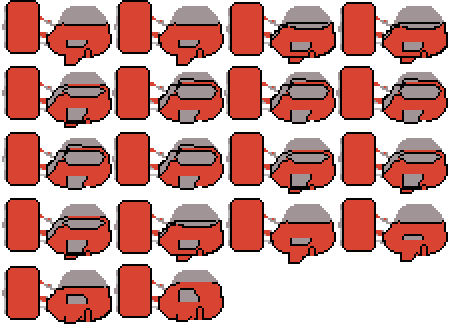
This week has been a adventure in Pixel Graphic Minutia behavior in Unity. I made some animations for the protagonist for our game, and wanted to test them out in Unity, to make sure everything was appearing and behaving as expected. This is when I saw it; the visual bug. There are clear black lines of pixels showing up in certain frames of the animation. What makes it worse, is that it is inconsistent in that it doesn’t always appear on the same frames. In addition, the pixel outlines of the sprite itself sometimes gain thickness in certain frames. This is especially visible on the engine behind the sub.
 What gives?This thing became an obsession, since it was making every animation put into unity look amateurish and dirty. What was causing it? I started troubleshooting, thinking that both of these symptoms were the same issue. Searching online for keywords like “Unity, black, pixels, animation, frame, artifacts, outline, thickness” in different combinations. Since the the outline was inconsistently bad, I tested these theories
None of them proved to be the problem. I eventually figured out the outline issue is a bug in Unity, and made a workaround; Outer Frame SpritesThe “slice” tool for sprite sheets in unity was randomly picking up stray pixels from the image above or below the frame of the animation. This was not a mistake on my part; all the sprite frame borders were clean. My sollution was to increase the distance between the frames in the sprite sheet by 1 pixel each (resulting in a 2 pixel increase between frames). This would become a lot of wasted data in a bigger game, but the workaround is functional for the scope of the project.
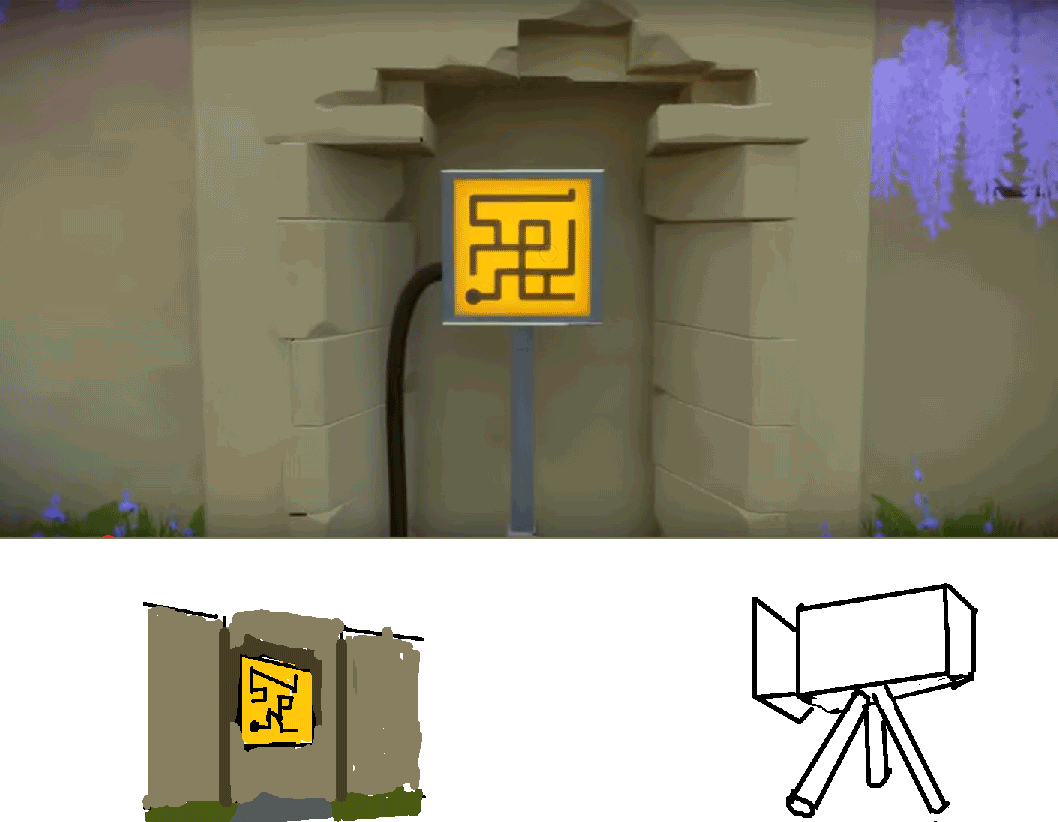
Sprite line thicknessThis problem was bigger in scope. Here’s a simple way to put it: Imagine you are Playing a game like The Witness. You are looking at a painting on the wall in-game. If you stand close to it, the “Puzzle Tile” will take up X am amount of pixels on the screen. The “Puzzle Tile” has dimensions of 840×420, but where you stand it only takes up 420×210 pixels on-screen. This seems self-explanatory, but it was hard to understand in a 2d world where the camera is orthographic. It applies to Unity orthographic camera as well.
Why does that matter?In Unity you can decide where the camera is supposed to be, and define it’s position on the Z Axis. This will effect how big your sprites and assets will appear on-screen, and isn’t that visibly distinct unless you’re making pixel art. When using pixel sprites every pixel counts, and if the camera is a certain distance away from the screen it will not display correctly. What happens is that that your display will try to “fill out” the gaps where pixels should or shouldn’t exist, causing inconsistent animations and “pulled” pixels. To properly display pixel art, you need to calculate how many pixels should be in one “unity Unit” based on the Orthographic camera position and the vertical display resolution. My equation was simply; Pixels per Unit= Vertical screen resolution / (2 * Orthographic camera position) or 1080 / 10 = 108 Which means that my “pixels per Unit” for every art asset put into unity should be 108 to be properly displayed at 100% resolution compared to camera placement. After putting in the fix, I got this result: 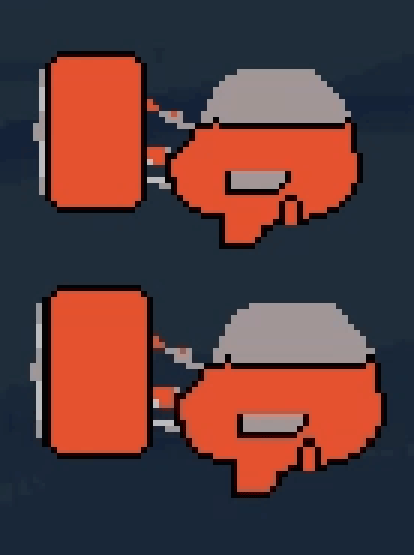 -Benjamin Thomas Harbakk
EDIT: Here’s my Comment for this week’s assignment |