Sound of Life Blog #1
|
Hello and welcome to one of my first blog post for the project called Sound of Life. My name is Kadar Ali and I am a second-year student studying Game Design in Graphics in Uppsala University (Campus Gotland). I will be posting six blogs (possibly more) throughout the project and I hope that you guys will enjoy, or at least find something interesting. So what is Sound of Life? For today’s blog, I am going to be talking about a texture that I created in Substance Designer 6. It is a simple brick wall texture which is going to be used throughout the game, but it is also one of my first texture created in Substance Designer. So what is Substance Designer? Substance Designer is a software that allows you to create procedural textures, in other words, a texture created using an algorithm to create a surface or volumetric representation of elements such as metal, granite, stone and much more. Not only that, but the software is also node-based, which means that you do not have to paint anything, all you have to do is just connect these nodes (that could either contain different functionalities, maps etc) to each other.
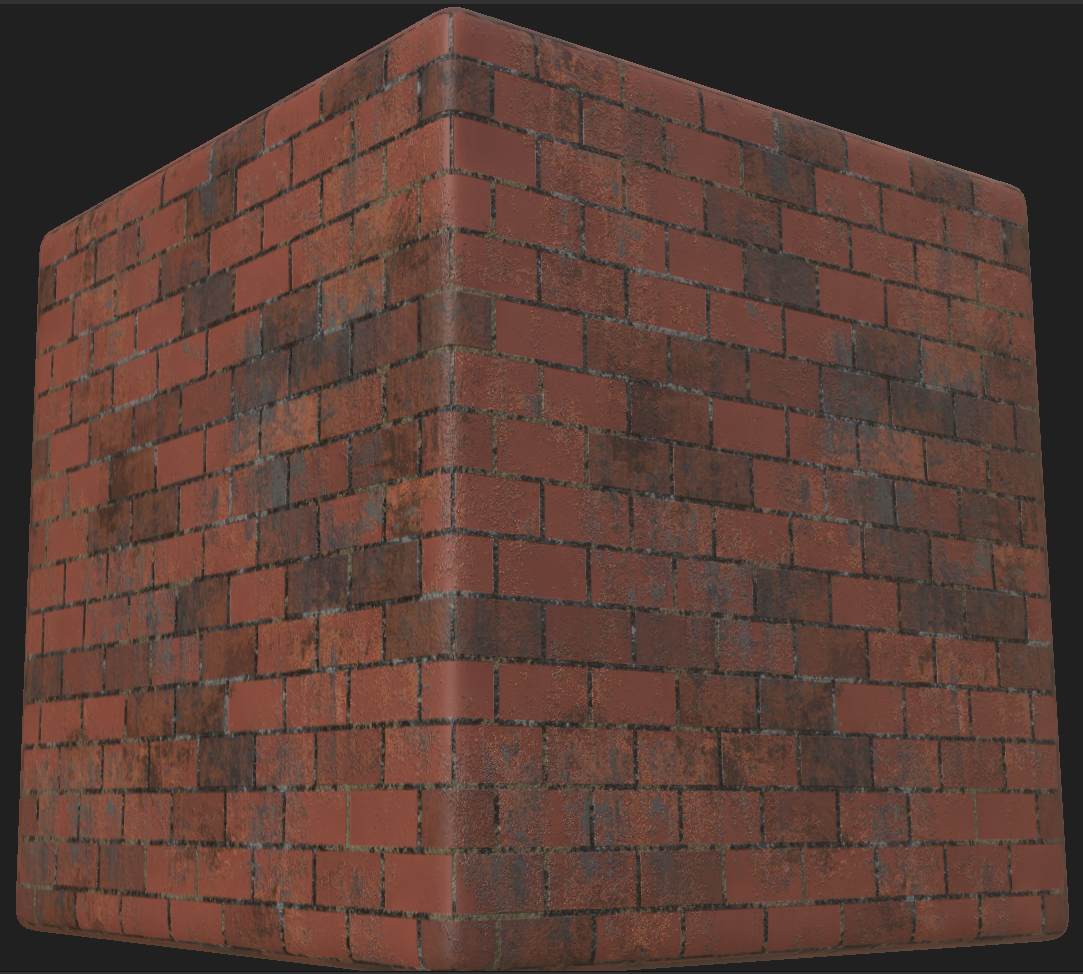
The texture itself 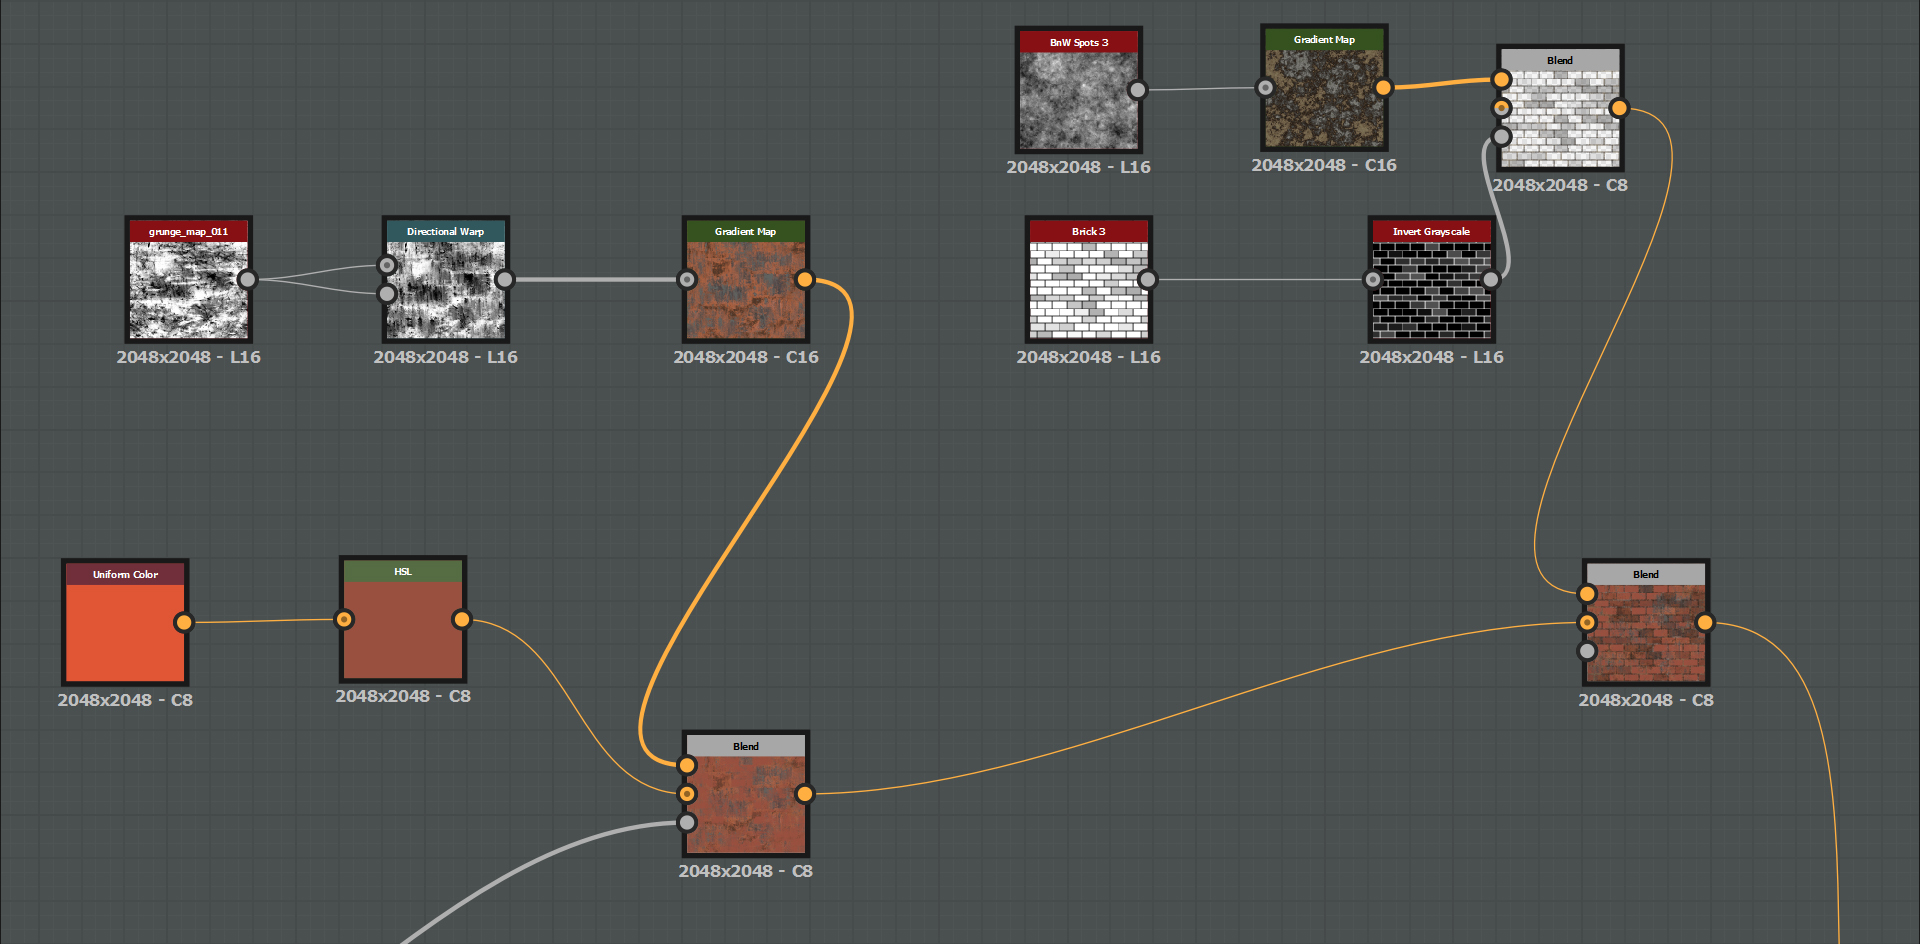
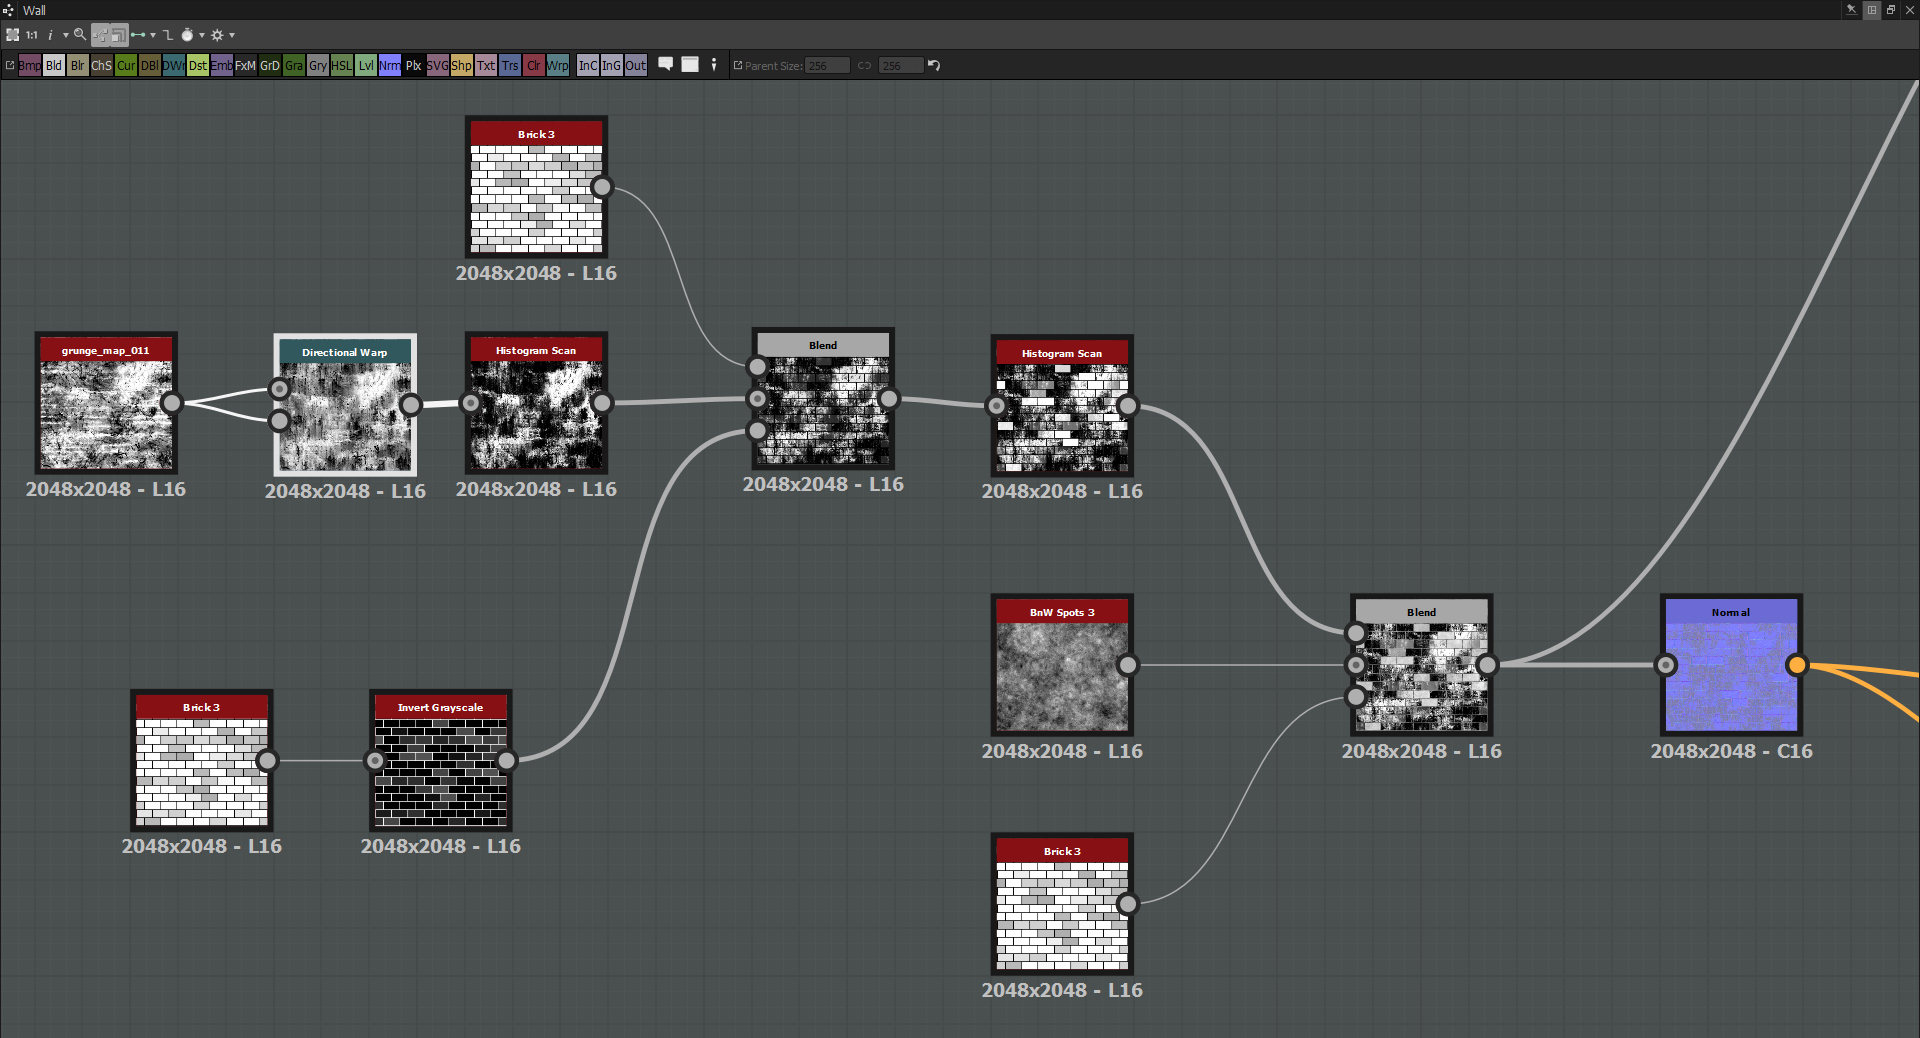
An example of the nodes that I was talking about For this texture, I started off by picking a pattern, in this case, a basic brick pattern. I added a grunge map and with that I did some adjustments (adding directional warp and other noise maps), which I then blended (with a blend node) with the brick pattern in order to convey dirt/ware&tare look to it.
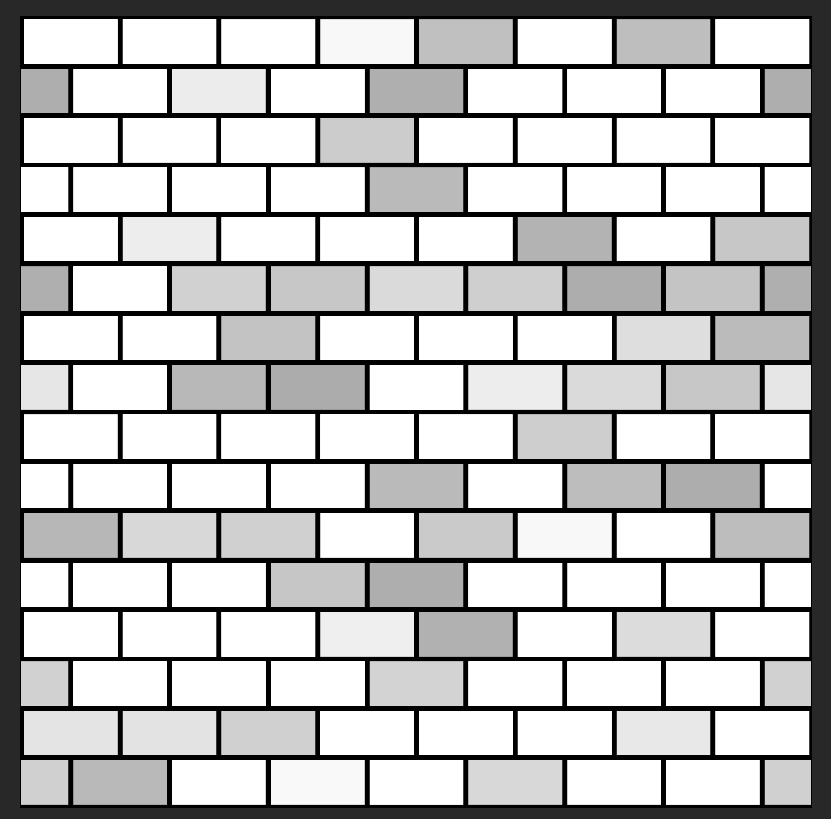
Brick pattern 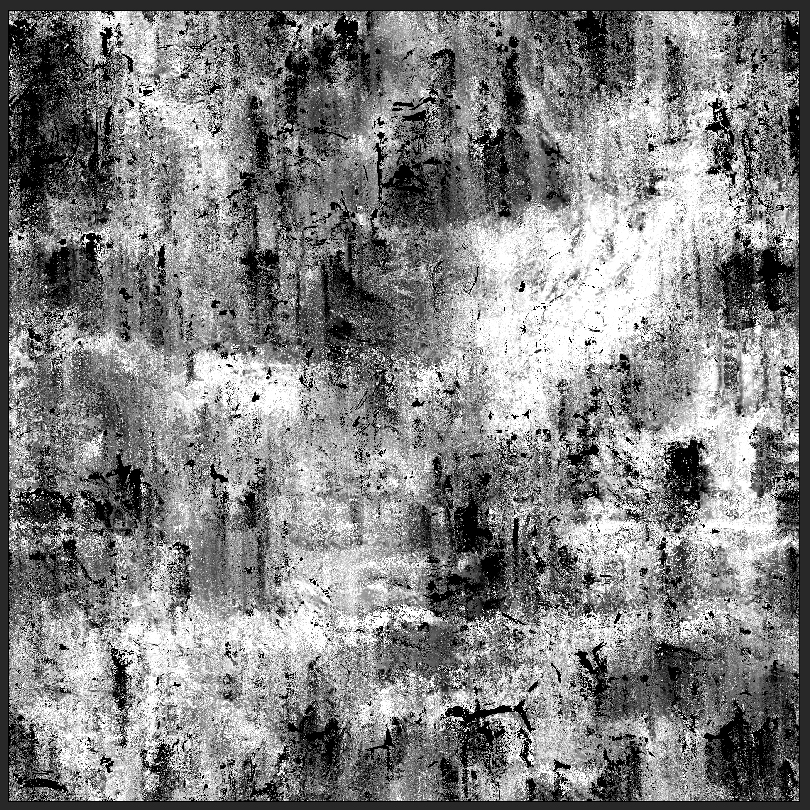
Grunge Map
The output of this blend is then hooked up to a normal node. 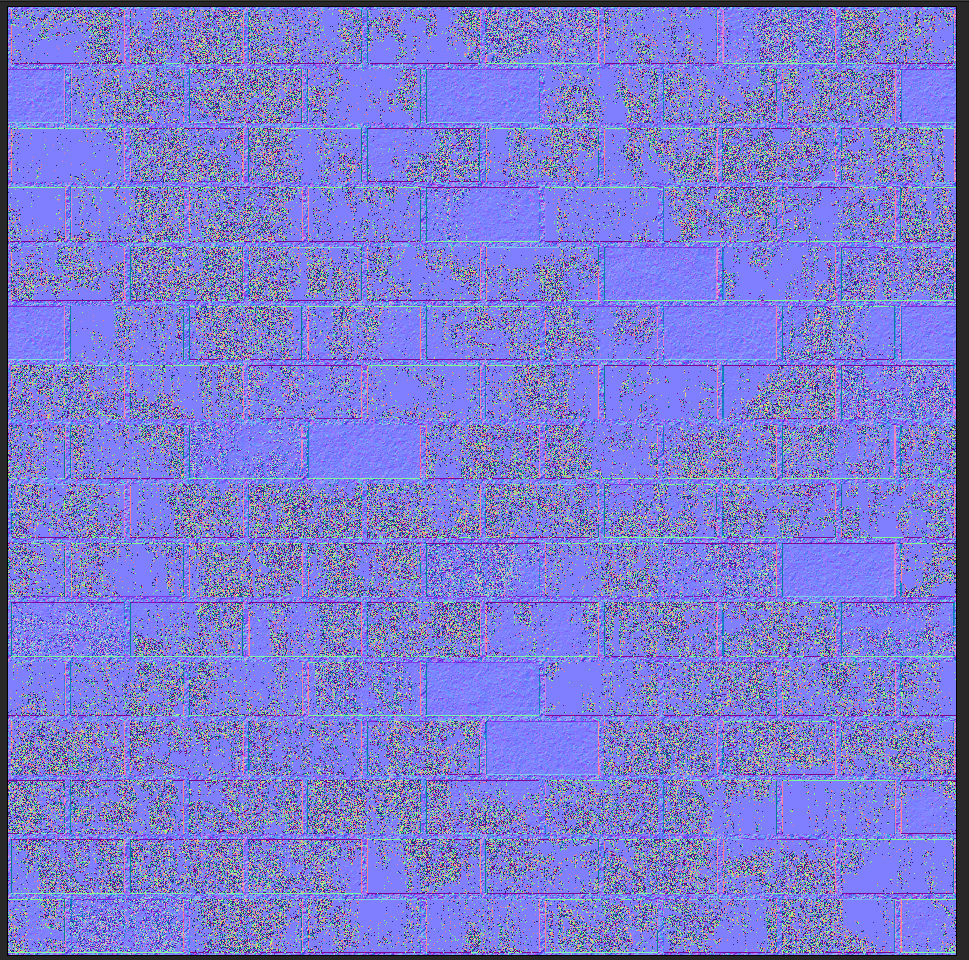
Normal Map
For the diffuse color, I used a gradient map, which I then blended with a uniform color (Orange/brown). 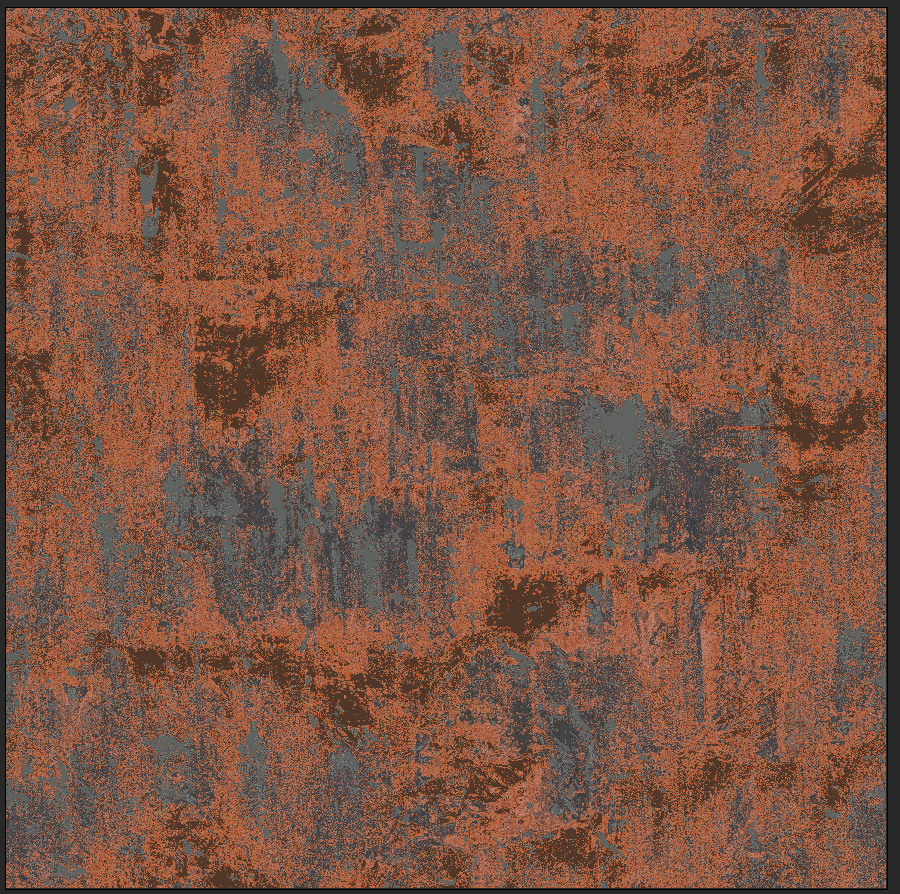
Gradient Map 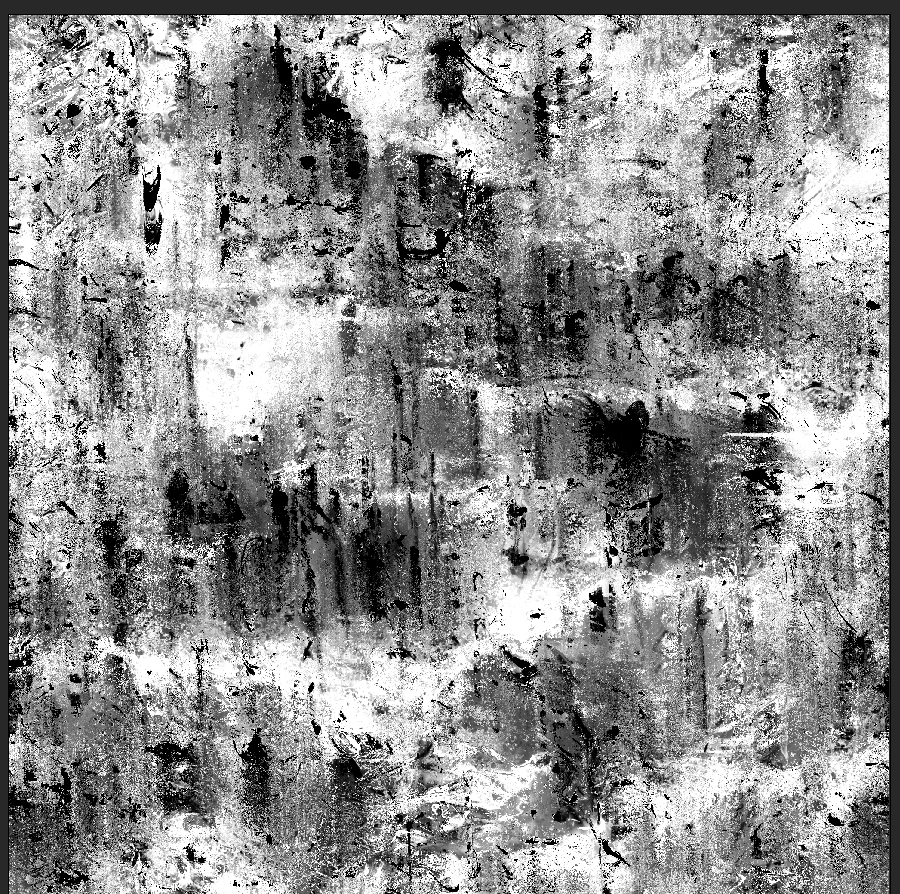
This is the alpha input for the gradient map
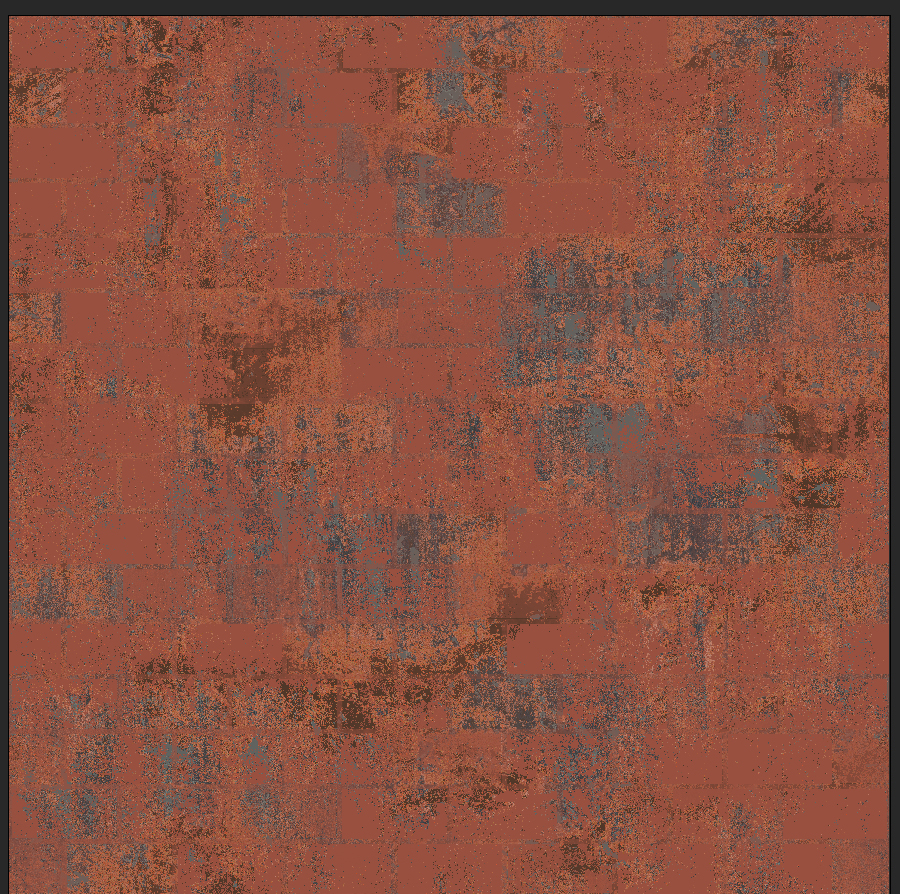
The result of the blend between the gradient map and the uniform Color
I applied the same method for the crevices. 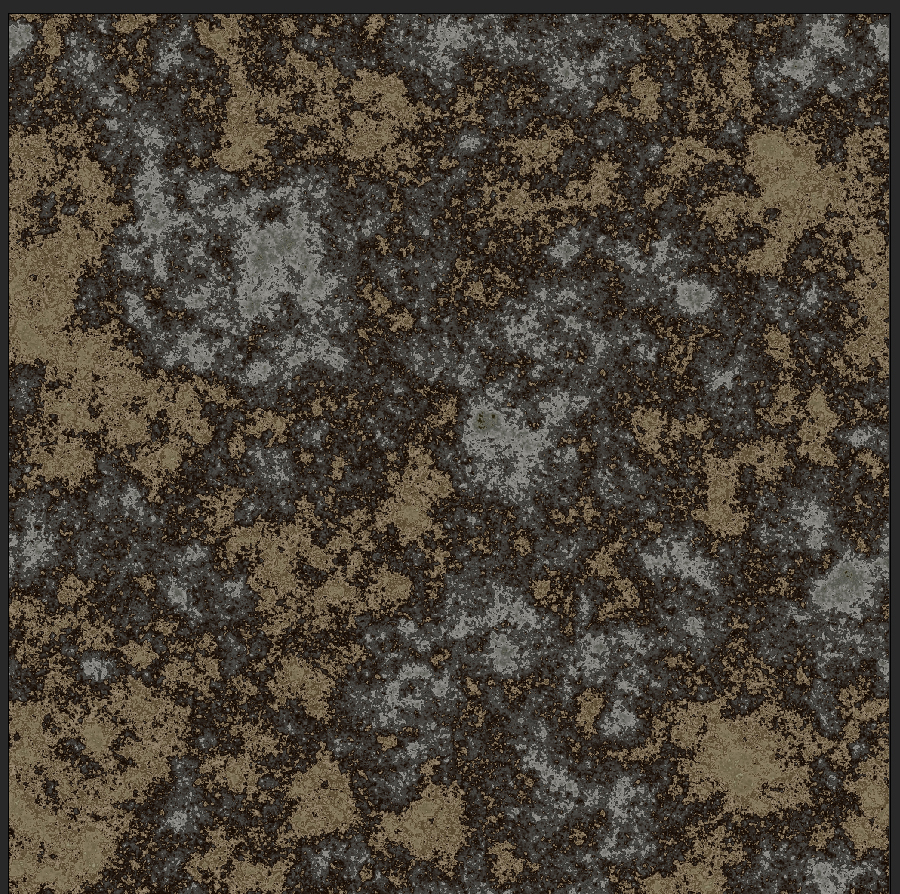
Gradient Map for the crevices But, in order to blend this Gradient Map with the crevices, you need to invert the grayscale of the brick pattern (this will make the crevices of the brick pattern white, which are the color that the blend node is looking for in order to blend). 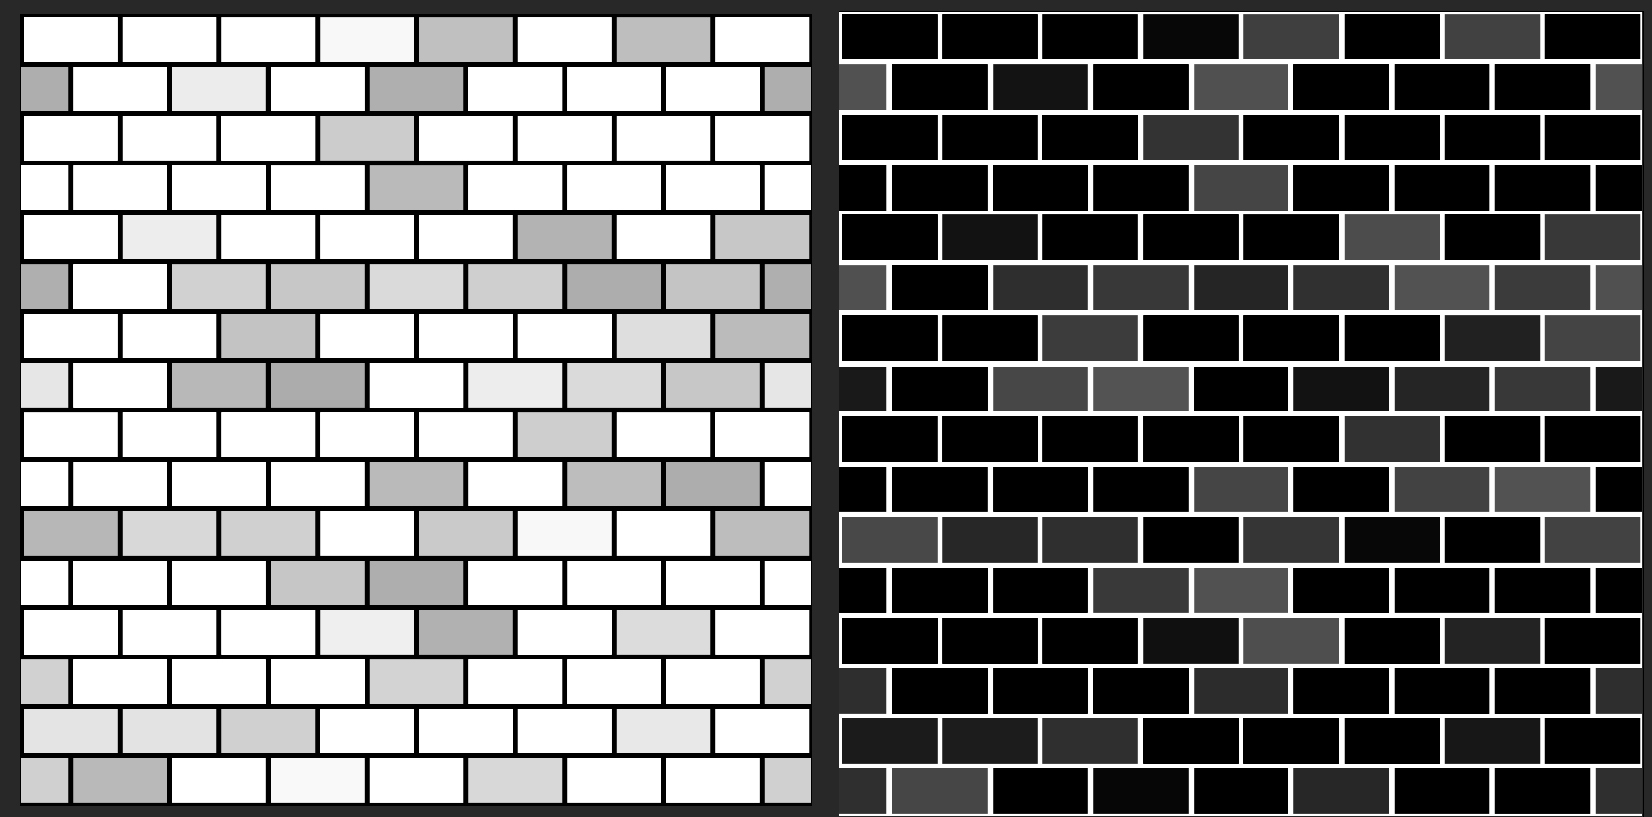
To the right you have the inverted brick pattern
Without crevices 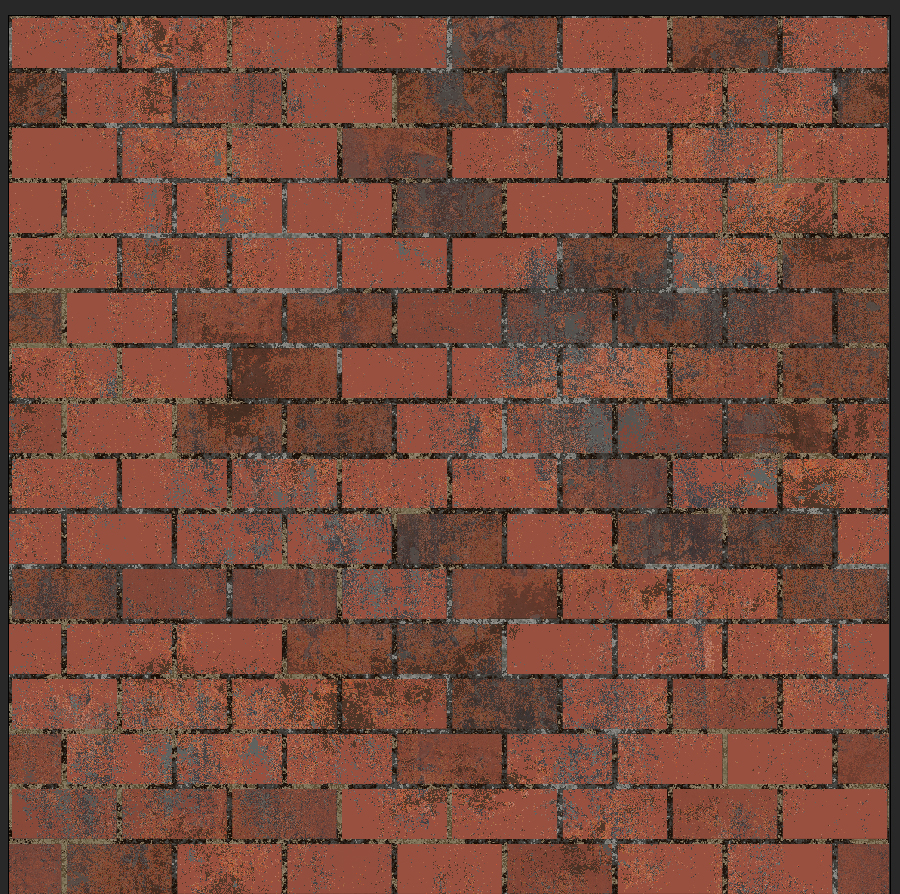
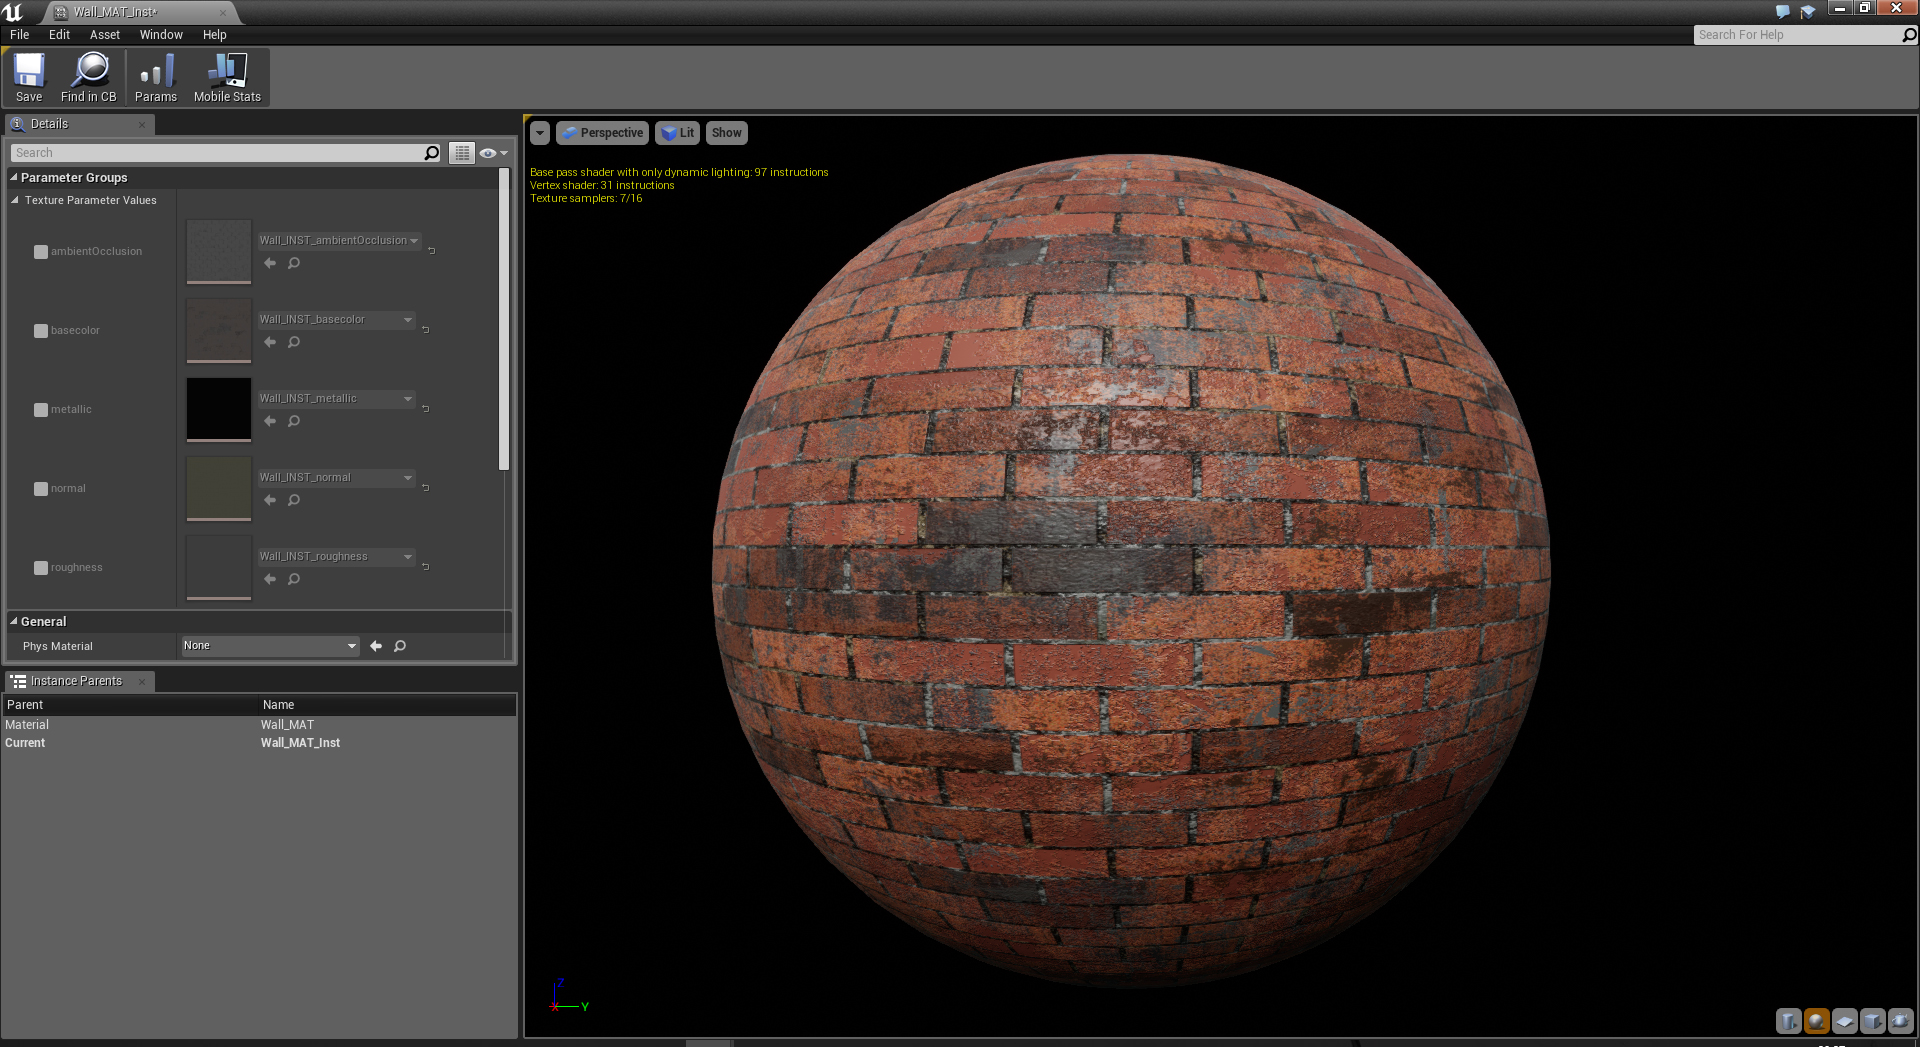
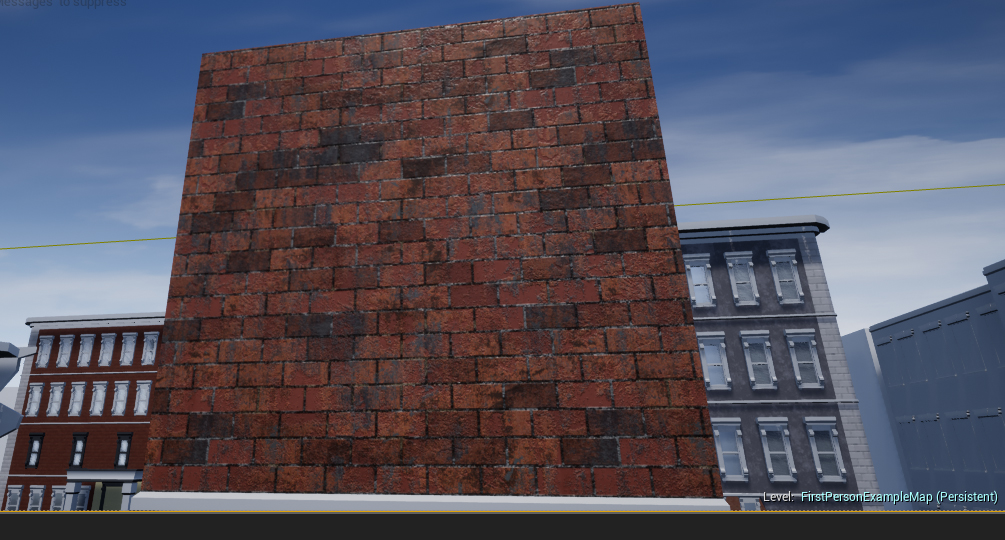
With crevices And here is the result in Unreal Engine.
Oh, I almost forgot, there is an awesome Substance Plugin for Unreal (and Unity, I think…) that allows you to tweak your material, like resolution, random seed, but most importantly, you can add custom parameters. You can create your own custom parameter by exposing one of your nodes in Substance Designer, and in my case, I exposed one of my level nodes that controlled the amount of grunge (which I renamed Dirt). 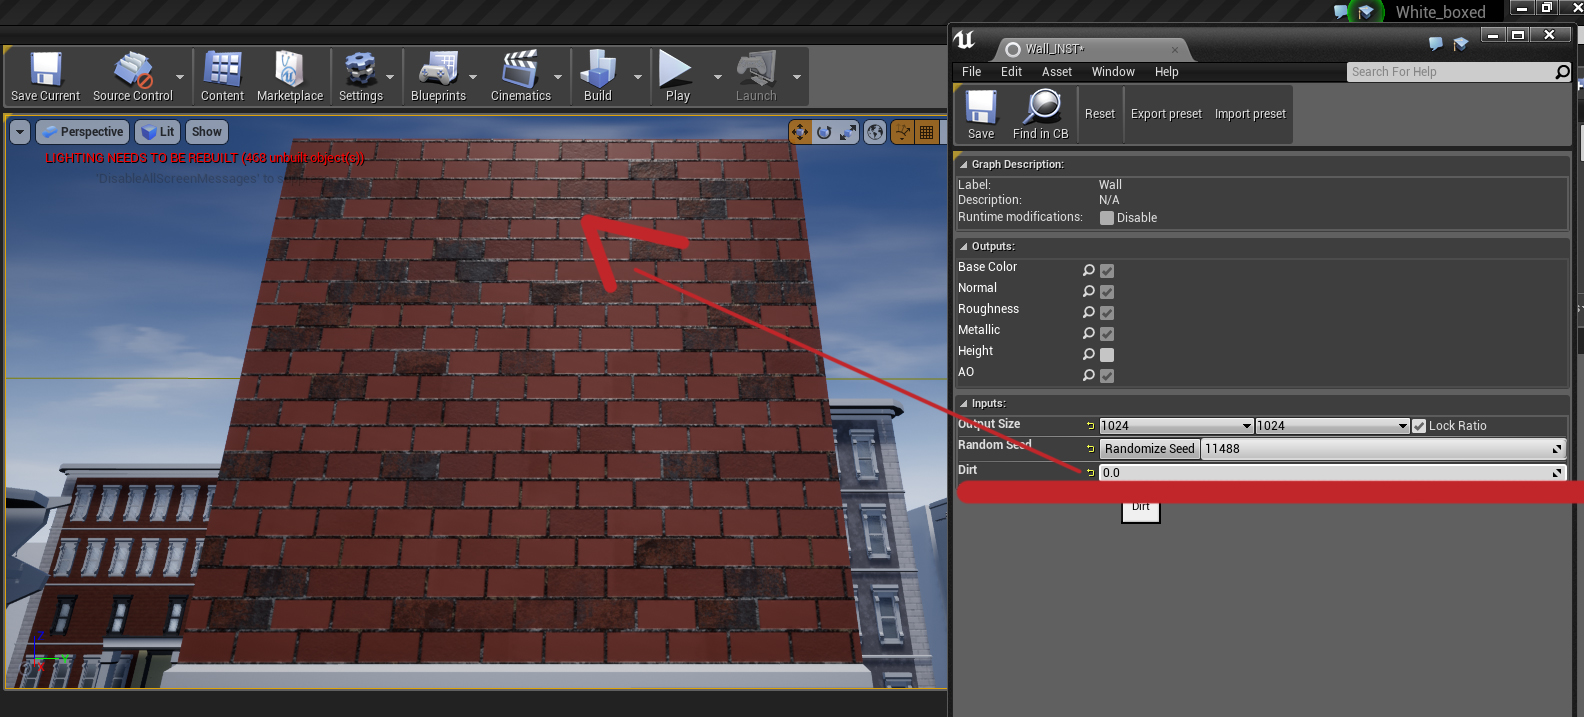
No dirt 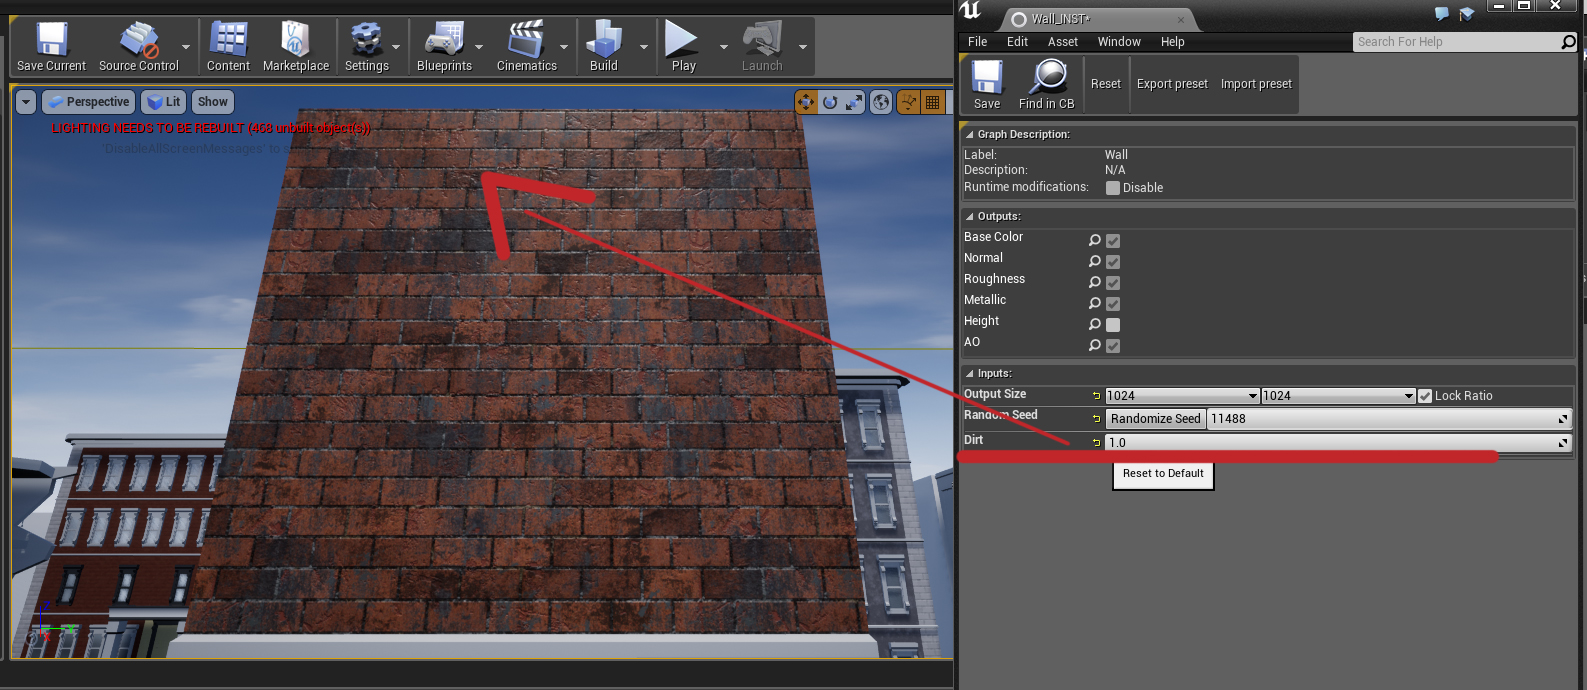
With dirt  |