HUD Creation
|
Last week I talked about the design decisions for the GUI I created for our game in development, and promised to continue from where I stopped, by talking about how I created the HUD and the stages this task went through. Basically, the reasons why the HUD design looks as it is now (displayed in Fig1) is almost the same as some of those for the GUI so I won’t be talking in details about that as much as explaining what each element function is, and how I got to the final design.
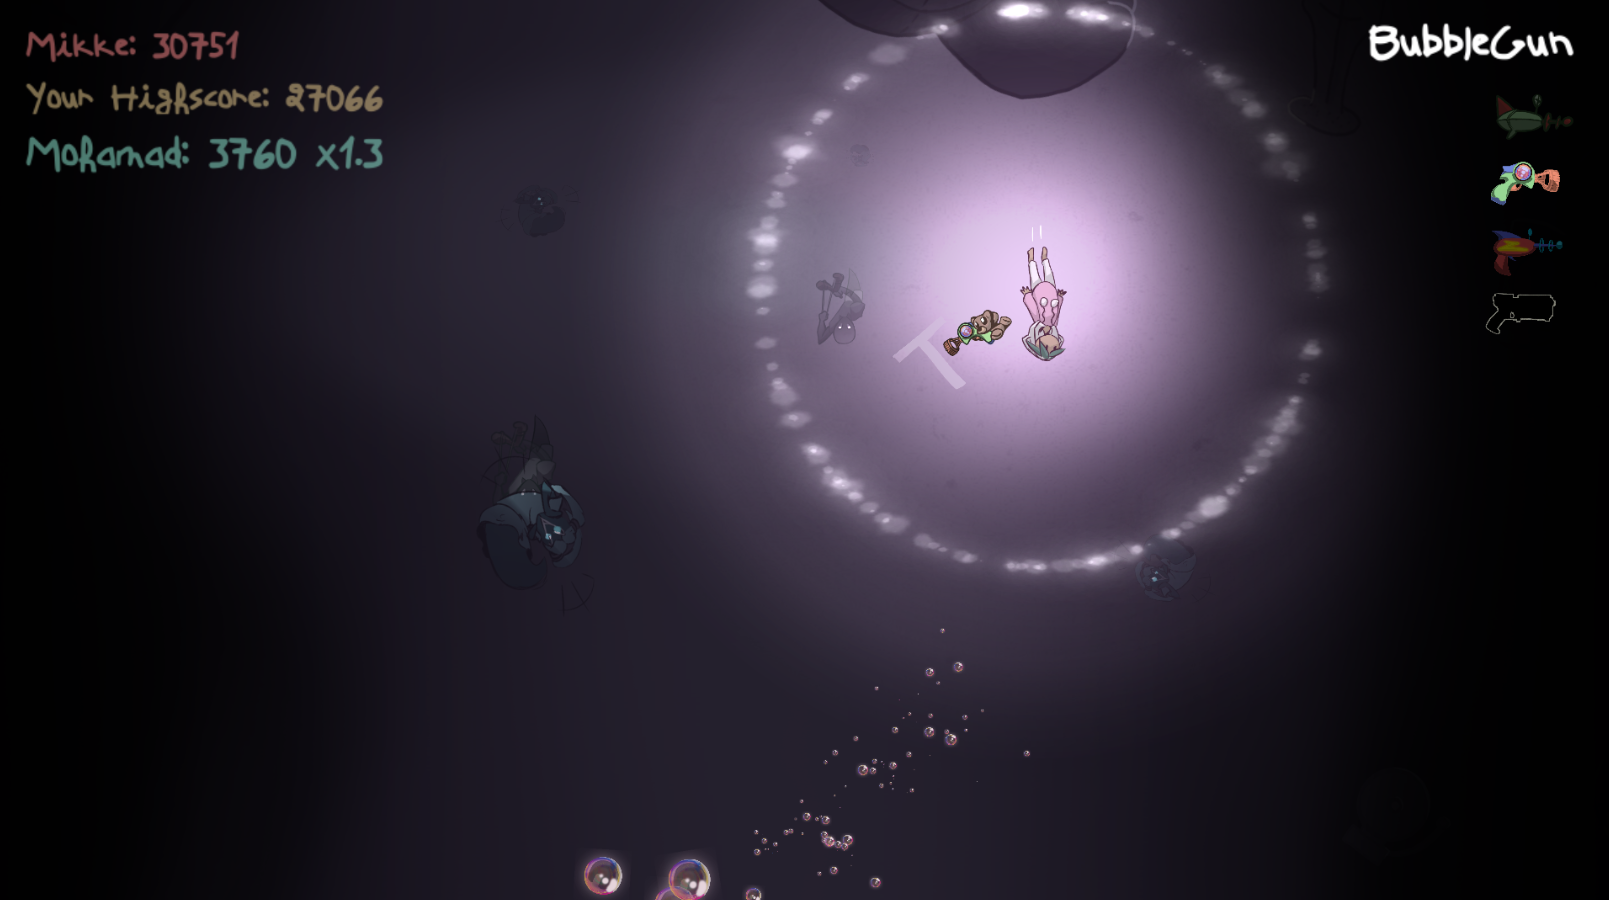
What to include in the HUD was previously decided by the team and it consisted of displaying the player score as well as his highscore, and then after our lead programmer found a way to display an online leaderboard, we added the highest highscore among all users. Displaying scores is important for our game because getting a higscore is kind of the main goal of the game since it’s an endless game. But there is also one more element for our HUD which is the weapon list. The weapon list consists of displaying all weapons a player can equip and use. Different sprites indicate to different states of the weapon (unequipped, equipped, and in use). Weapons also represent life since the player loses a weapon when hit, and dies when loses the last weapon, so the weapon display also serves in making the player aware of how many lives he still has while playing. The scores are written with the font created for the GUI, with a slight difference in size and with different colors to easily distinguish between them. The game’s highest score is displayed on the top in red with the corresponding username, right under it is displayed the player’s highscore in yellow and conserving the same size as the highest score, then in the bottom of the list, the player’s current score is displayed along with his username in green and with a larger font (see Fig1). As for the weapons, they went through two designs including the final one. At first, I wanted to use the chalk brush to fill the shape of the guns and use those sprites to represent the equipped guns, then display the colored sprite of the weapon when selected. I also created a simple animation for when the weapon is lost, that you can see in Fig2. However, that design took too much attention that I had to make it more simple by fixing a position for each weapon, reducing the transparency for the weapons sprites when equipped, and making new sprites for the unequipped state where I only drew the outer line of each gun with a unique color (see Fig1). 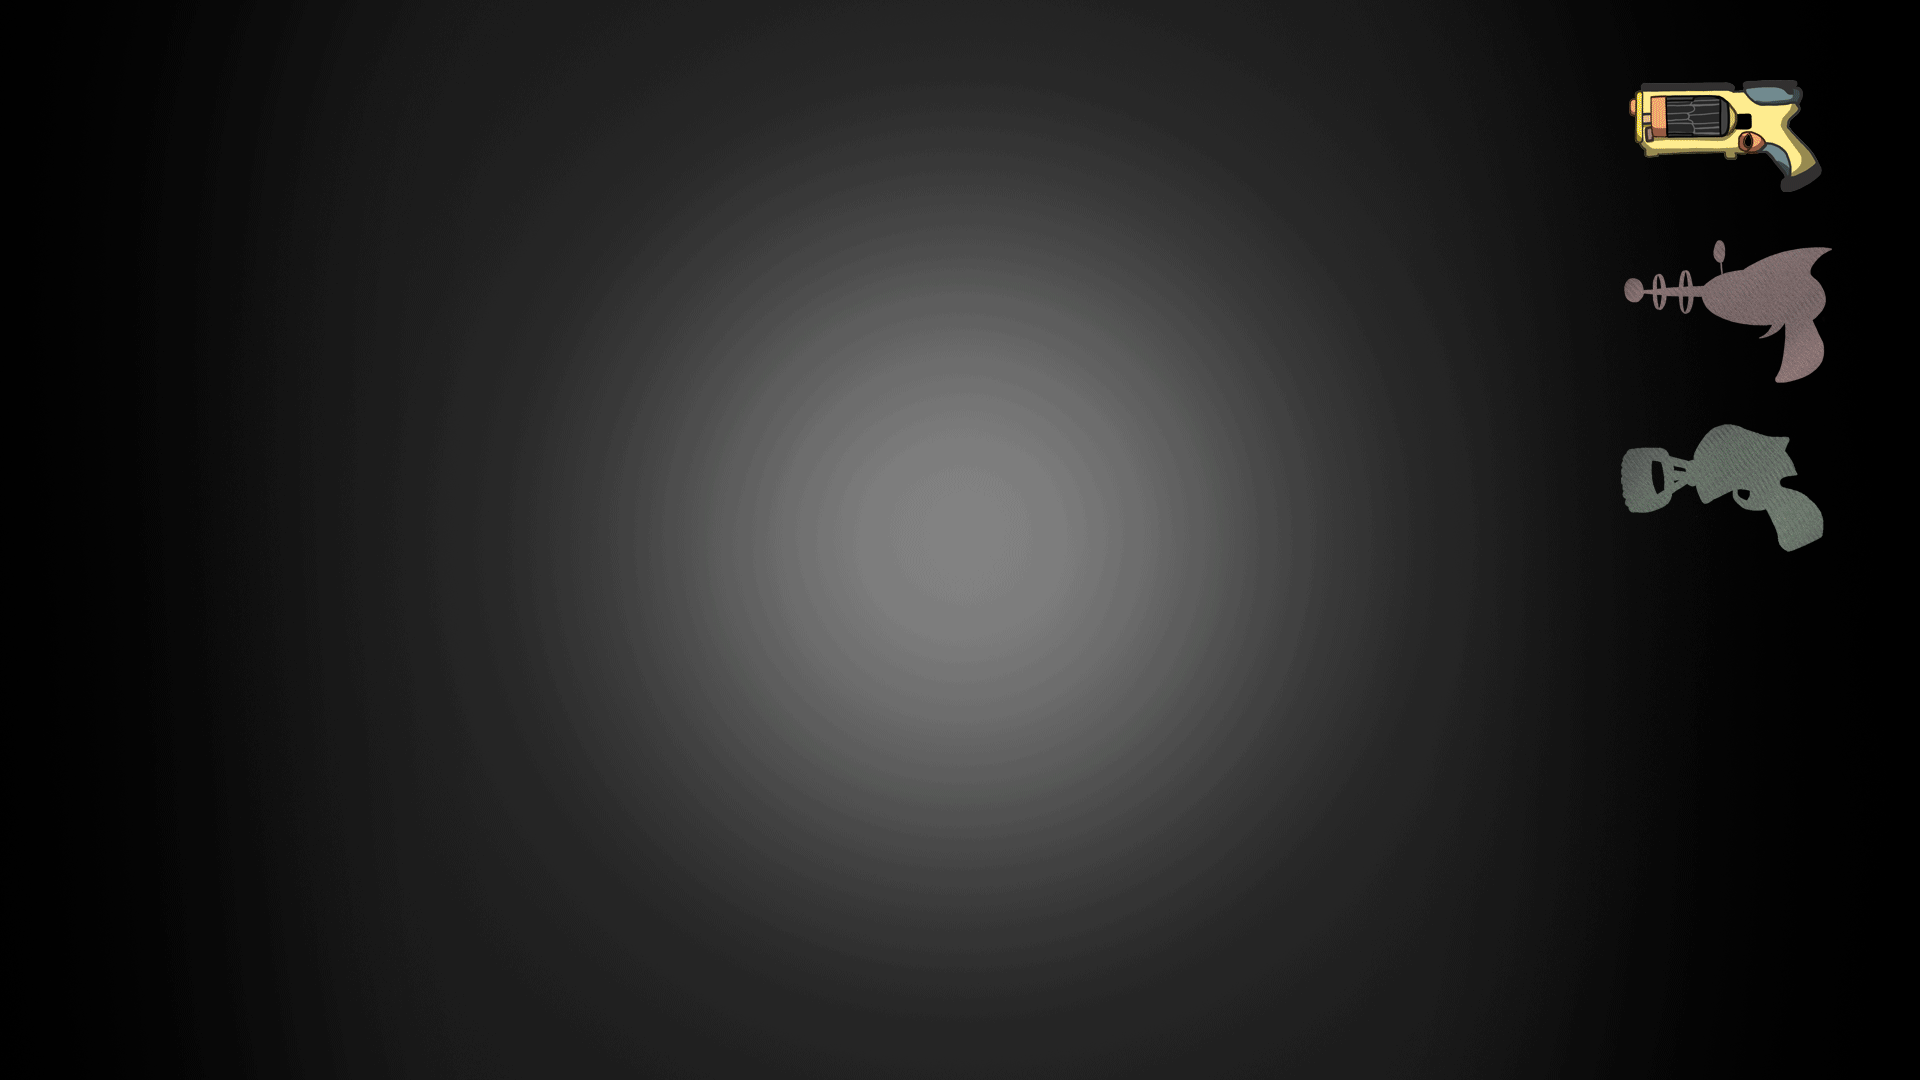 This is probably the end of my blogs concerning my Game Development project. I’ll keep you up with my future work and achievements in a new blog series. |