Adding Checkpoints to the Levels
|
At the beginning of the week my group and I decided to make longer levels, a reason for this is that we only aim to have two levels and as such they will need to be a bit longer. As a result of this discussion, I realized that we needed a “checkpoint” system so that the player won’t have to restart from the beginning of the level if they die. Since the programmers already had their hands full with fixing & polishing different elements, I took it upon myself to add it since I had some general idea of how it would work. The way I started to implement this was to have a checkpoint-object, which had no sprite, track the location of the player on the x-axis; since the level is played from left to right, the y-axis isn’t important. If the player went passed the checkpoint, then the checkpoint became activated. If the player died while the checkpoint was active, then they would respawn at the checkpoint’s location, otherwise they would respawn at the start of the level. 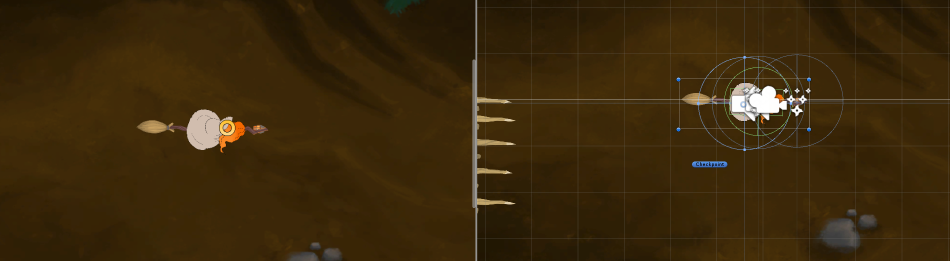 After having gotten this system to work I added two sprites to the object, one for the deactivated state and one for the activated state. This was to make the checkpoint itself be visible to the player, and to give them added visual feedback for when it was activated.  The problem now with the checkpoint code was that if we wanted to add another one, which might be necessary if we made a harder or longer level, then the game would crash since both checkpoints would become activated at the same time and as such the code would conflict when spawning the player. I ended up fixing this by making it so that the second checkpoint only could become activated if the first one already was, and the code that spawned the player would then ignore the first checkpoint and choose the second one instead.  Now that the checkpoint system is implemented I will be working on designing levels which are challenging, but fair, and hopefully fun using that system. Thanks for reading! |