Week 4 – Adding what is missing
|
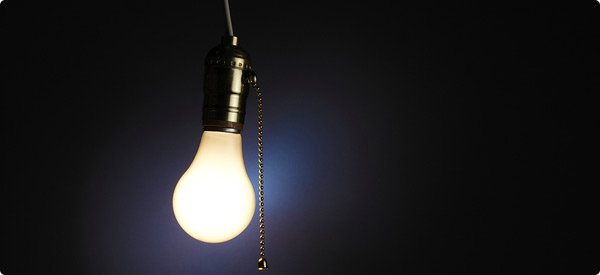
Week 4 is coming to an end and like previous weeks this has been a fast one. With the Beta deadline coming up in a matter of days team Kraken is now refining what has been done and adding some assets to the current placeholders. For me as the Lead Artist this week has consisted of two things; creating a visual indication of when the dash for the moth is available, and also creating a light bulb with light to fit the end screen of our game. As always, I have also kept track on the other artist in the group to make sure that the assets that he provides follows the same art style as determined. This week’s blog will contain the work process in which the light bulb was created. Our original thoughts regarding our ending in the game has been kept throughout the entire project. Right from the start of the concept making we knew that we wanted a collision with a light bulb as our end screen. This however has been on a really low priority to get done hence why it is being done a few days before Beta deadline. So, how does a light bulb look, and how can I create an authentic looking such? I actually started this task with Illustrator rather than Photoshop. I created the basic shape of the light bulb, including the glass and the metal bottom in Illustrator and mixed around with the vector points to create a solid and symmetric shape. I then moved into Photoshop to start working on basic details such as the serrations on the metal cylinder. These basic shapes was done through creating different shapes and coloring them individually to fit the desired style. Once all the basics were done it was time for refinement. It was at this point that I took the drawing pad to my aid. In this case doing refinements and other stuff is more precise using drawing skills. At this point I created two different versions of the light bulb, one which was transparent and one which was matte. I tested both to background that they would be used in and got some feedback from the team. Once I knew which path to continue on, based on feedback, I started working again. 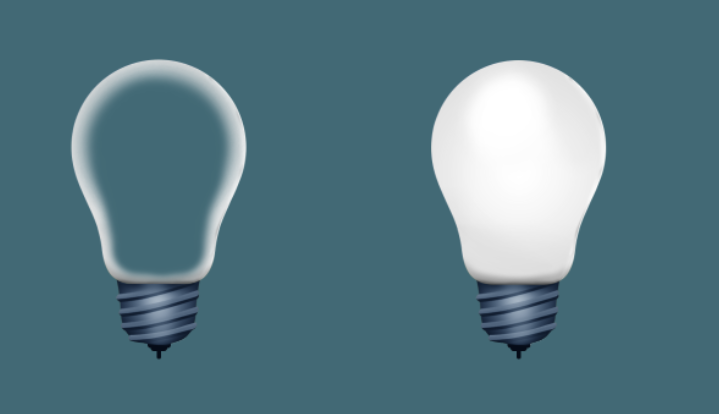 Having the matte light bulb decided, I started working on the metal cylinder which I felt was attached poorly to the glass. This was fixed by adding some basic shading and shadows making it look more realistic. The second problem with the metal cylinder was that it was too bright and shiny. I mixture with some Levels, Contrast and Brightness numbers and painted the desired effect on top. 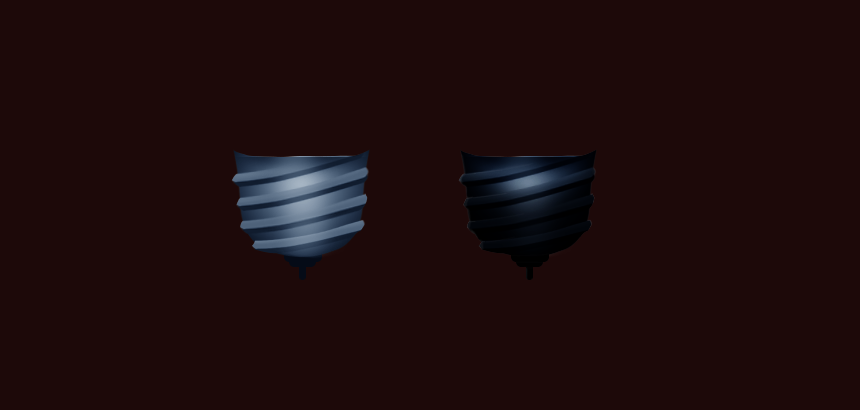 Once the cylinder was complete it was time for the actual glass. This took a lot of small brush strokes to fix and in the end I ended up with a somewhat realistic looking glass. Something felt off though. After some thinking I thought I had an answer to my worries, and surely I did. By adding some dirt to the glass I managed to fit the bulb slightly better into the background. In this case the light bulb is supposed to hanging in the nature so in this case it makes sense. 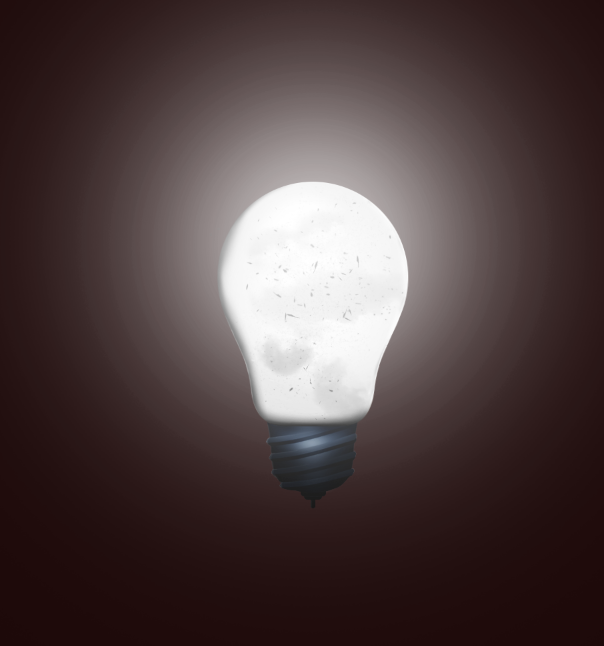 I am pretty satisfied with the result and the continued work would be to add the string in which the bulb is supposed to be hanging down from, but that is a task for tomorrow. Stay tuned for more however! #5SD064 |