Sprites, clip dolls and bone-binding
|
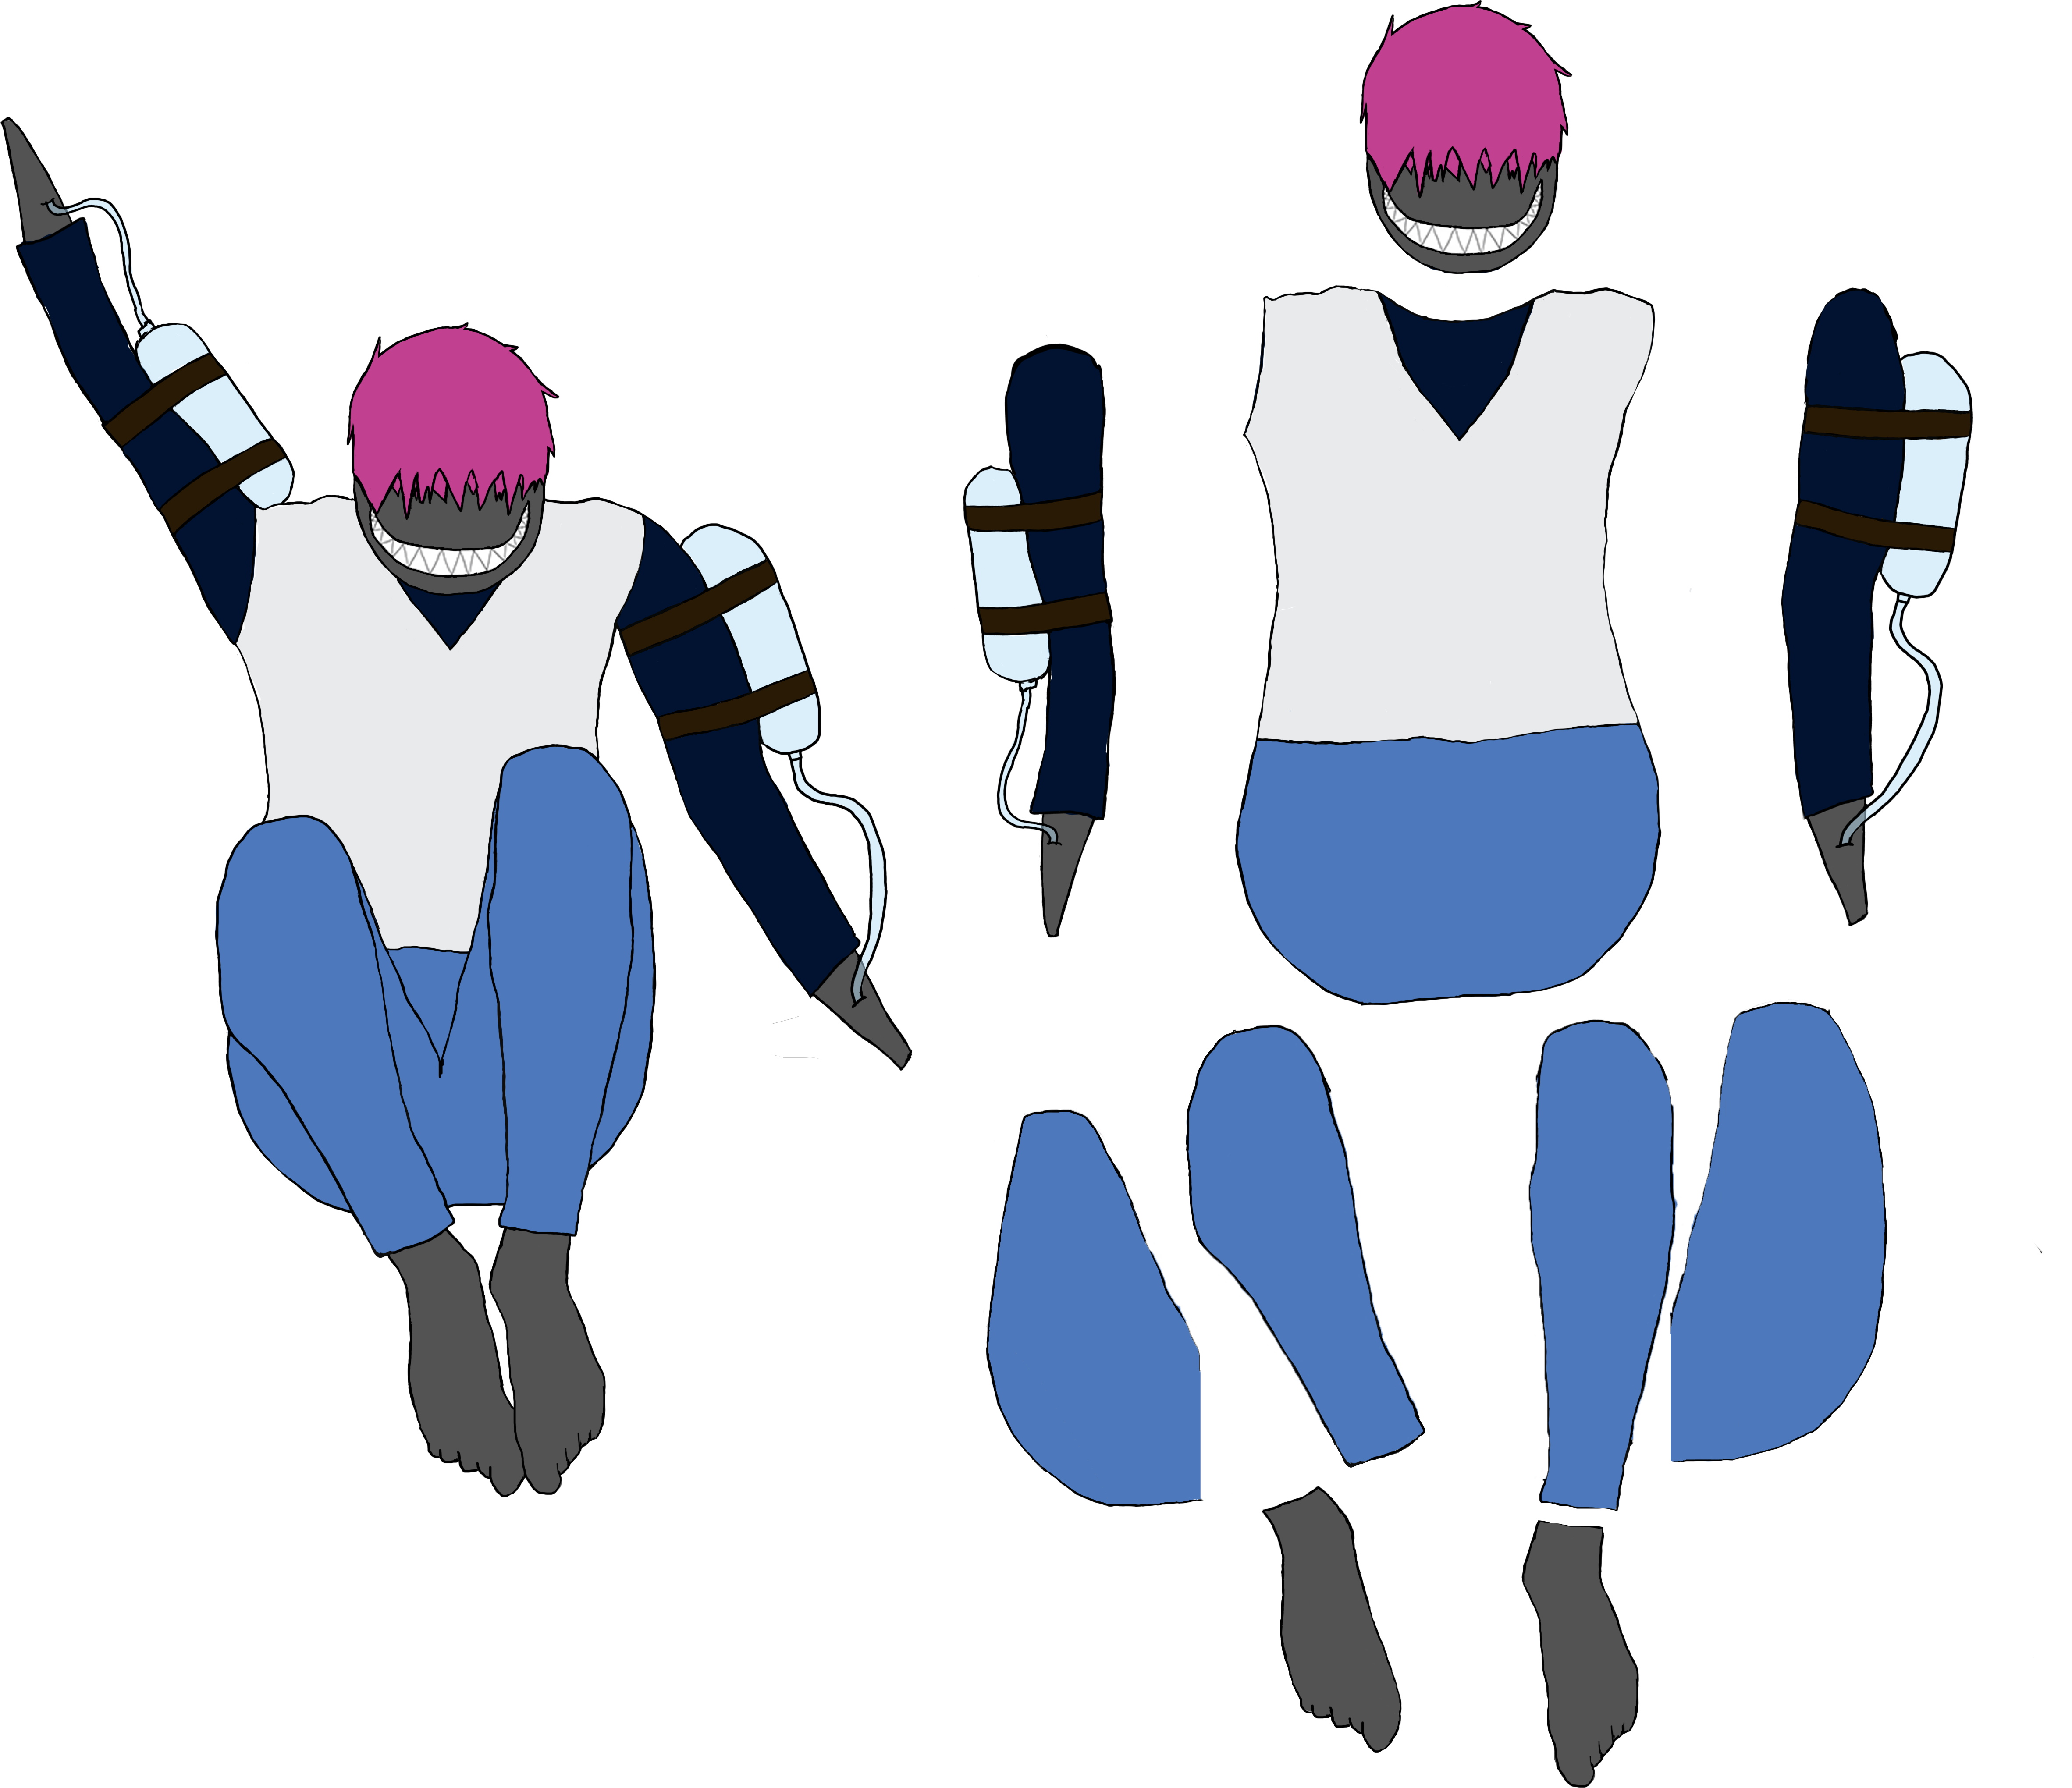
This week has been a sort of continuation of last week, the concepts have been serving excellently to translate the concept into actual sprites. But there was some changes that was needed to be done to the sprites to make them fit the game better. For example, the character named Squirt needed some reworking in his positioning, he was to big and needed to be more compact since he’s spinning and shooting at the same time. So if he was too big or too long, especially too long, he would be very awkward and clunky to spin him. Here is how the sprite would look like and next to the sprite is the clip doll: So the reason that I made the sprite into a sprite doll is because me and my group utilize Anima 2D to create the sprite animations. Anima 2D is an addon to Unity so that you can give the sprite a skeleton, so when you move the bones you move the sprite. This can then be used to animate the sprite by giving it key poses with the bones. I’ve been working with this process on four of the sprites this week to make the animation of them easier next week, so that the process of animating them will go smoothly. Additionally, by using Anima 2D makes it easier to give the sprites different animations since you are using a doll of sorts, that you can pose and move around, so if you want to change a pose or add a completely new animation then it would be easier to do that since you don’t have to draw new assets to change them. As usually I’ve been using Adobe Photoshop to create the assets, like the clip dolls. But as I mentioned before, I’ve also been using Unity, and to be specific, Anima 2D. This is a program that I’ve never had any experience with, so some time has been used to learn the program, how to bind the bones to the sprites, so that when you move the bone, the sprites follow the bones. // Alex Östermark |