Shinier stones
|
Another week gone by in what seems like the blink of an eye. It took a while, but I have now finally, blissfully, finished shading the set of stones needed. There is a small issue I have with the illustrating program I use where it turns transparent pixels into black pixels, which is a problem. Fortunately, one of my teammates uses the same program and knows how to fix it. She is going to show me how tomorrow, so that is going to be sorted before the week is up. Being free from the tyranny of the Granite Slabs, I started working on something a bit more interesting. Shinier stones!
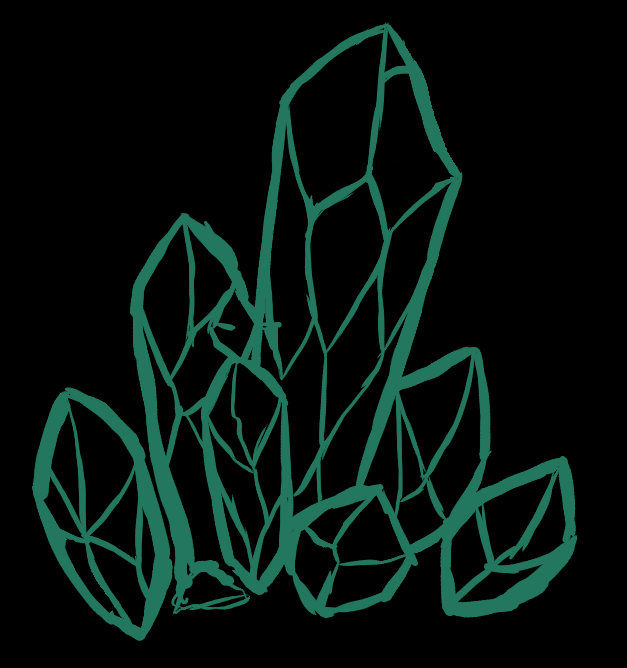
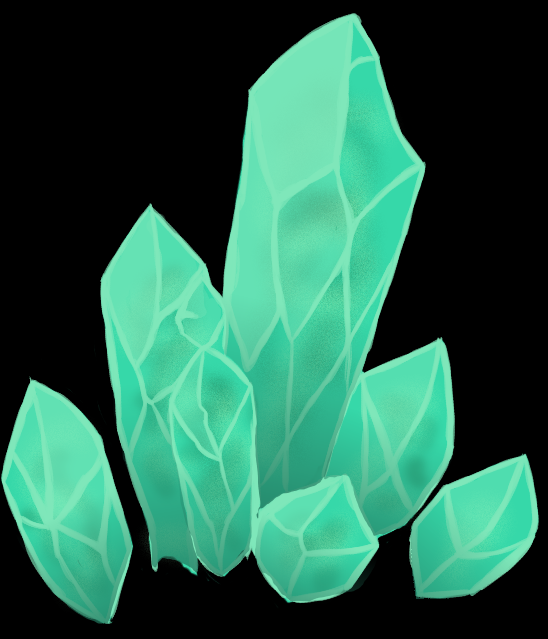
That being the glowing crystal formations that are to dot the cavern walls. I have already finished all three that are needed, and have taken snapshots of the process of the first one I made, so I am going to take the opportunity to walk you guys through my process. I start off by sketching out the rough shape of the formation on a black background. The caves are going to be near pitch black, so it is better to use a black background straight off the bat.
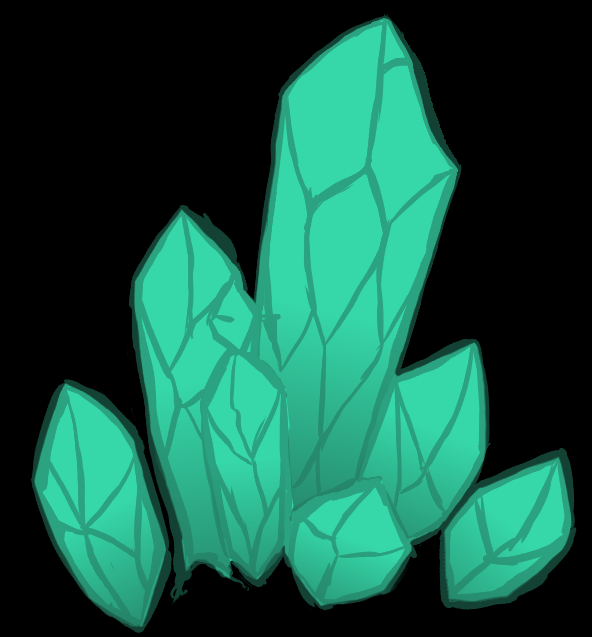
Next, I fill in the shapes with the base colour of the crystal and add some basic gradients for a bit of volume.
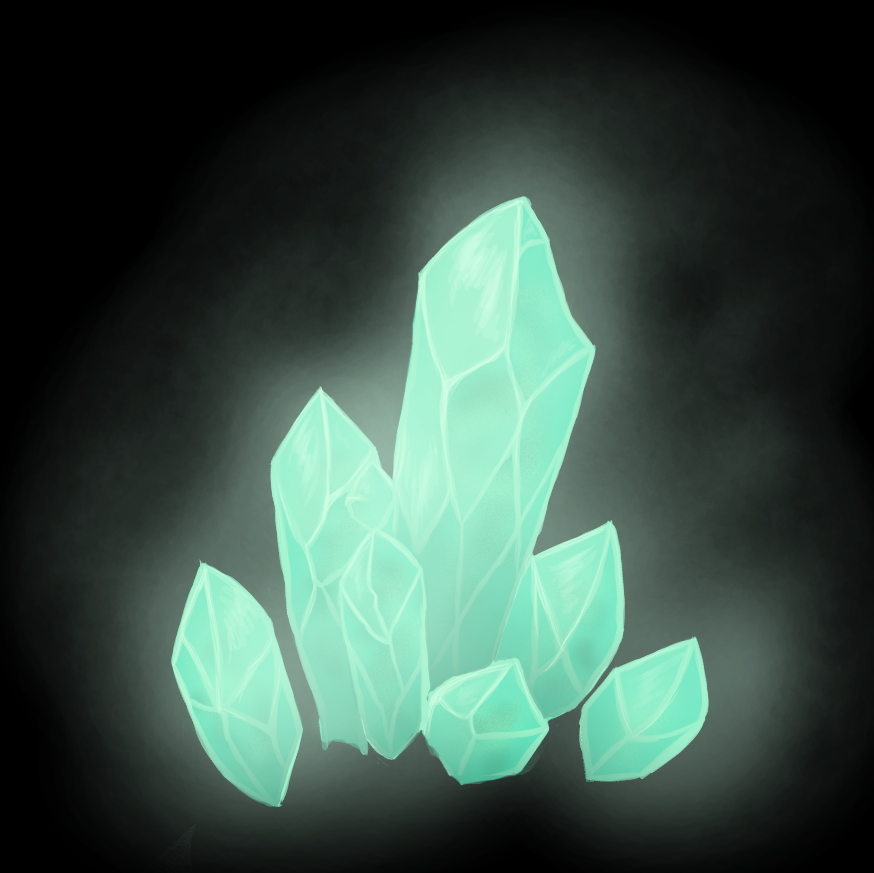
This is when I decide the position of the light source. Now, considering that the ship will be the main light source in the game, doing this accurately is an impossible task. However, as this crystal will also be its own lightsource, it won’t be super important, or even that visible. This is just so that the crystal gains a sense of volume. I add in light at the apropriate fields and draw new lines. Bright lines, to evoke a sense of reflected light. I removed the sketch lines as soon as I had added the bright ones, as there was no longer any need for them.
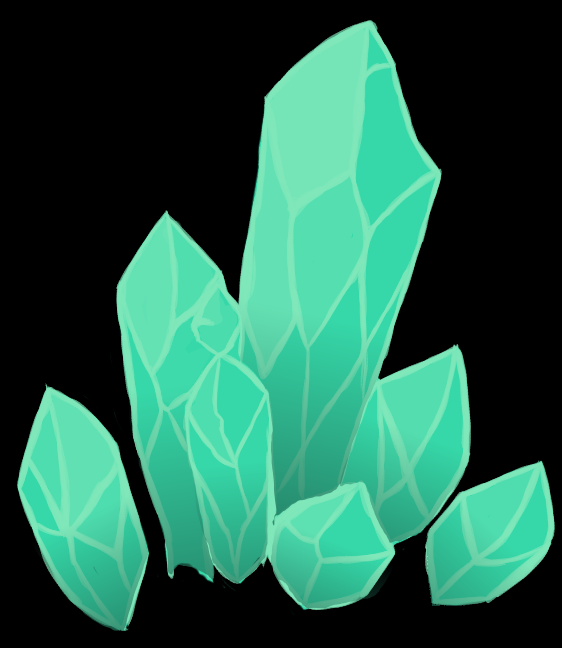
Up next was a fun part. I added some irregular, chaotic inner shadows, making the crystal seem more transparent and “alive”, as it were. Now, I’m a person who enjoys working in a ton of layers, and have been using one for each section. One for sketch, one for flats, one for gradients, one for highlights, etc. This shadow-layer is third furthest back, in front of only the background black and the flat colour. This is because these shadows are supposed to be “inside” the crystal. I use a slightly textured airbrush-type brush for the shadowy shapes and add some light with the same brush right on top of it on the same layer to give it more shifts.
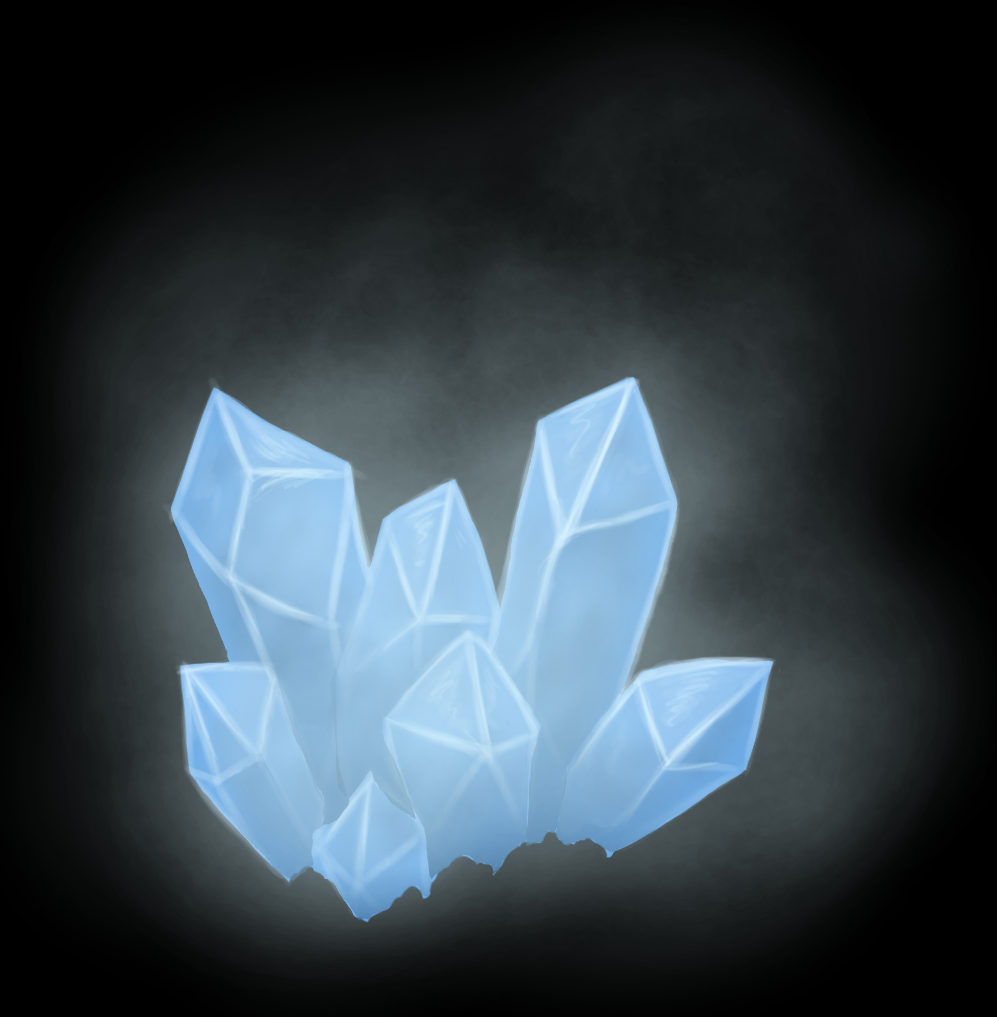
Now for the final part. The, in my opinion, best part of all of this. First, additional reflections on the light facets and in the middle of some of the lines. Next, glow layer. I used an untextured airbrush with a large radius and very low opacity. More light the closer to the crystals I go. This layer is the topmost layer. I finished the whole thing off with an airbrush eraser, adding shifts and detail to the glow. It made it look very animated. Almost alive.
I must say, I am really happy with how it turned out. The only problem is, the glow might be a little too lively. If I find the time, I may just have to sit down and animate the glow with a smoke-like effect. Now, as soon as I have gotten the transparency working and my assets sorted out, I will spend the rest of the week looking for sound effects for the enemies. I have never done that before, so that is going to be interesting. |