Week 3 of Game Development reflections, Mayhem and Destruction!
|
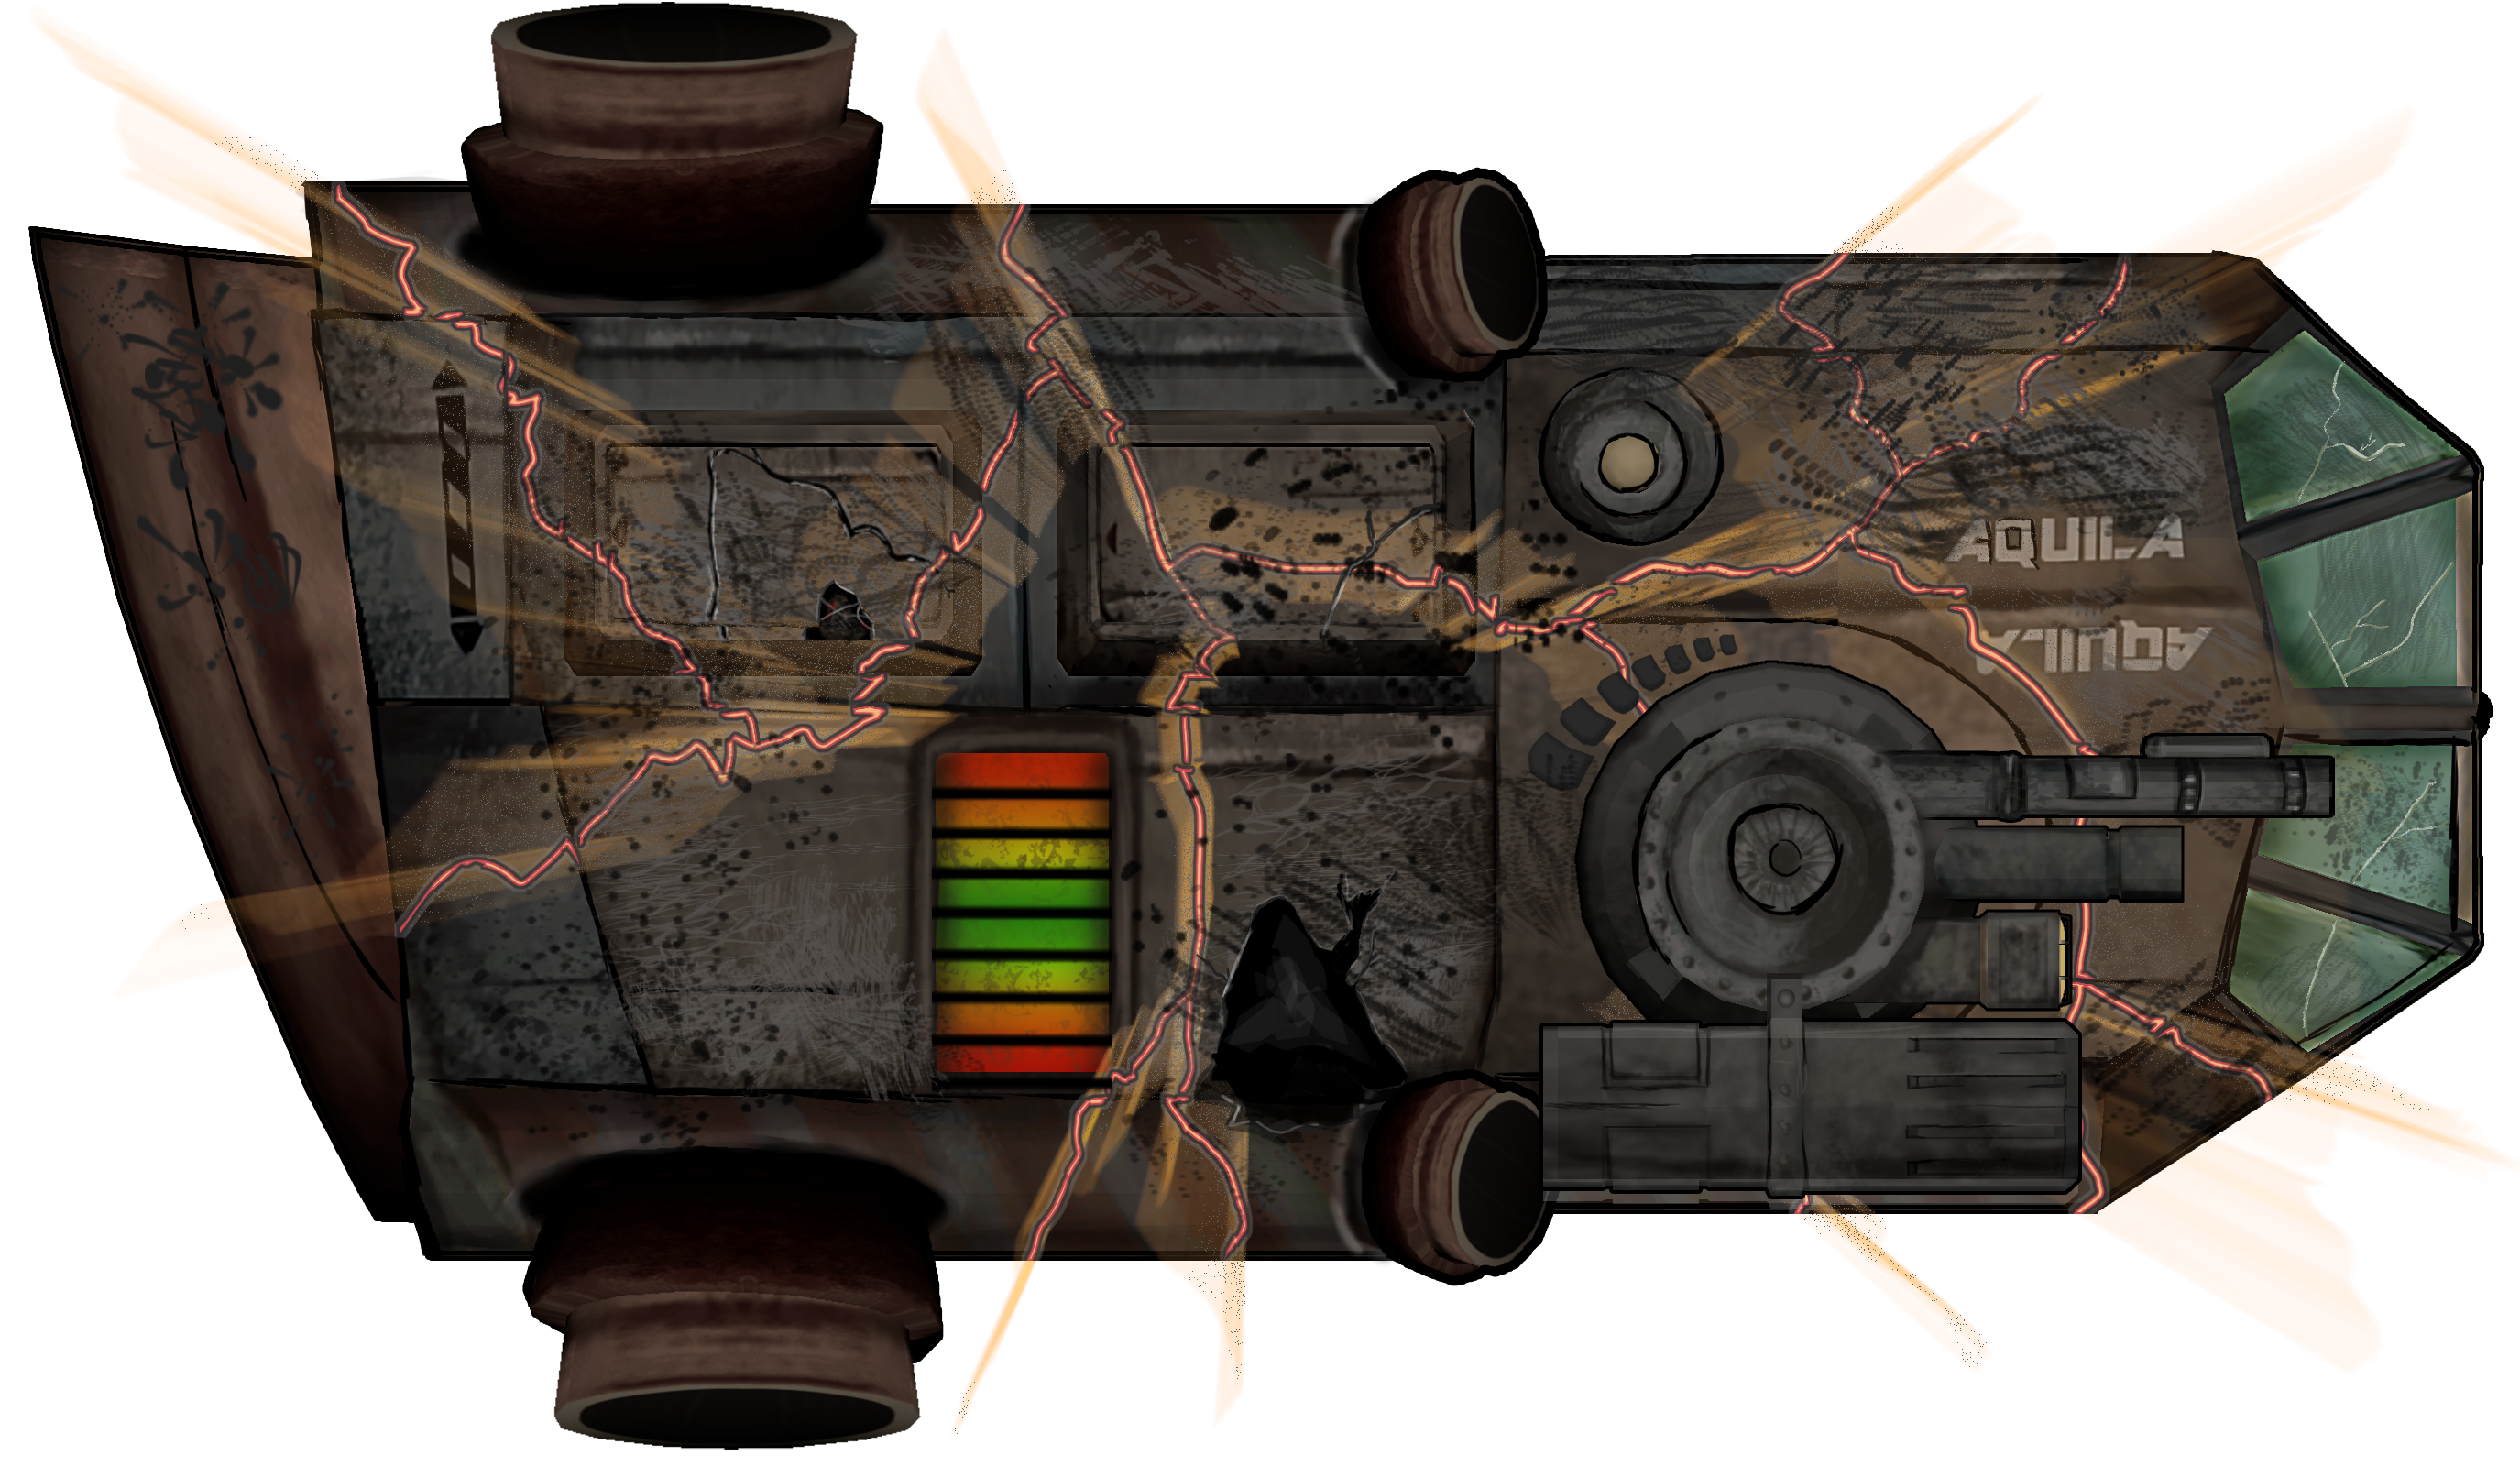
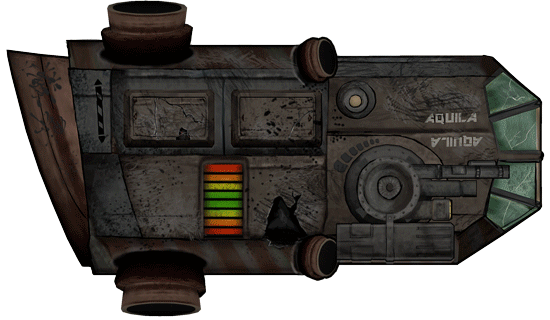
We are now done with our Alpha, and we will now start our first week of Beta. This mean that we are one step closer to a finished product guys! Yaaay!! Five weeks into the course, things are going pretty well, at least here on the graphical art side of things. So now I’m once again writing my weekly reflection for a chosen artifact, third in a row. This week’s chosen artifact is destruction and mayhem (more precisely the death/destruction animation for the ship), an important artifact to give a real good indication for the player that they’ve lost. And really it would just look terrible if the game just ended with a Game Over screen. So this time I’ve decided to go more into the creation process of this artifact. To perhaps help others to create, or use similar effects themselves. Here is the semi finished results so you know how the finished results might look like. I might fix some things later though and there will be different effects added in-engine. First I had to decided how the ship would get destroyed and how it would start out. I decided that I wanted the ship to crack and then explode in a white blinding light. So I started with drawing out cracks with a red brush. Making some zigzag lines over the ship, but always making sure that it looked like the cracks was moving over a 3D shape (following the shape of the ship). When this was finished I drew in a yellow line inside of it, creating an effect of heat. And then I gave the red line an outline of black and white, creating an illusion of depth. This is the same procedure I used when I created the holes in the ship from last weeks artifact. So now the cracking effect was done.
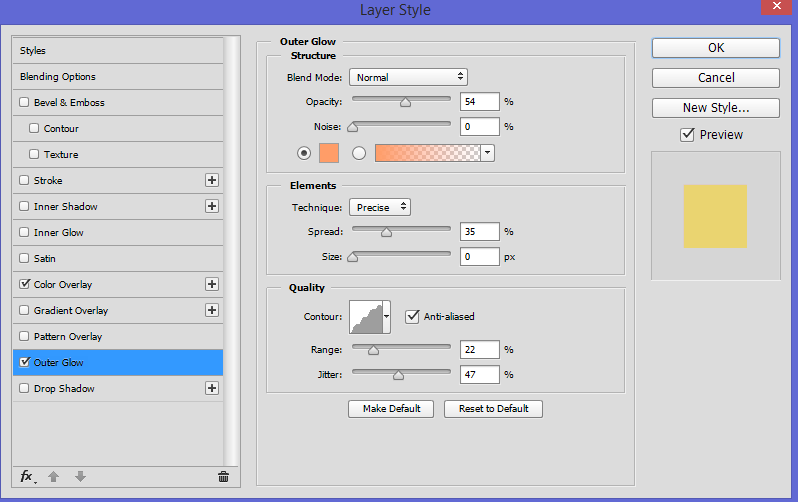
Now I wanted the effect of light seeping through the cracks of the ship, making it look like the ship was exploding from within. Making this was pretty easy in the end, but it was really hard to realize how to make it possible in the first place. But after messing around in filters, I finally found the perfect way to create it. What I did was duplicating the cracks layer, recolor it to a solid orange color and then I used the filter, Radial Blur *100 amount, method Zoom. I then gave the new layer a layer style of Outside Glow, here is the settings I used.
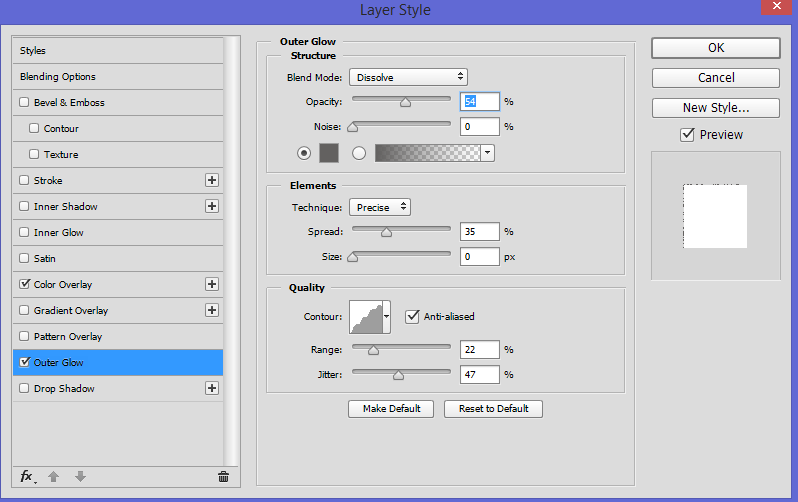
When exploding, there needs to be some small kind of debris. I created this by duplicating the light layer, erasing a bit and recoloring it white. I then applied a new Outer Glow effect in gray to the layer, which created small dots that looked a lot like debris. Here yet again is the settings I used.
Now I had all the layers I needed for the animation, well I also made an extra light layer and two layers of solid color in white and orange (I used these layers to create the effect of the ship exploding in a bright light). Then I just used these layers and faded the different layers in and out in the animation timeline in Photoshop, and messed around until it looked OK. Here is the animation. OBS! The file looks a bit weird here on WP, click on it to see how the animation really looks like.
Thanks for reading, and I hope this post might have helped you in some way! |