3D Computer Graphics: Theory and Application I, Post 5 + 6
|
This is my fifth – with the sixth also embedded – blog report on my progress in course 5SD045. It details the progress I’ve made during the two previous weeks on three practical assignments that also serve as major course checkpoints. Lectures were held on 2014-09-30, 2014-10-01 (week 5) and 2014-10-07, 2014-10-08 (week 6). Week 5 detailed production work-flow for specialized texture types, and the lectures during the following week focused on pre-production methodology for Assignment 3. The lectures concerning texture work were intended primarily to assist us in finishing off the first of the two assignments – modeling, texturing and implementing a simple game prop – but also to prepare us for repeating the work-flow in assignment 2. The following weeks lectures were targeted at getting us going with Assignment 3, focusing on methodologies that will help us develop assets in the context of specifications given by third parties. As a note in passing if you thought to yourself that the above paragraph seemed awkward and mashed together then that’s because it is, I’m shamelessly cutting whatever corners there are to cut by recycling last weeks post that I never got around to posting. That being said let’s skip right to sloughing through the assignments in no particular order. Actually that’s a lie I’ve got an order in mind; 3 – 1 – 2 as by now I believe everyone involved in this course either directly or by fringe is sick of seeing those damn crates and the third practical assignment is the most interesting. Also assignment 3 and partially a bit about assignment 2 is what I should actually be posting about this week so I’ll prioritize current affairs.
Assignment 3 is the final major coursework hand-in in course 5SD045, the objective is to model a simple game-ready character asset. Emphasis is put on the simplicity of the asset, and is reinforced by a polygon budget of 3000 triangles. An interesting twist is that we are to exchange projects with our fellow students, as to simulate the complexities of professional 3d asset production. The first step of this assignment is to present a conceptual asset of an appropriate level of complexity, and that’s what this post is about.
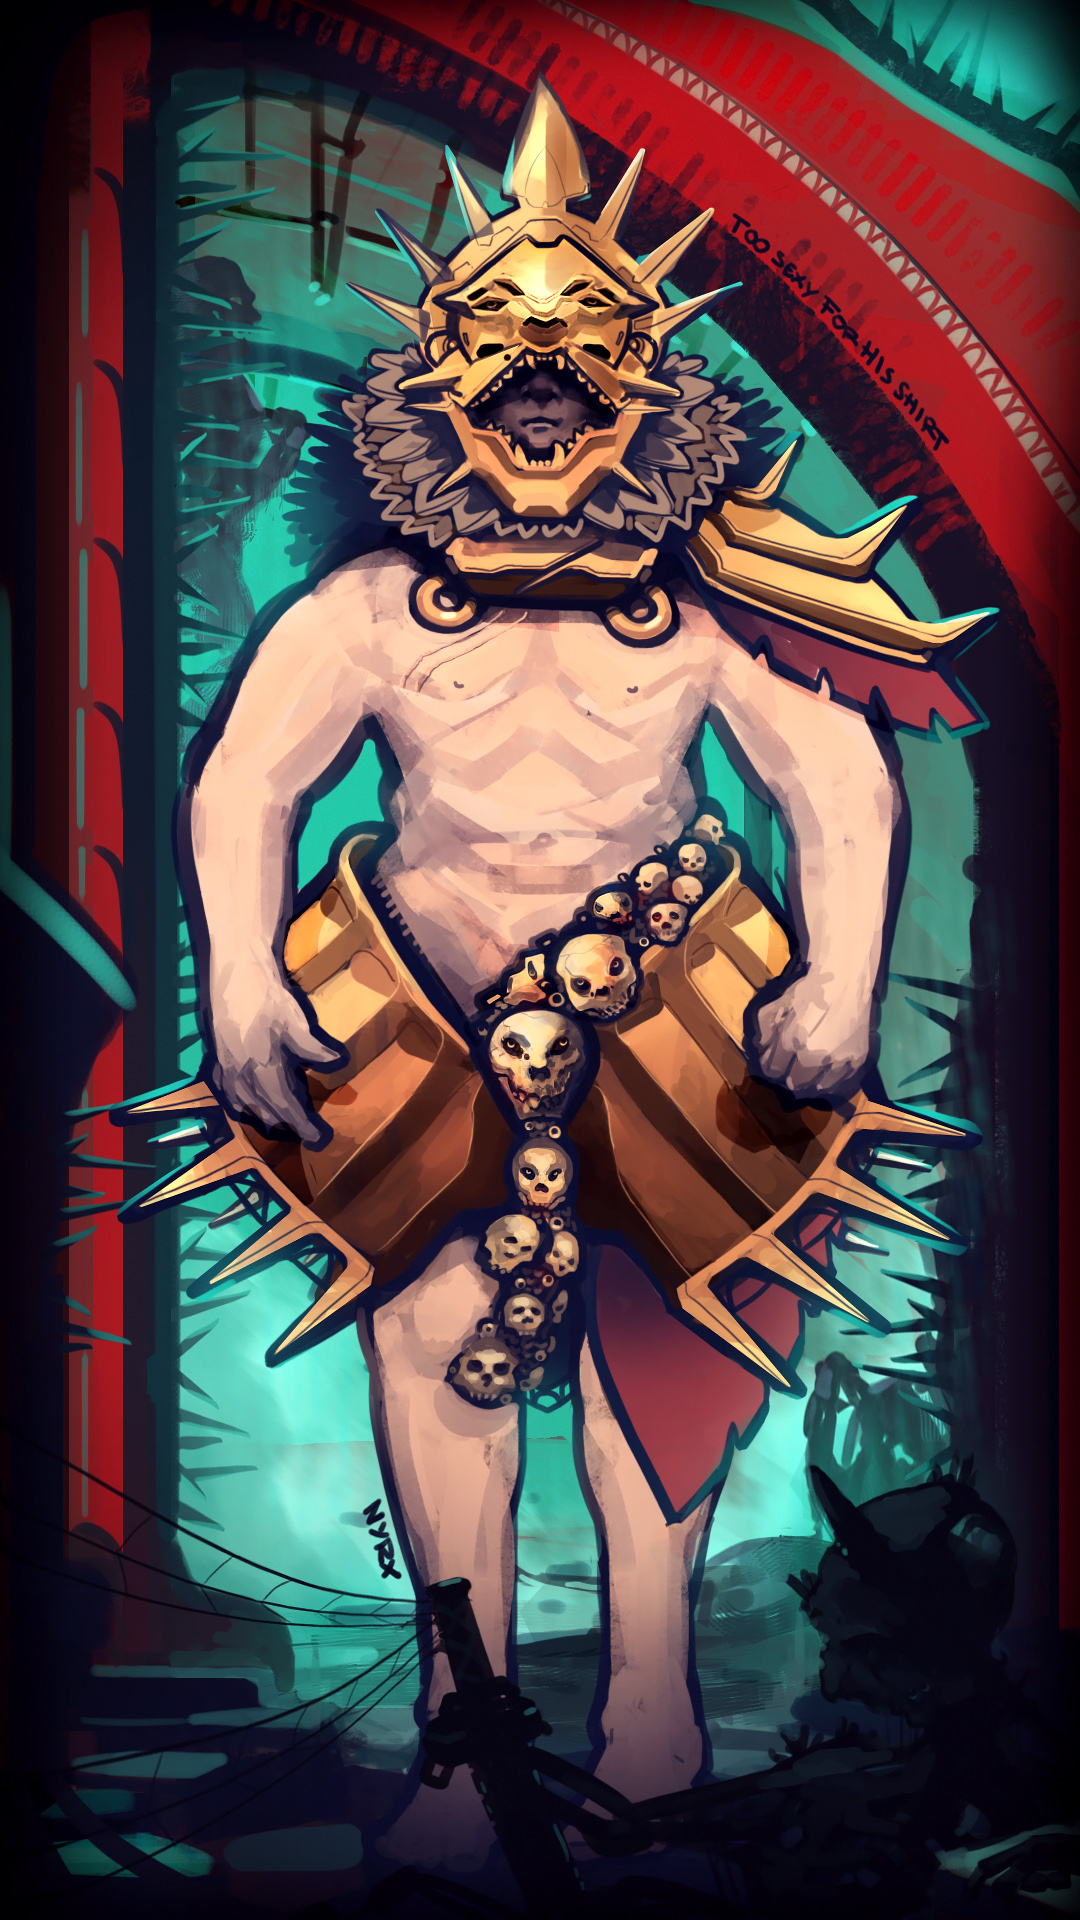
This is the concept I made for the assignment, and admittedly it does not fully adhere to the specifications of the assignment but I figured it being a slightly stylized human with mostly hard non-flexible bits and bobs it’d be okay – but my doubts were growing even before I attended the lecture where they were due. I’d like to quote the instructions here; “If you’re unsure whether your concept art is on the level for the assignment, please consult with the teacher beforehand.”. I’m quoting this as it’s probably what I should have done. Unfortunately I wasn’t actually done with the picture until the very evening before the lecture just prior to the one during which we were to work with the assignment, so that didn’t happen. Instead I turned up asked if it was okay and was asked to find other alternatives. Being a person who likes being thorough in my work I tend to get things done at a rather sedate pace, which in this case translated that I settled for nothing with the time that I had before the aforementioned lecture so I turned up basically having nothing. Fortunately the lecture had a long duration so I had two hours to whip up something, less fortunately I overshot my two hour window. As I don’t want to drag this out further making excuses I missed vital parts of the assignment during the lecture and I was therefore assigned to finish it off-hours with a colleague who also missed the lecture. So to summarize; I had more time to rework my concept for the assignment.
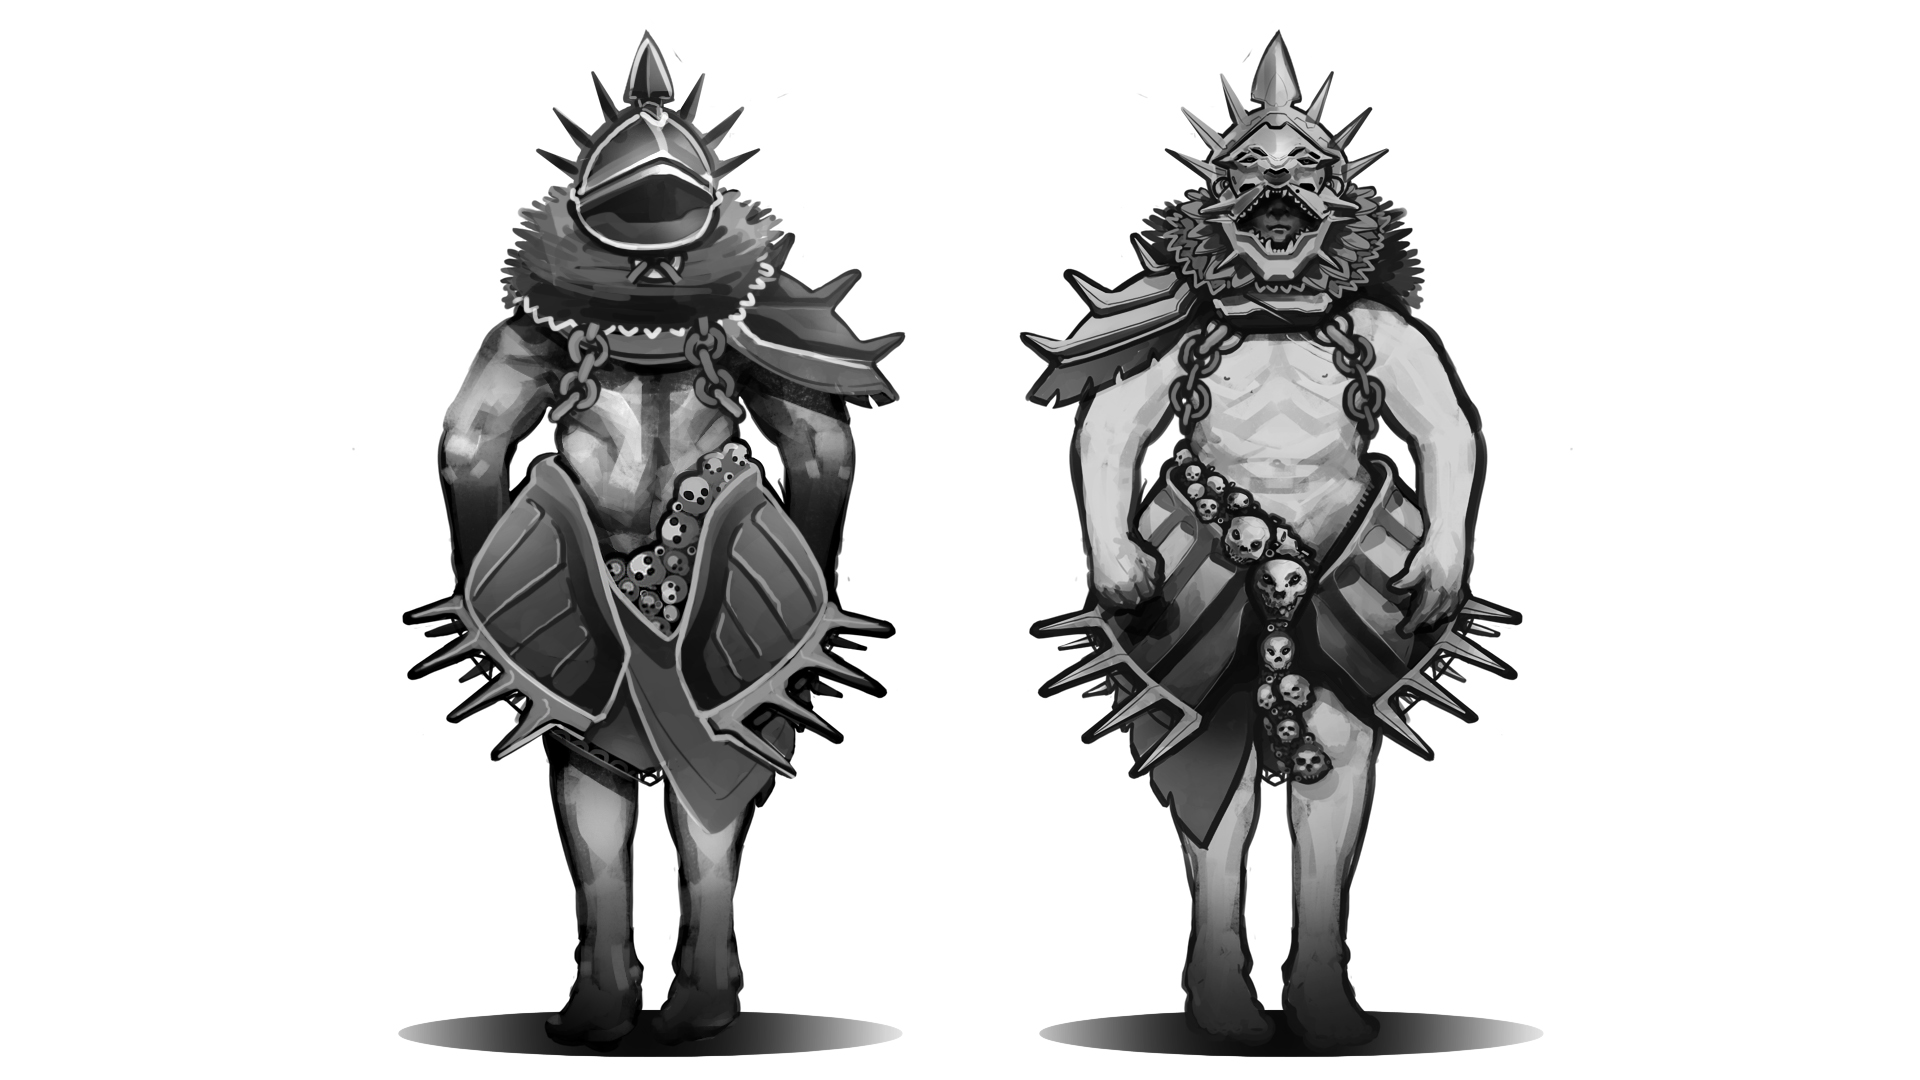
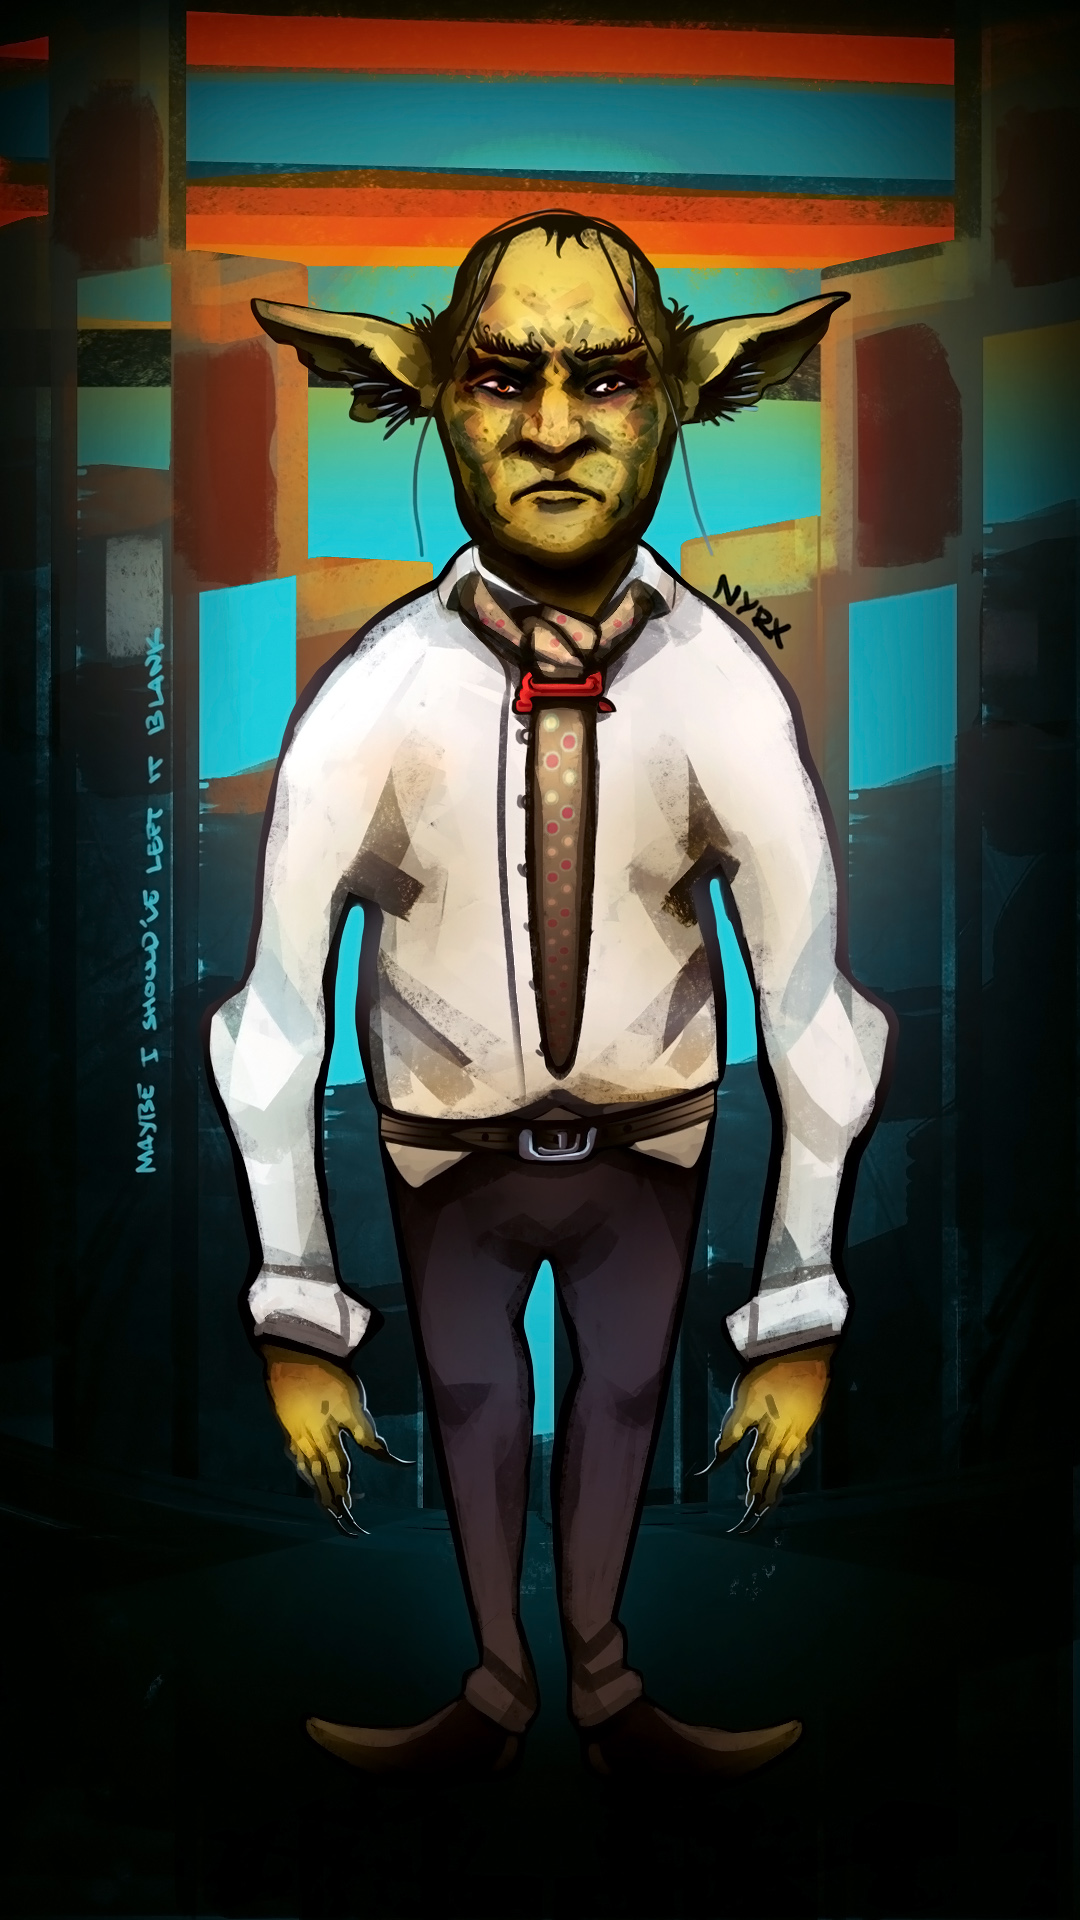
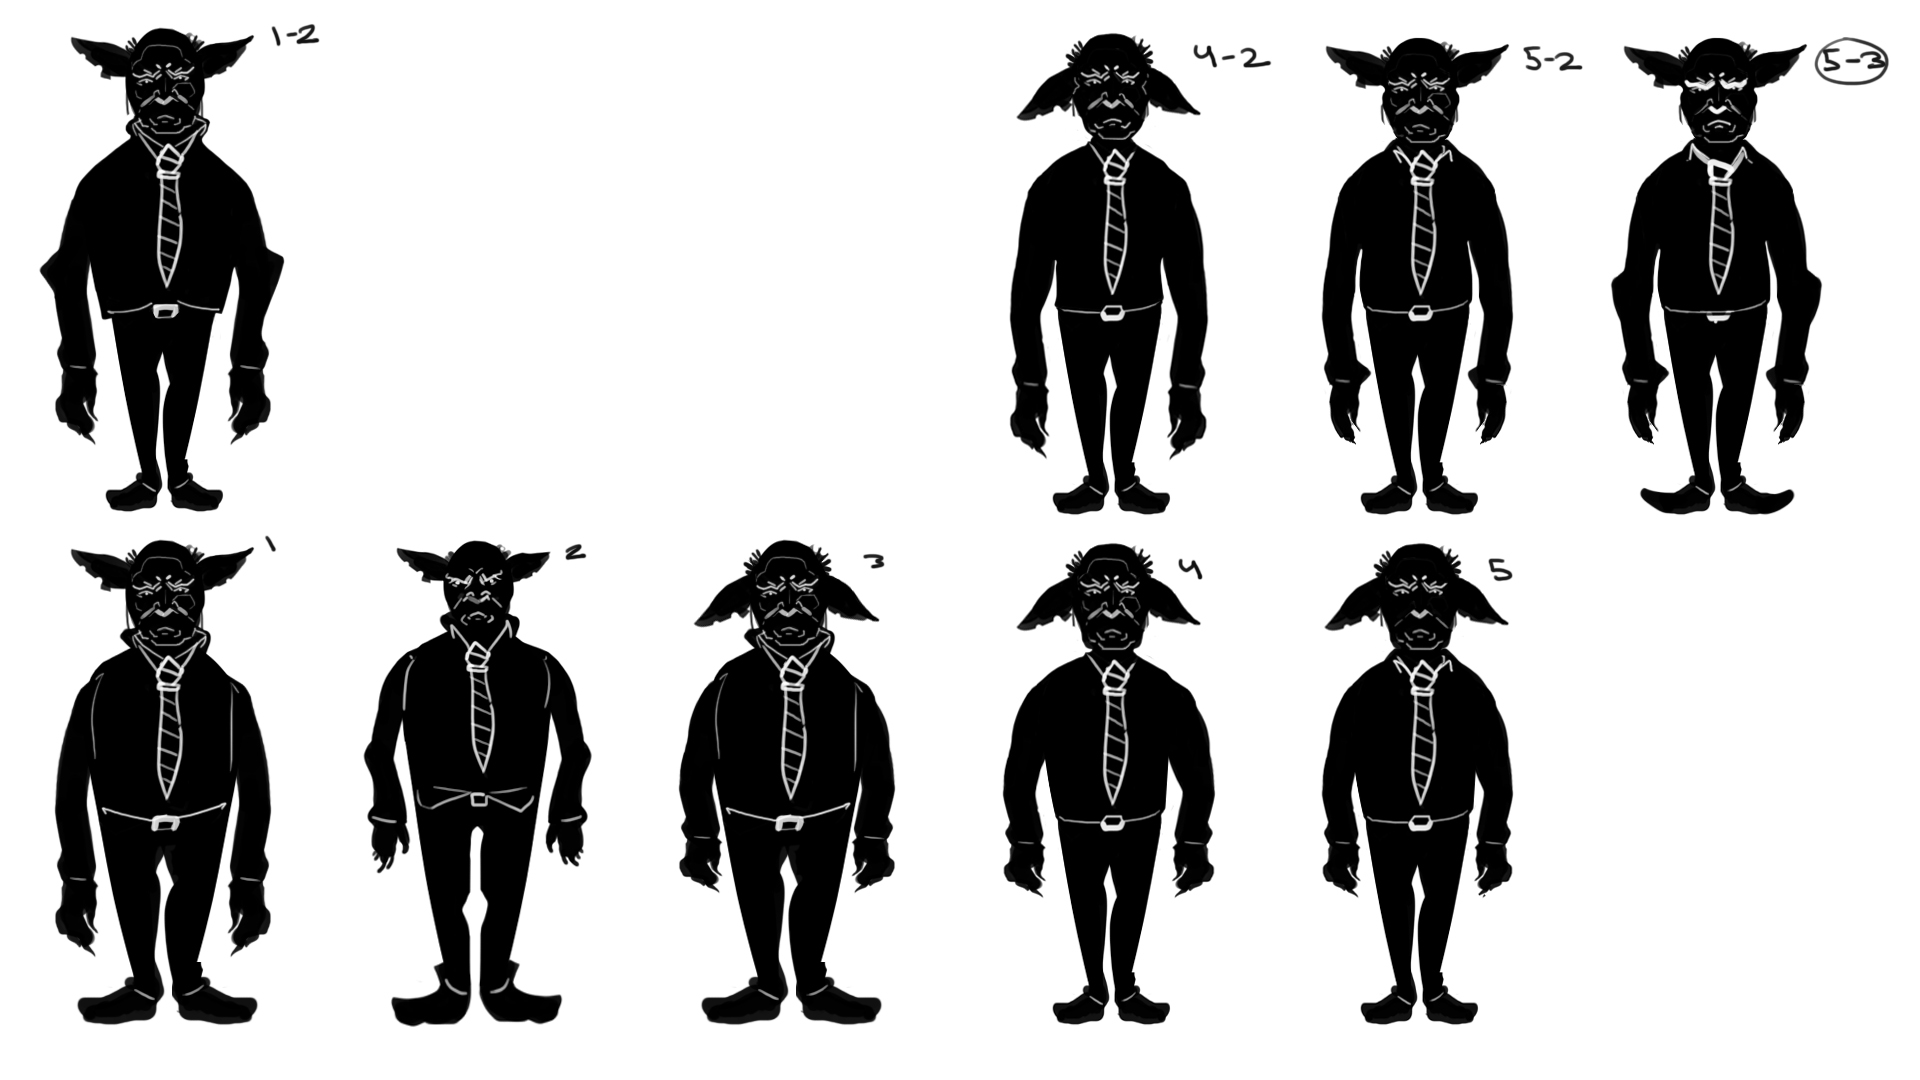
This is the result, I made a simpler more stylized character. To ensure that I’d get the result wanted to I decided to work differently with this one by settling for a basic shape I wanted him to follow, and then I made a series of thumbnail shadow figures on that shape and took what I got out of that to the drawing board in order to make a character render. Some quick armor for my derriere I don’t expect my colleague to have to get every crease right and with that stated I hope that this redacted concept will be acceptable for the assignment. (that’s also why I kept his body shape very similar to the base shape, as a lot of the interior space of his shirt can be dealt with by maps rather than geometry.) Finally, the details about this character can be found in these two documents; CharacterBackgound_Assignment3 and WorldBackground_Assignment3. The instructions for these reports state that this weeks report should contain the information we put together for the pre-production package but I figured this way would reduce the clutter. Next up is the final word on the damnable crates, assignment 1.
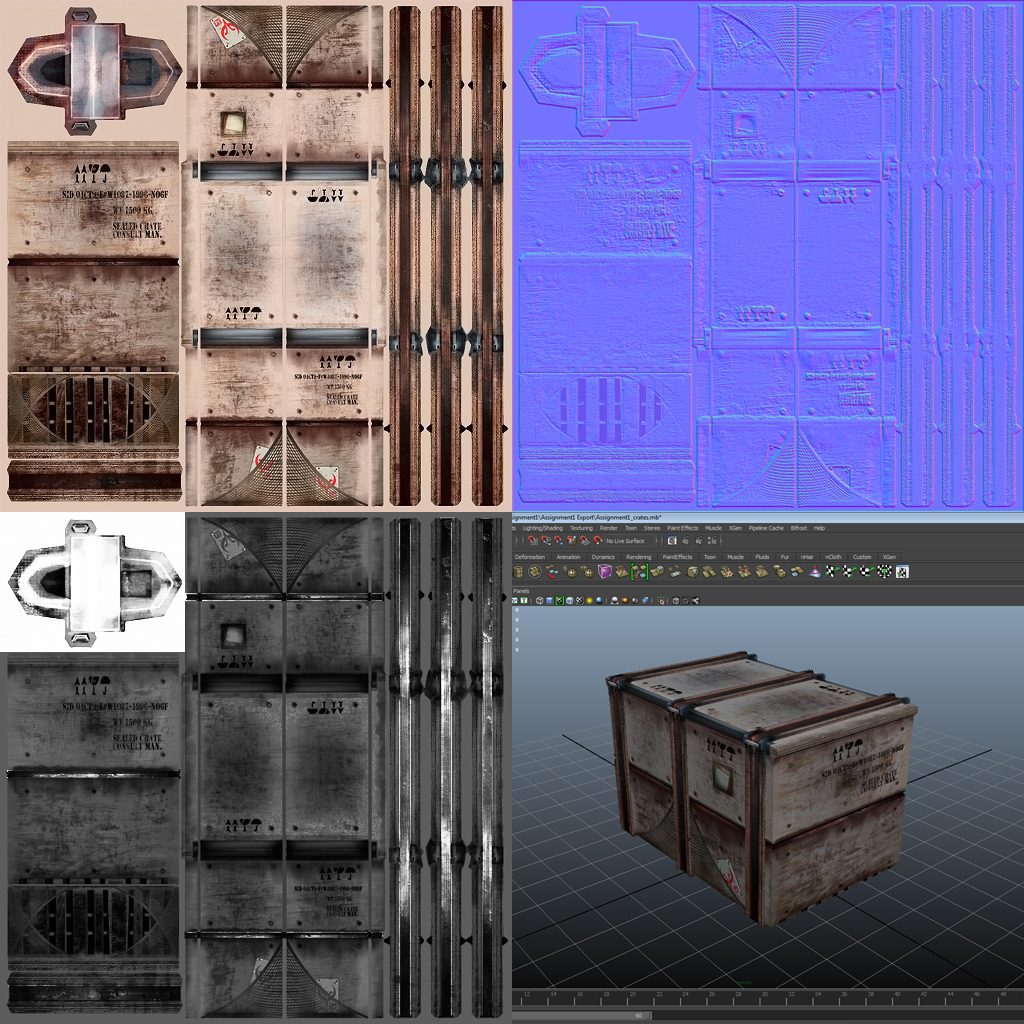
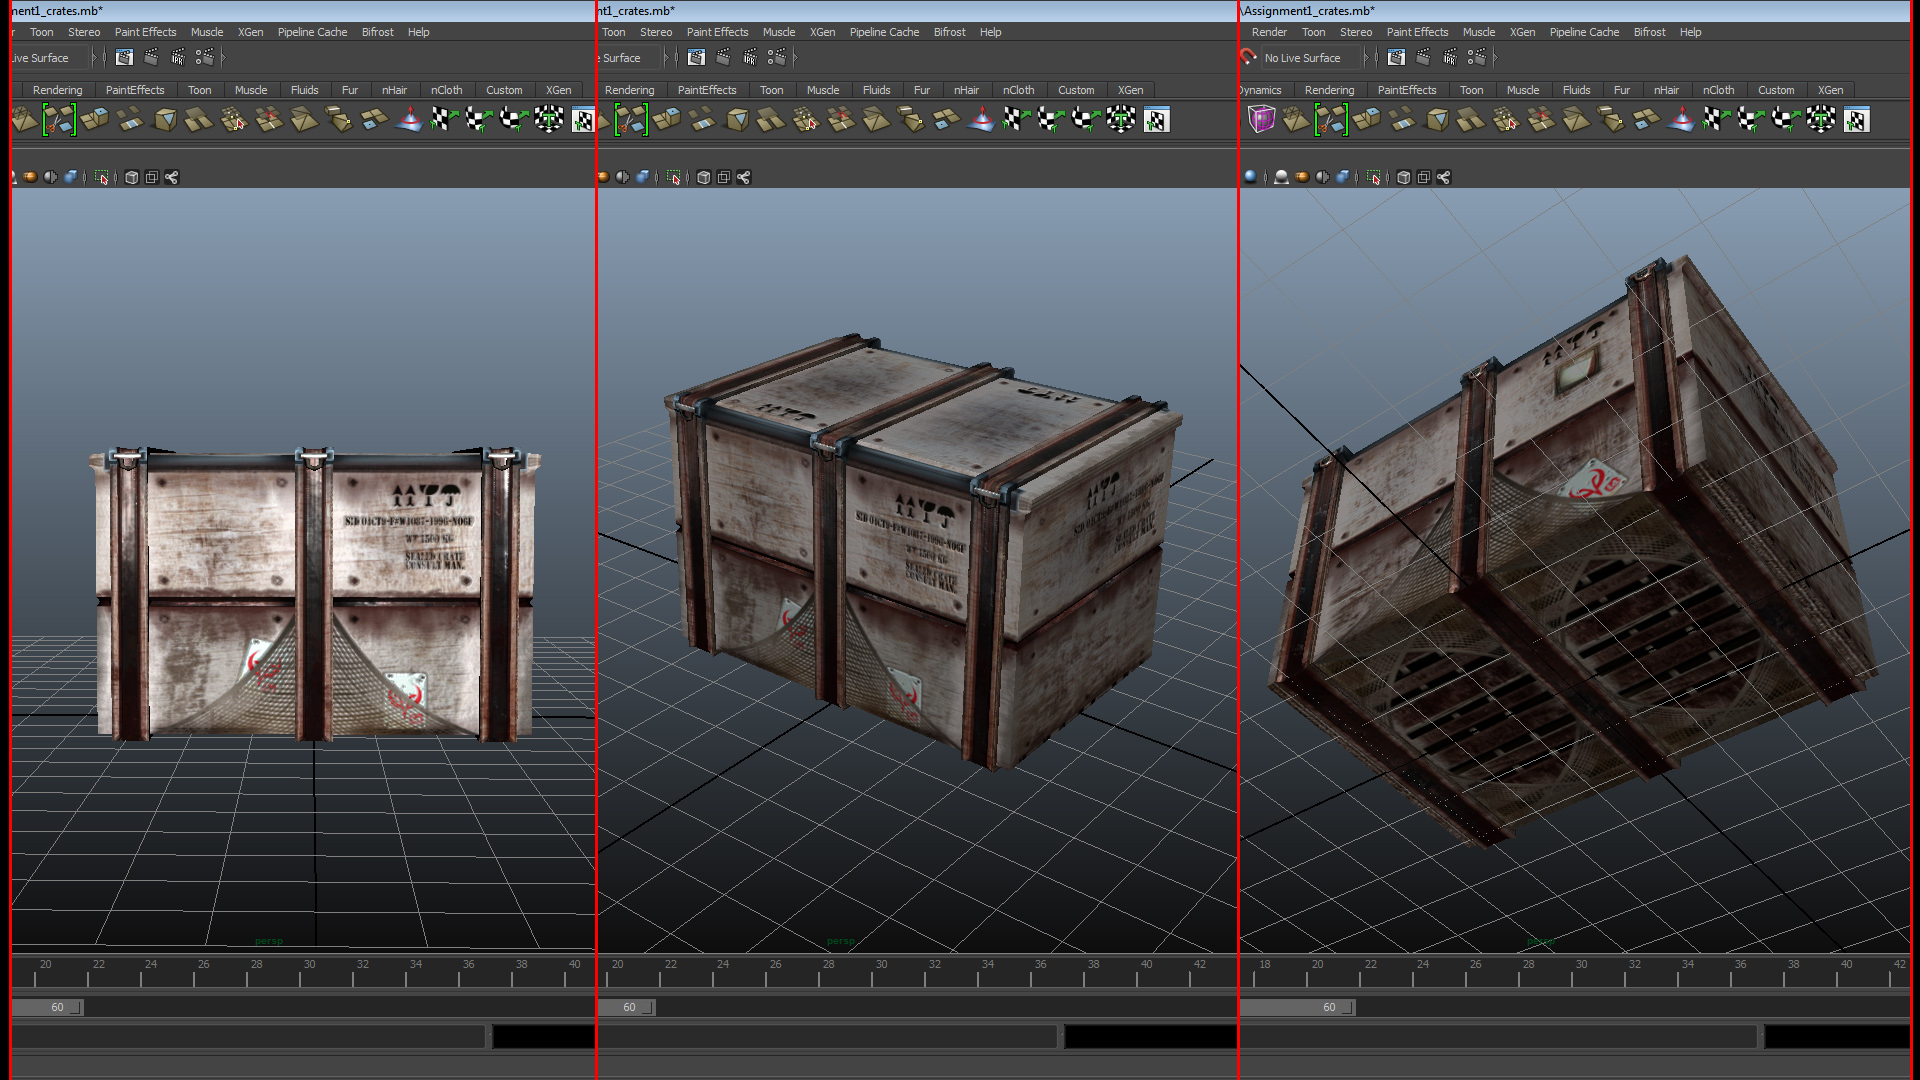
This is the textured crate I handed in, relevant to this little summary pertaining to texture types and what they do. I’ll just quickly run through the questions posed by the instructions for week 5’s blog report:
– What do each of the maps do; diffuse, normal and specular? Diffuse contains colour information. It allows you map colour onto your mesh as defined by its UV projections. The normal map uses the RGB channels to translate colour values into XYZ coordinates interpreted by your meshes normal vectors. See this. The specular map translates even values into a measurement or value for luminance.
– What to keep in mind, when creating each map? Just generally for all of them; where are you seams and how do you hide them? Especially for the diffuse as it usually forms the basis for the more specialized types of textures. When unwrapping for the diffuse think of what pieces need the most information and give them an appropriate surface area. What areas are important to you? What parts of the texture can you acceptably deform and which can you not? For your normals which direction do they need to be generally headed to get the result you want? Should they emboss or embed? Consider your diffuse and other texture types when considering where you actually want your normals to do the heavy lifting to convey the shape and form of your asset – and conversely where you might want a bit more subtlety. The specular map is the most straight forward as it simply handles a value of 0 to 255 – lower is matte higher is glossy. What should shine, what shouldn’t? The specular maps greatest value is in that it is typically what will convey the nature and shape of your object the quickest at nearly any range the player might interact with it at.
– What details should be modeled, and what can be left to a normal map? Anything that breaks the silhouette you model, anything else you can leave to your maps (following your own judgement, of course.)
– Why is the specular map so important? I think this one calls for the incredible potential of the copy-paste shortcut: “The specular maps greatest value is in that it is typically what will convey the nature and shape of your object the quickest at nearly any range the player might interact with it at”.
Next up is Assignment 2, reference-based modeling.
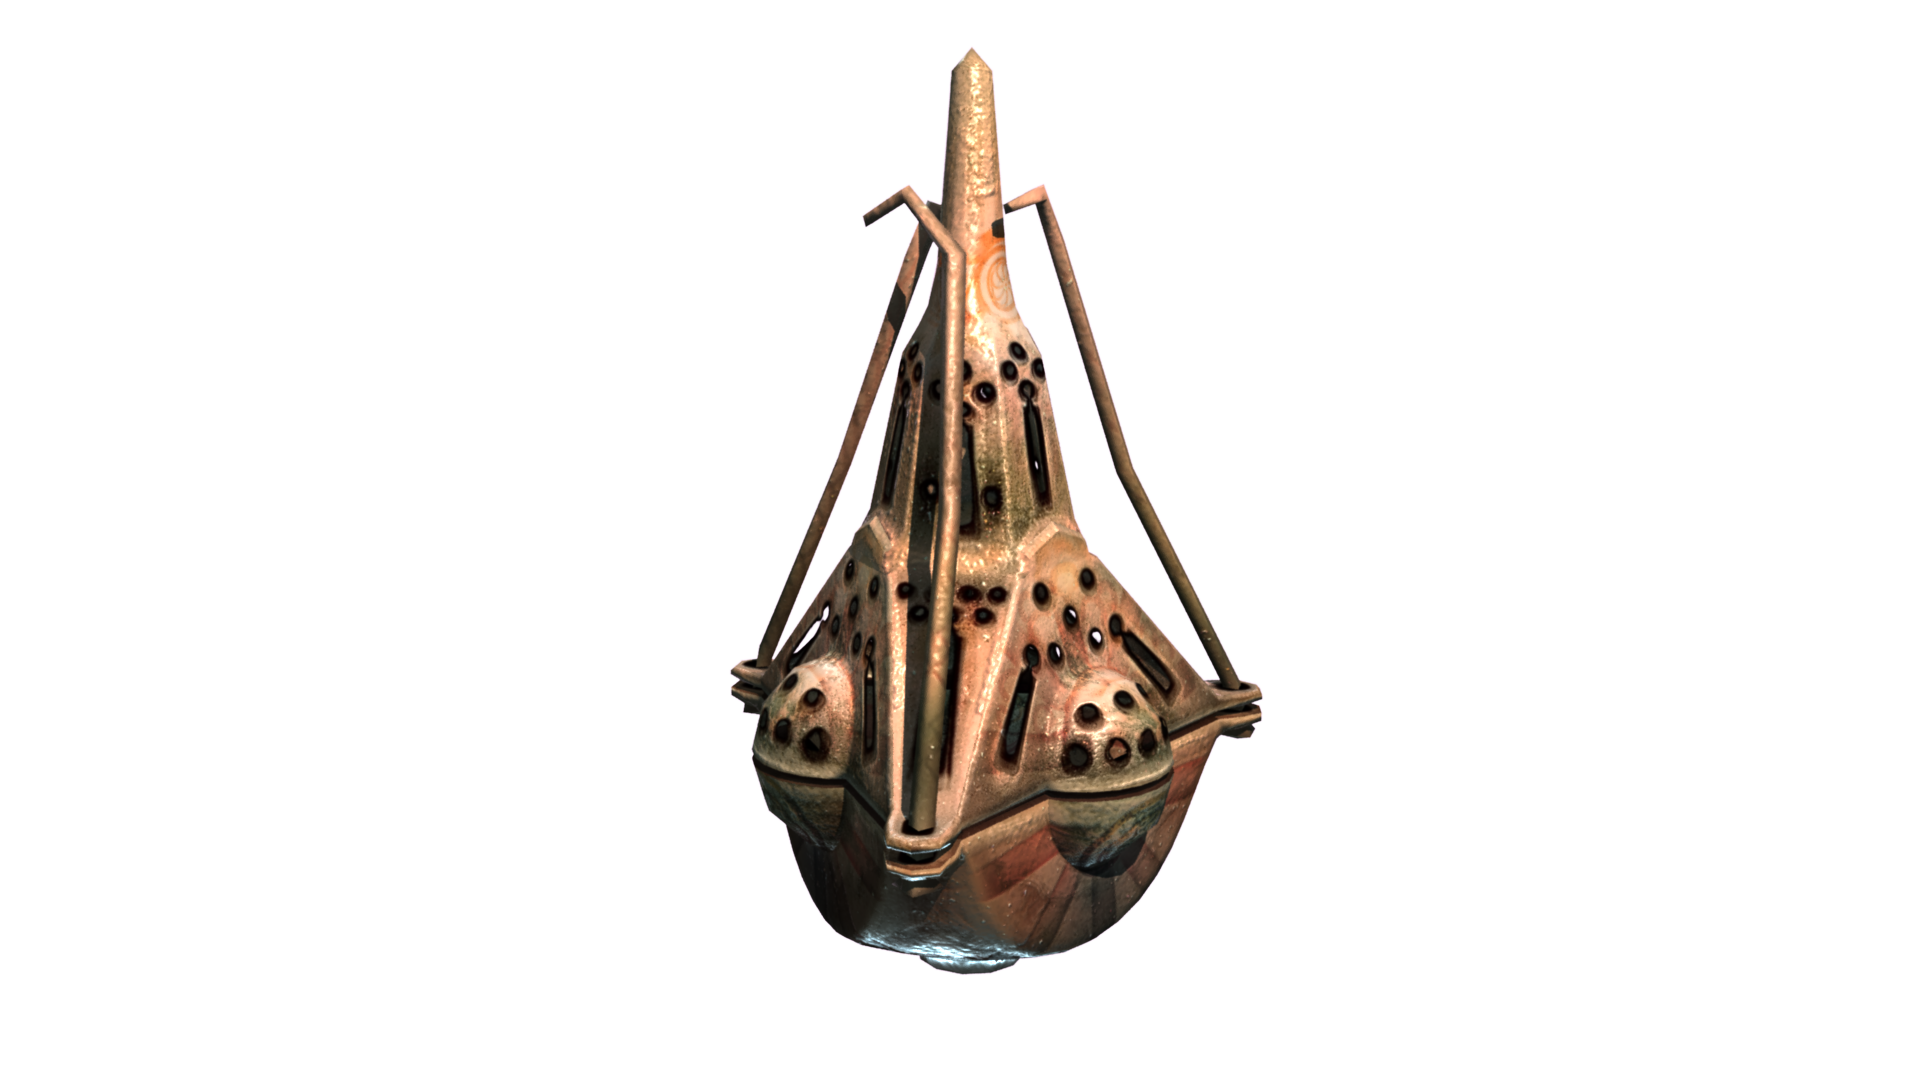
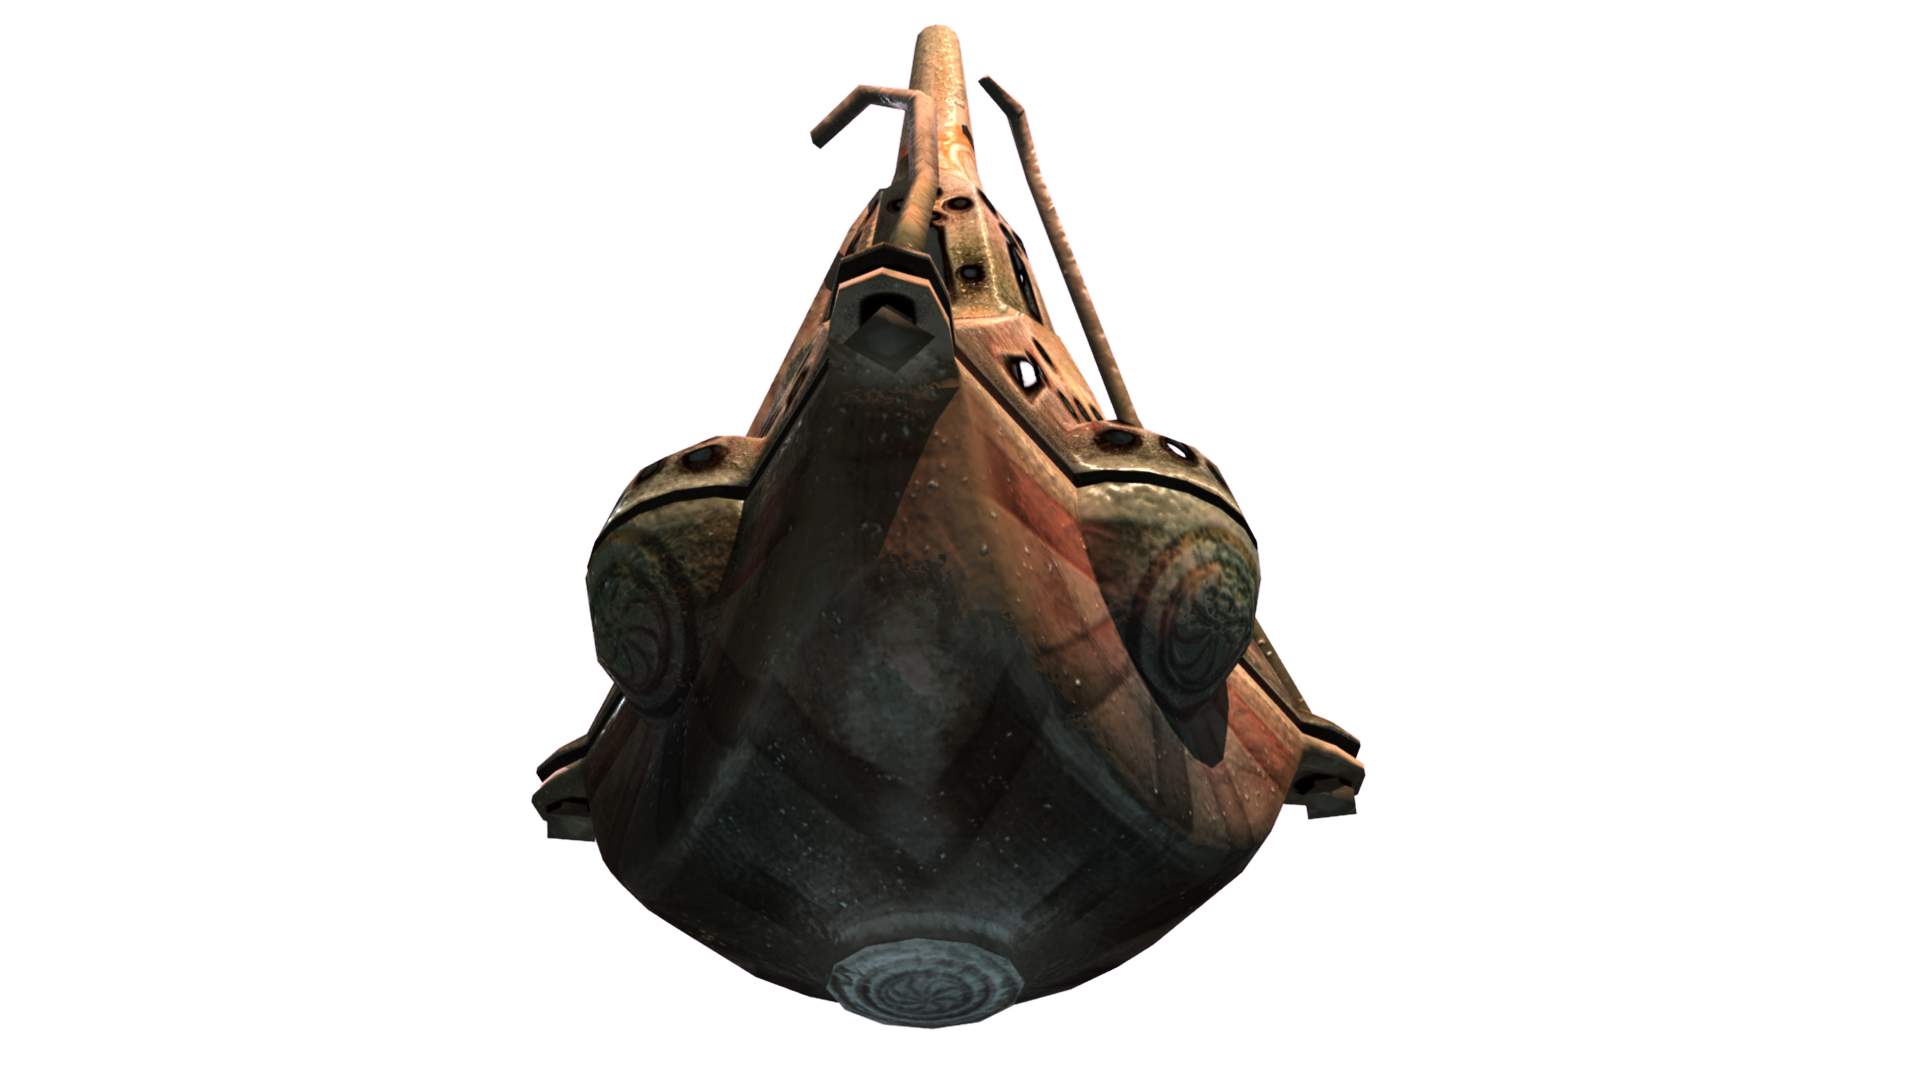
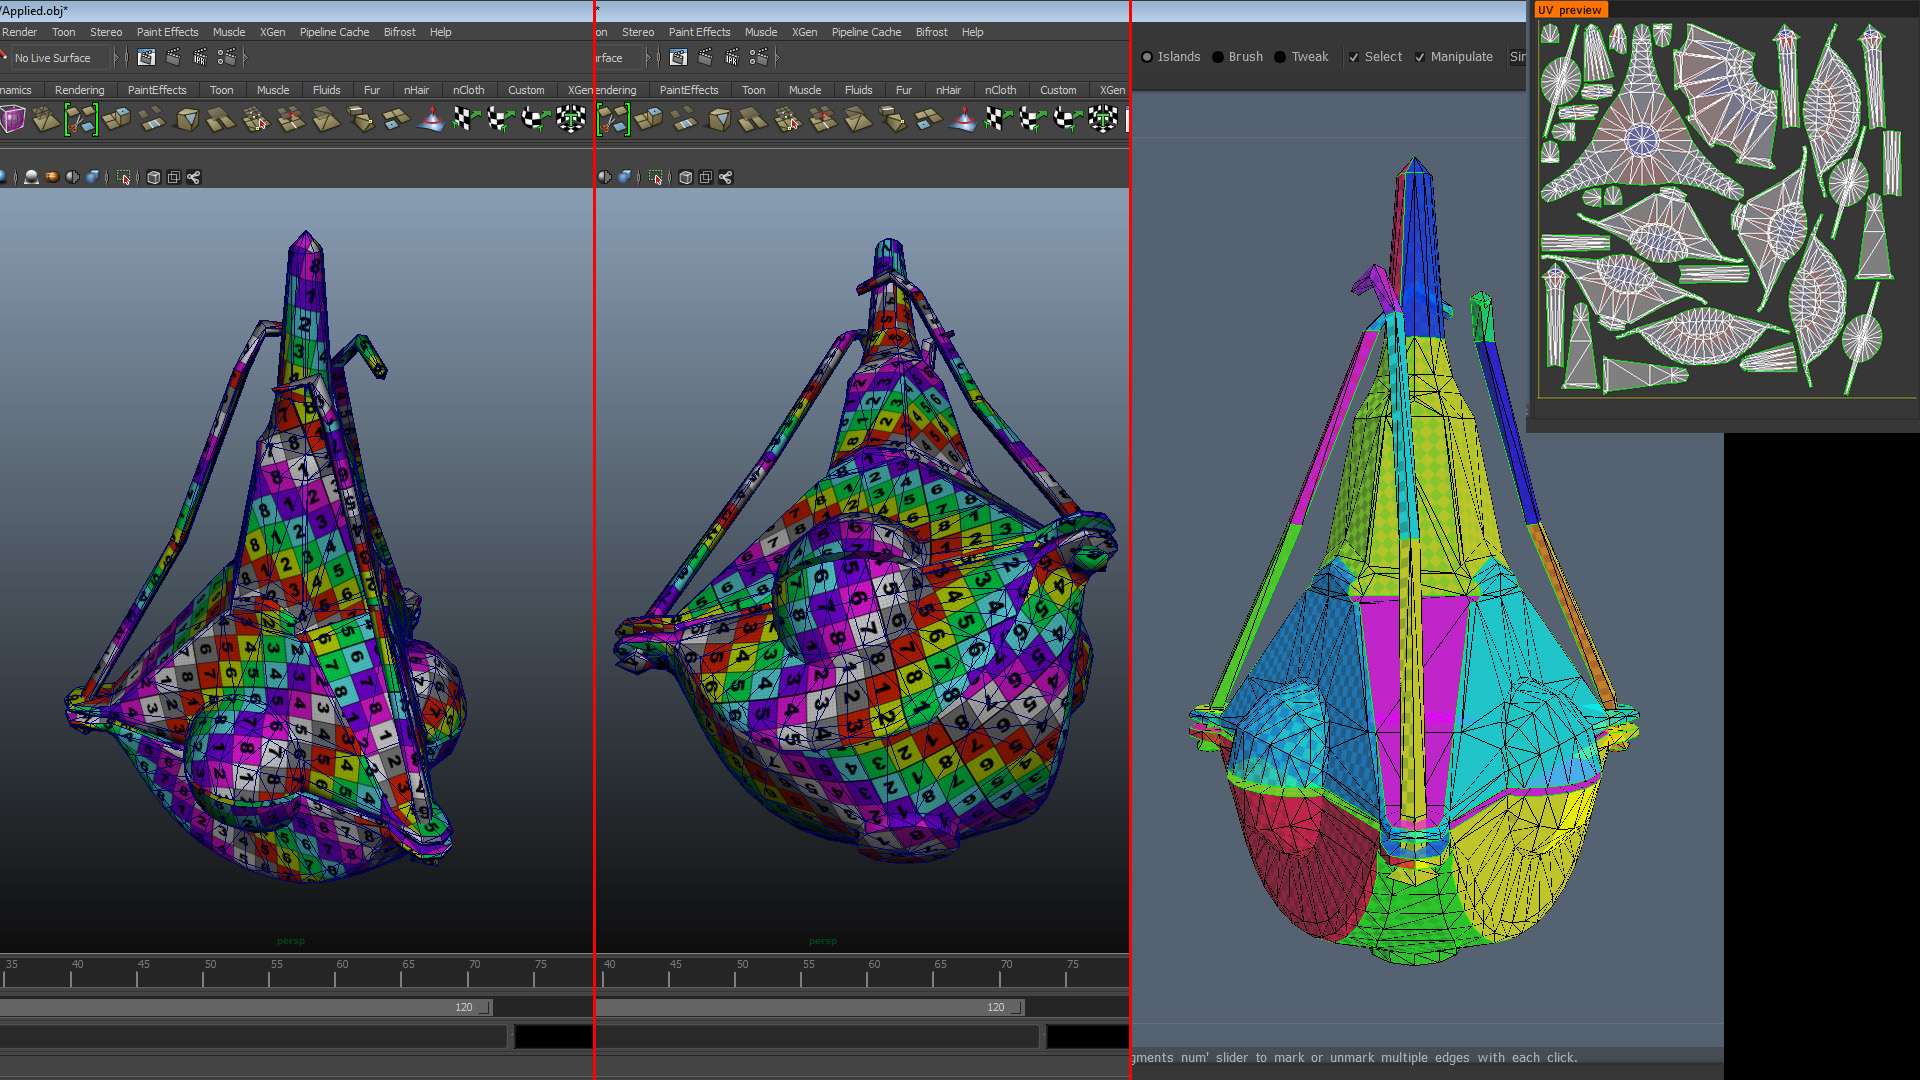
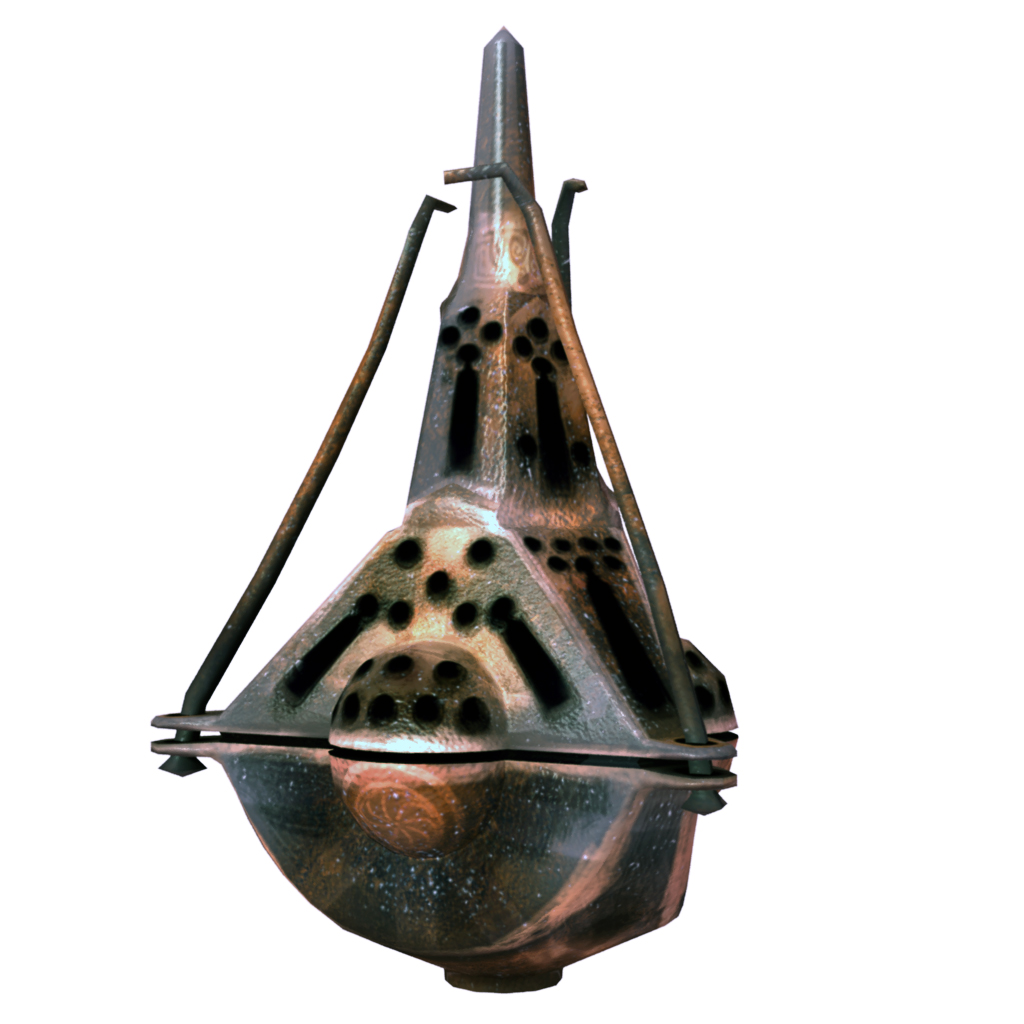
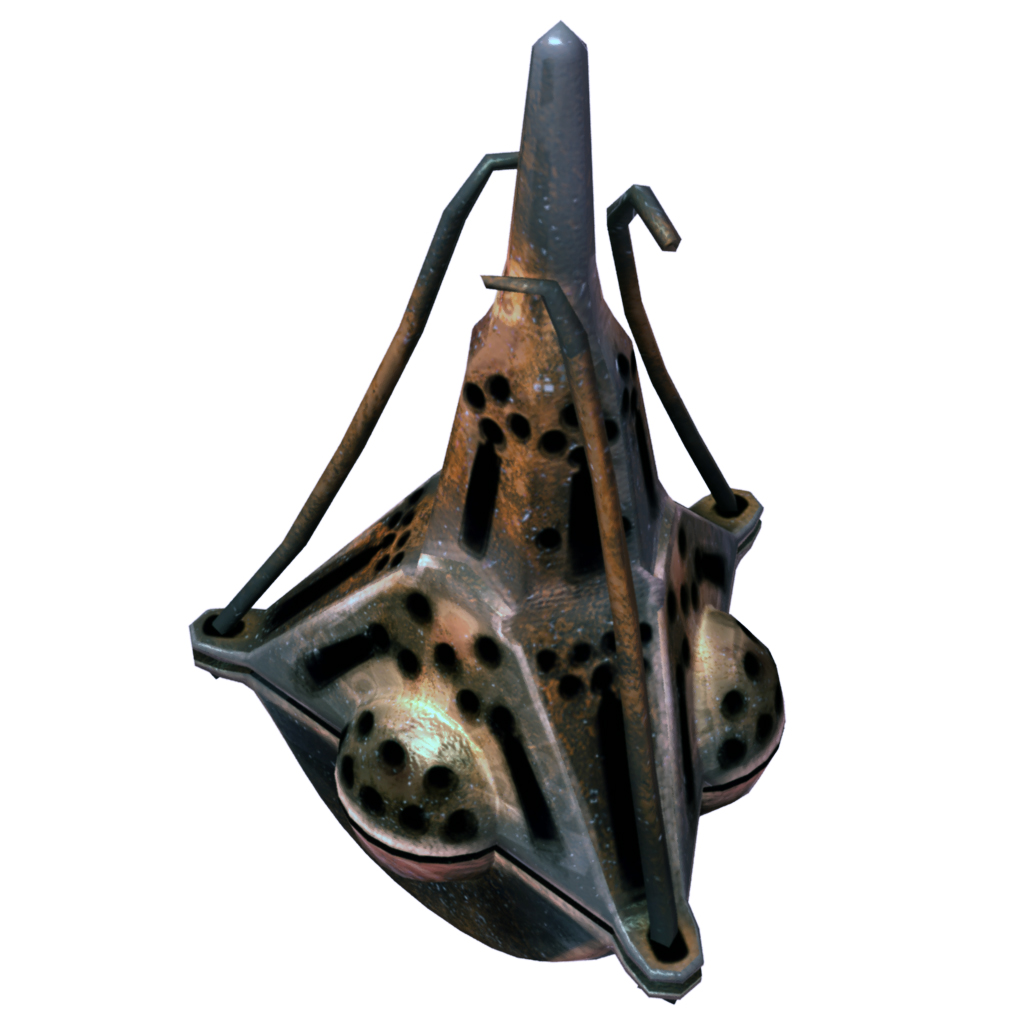
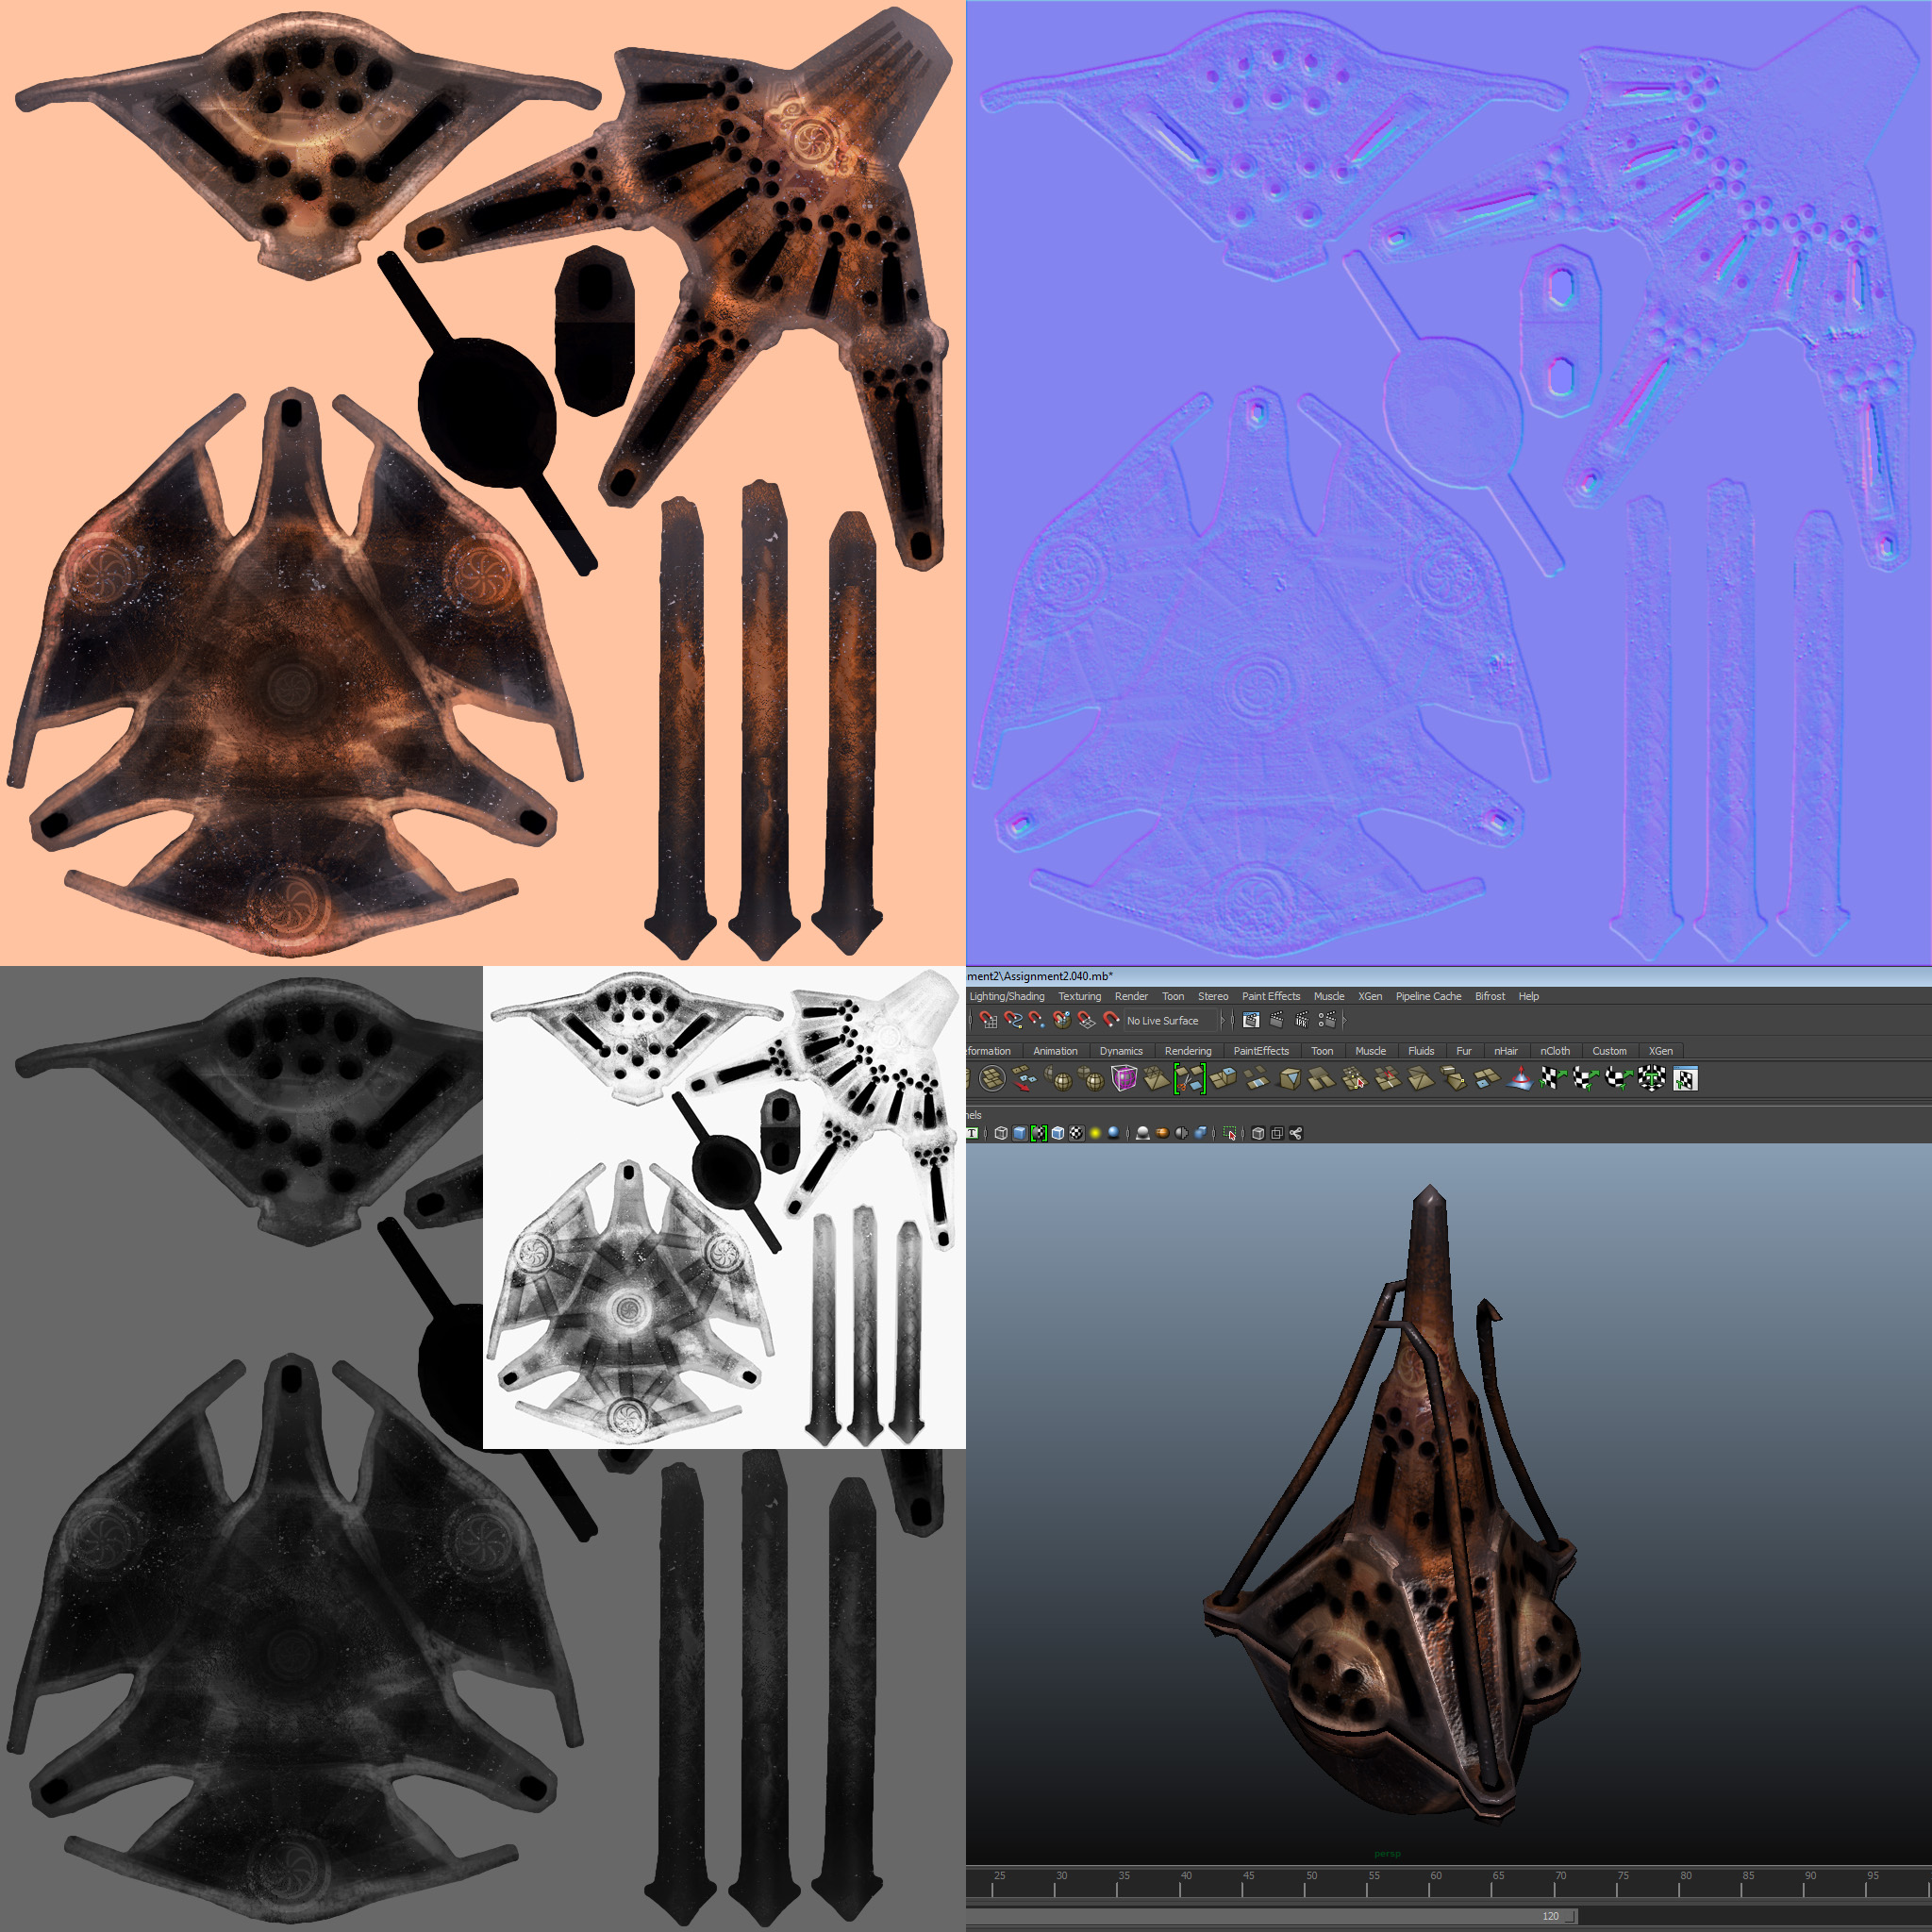
This is the initial but almost final model unwrapped and with a texture set applied. Its total poly-count ended up at 1722 triangles after the addition of extra geometry around the hook parts, and 1725 with some interior geometry for a false interior (smoke) ((seen lower in this post)).
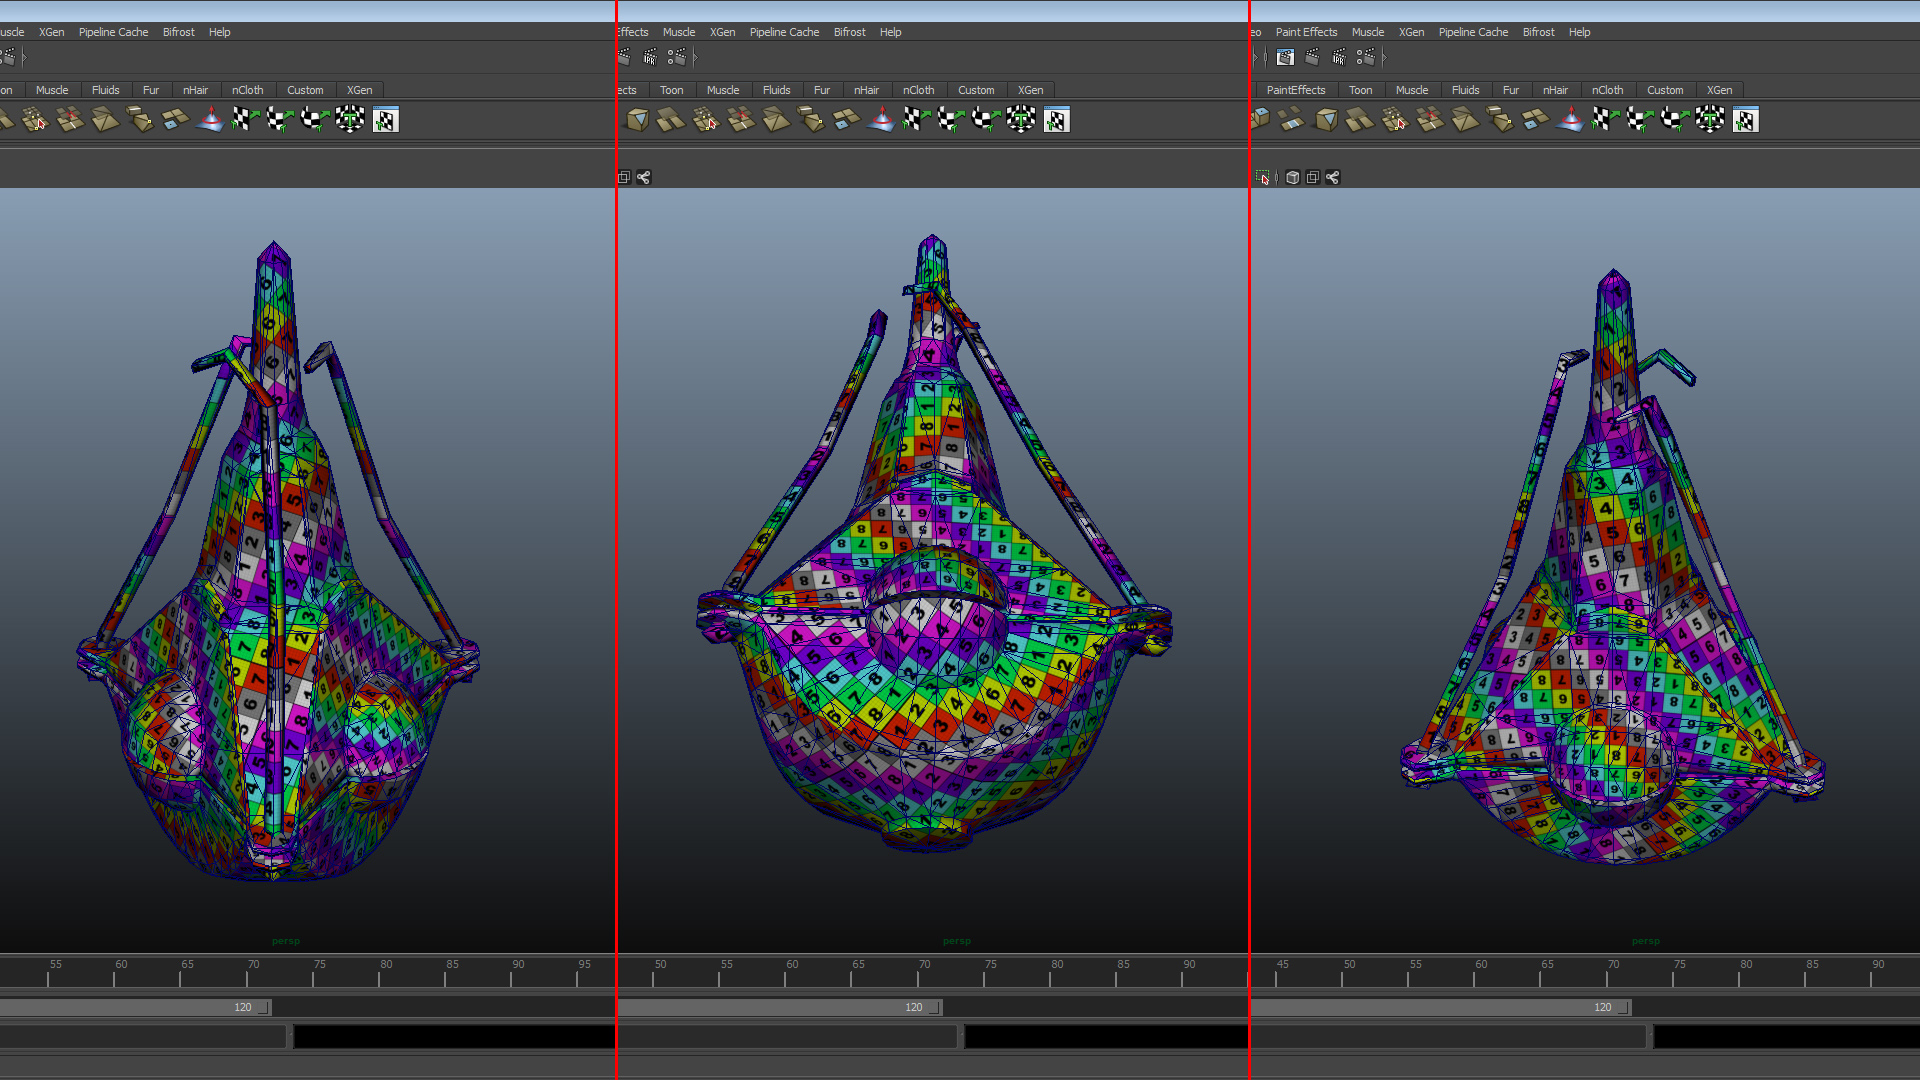
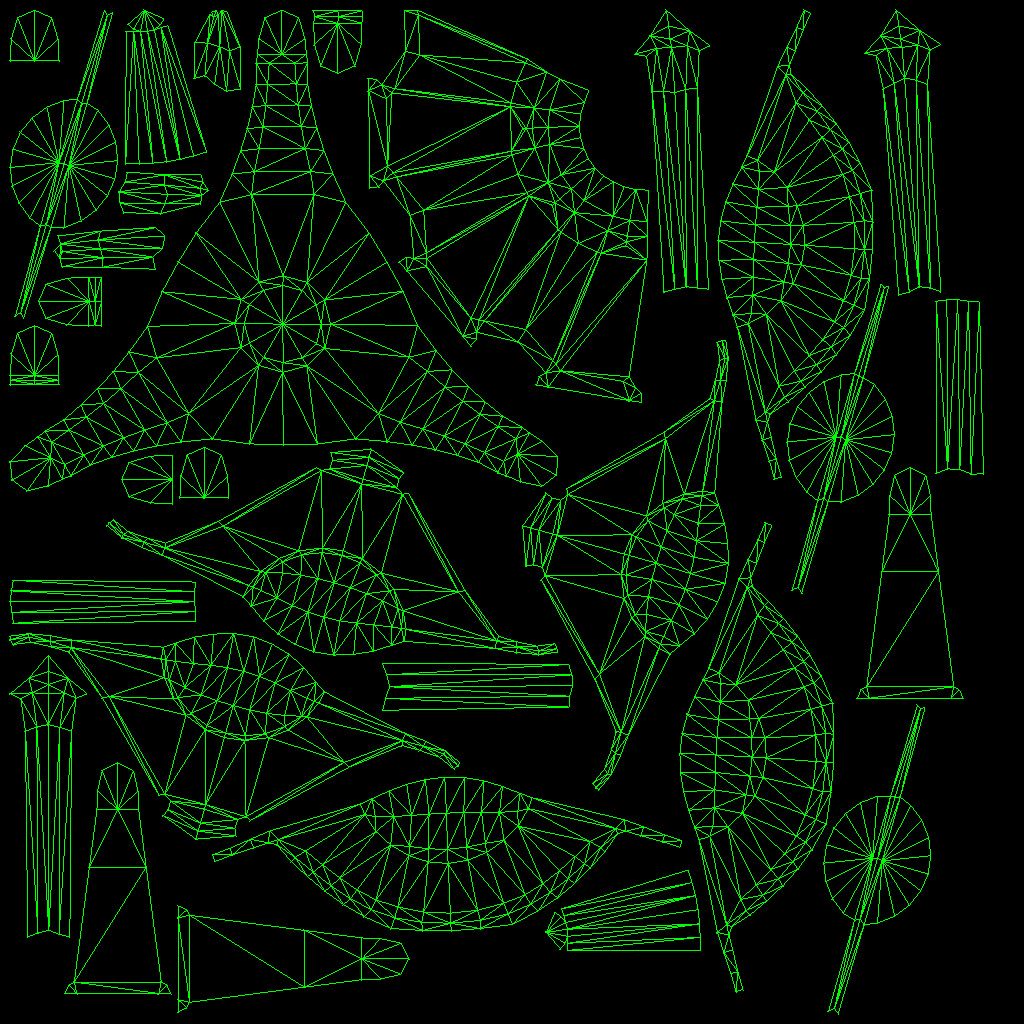
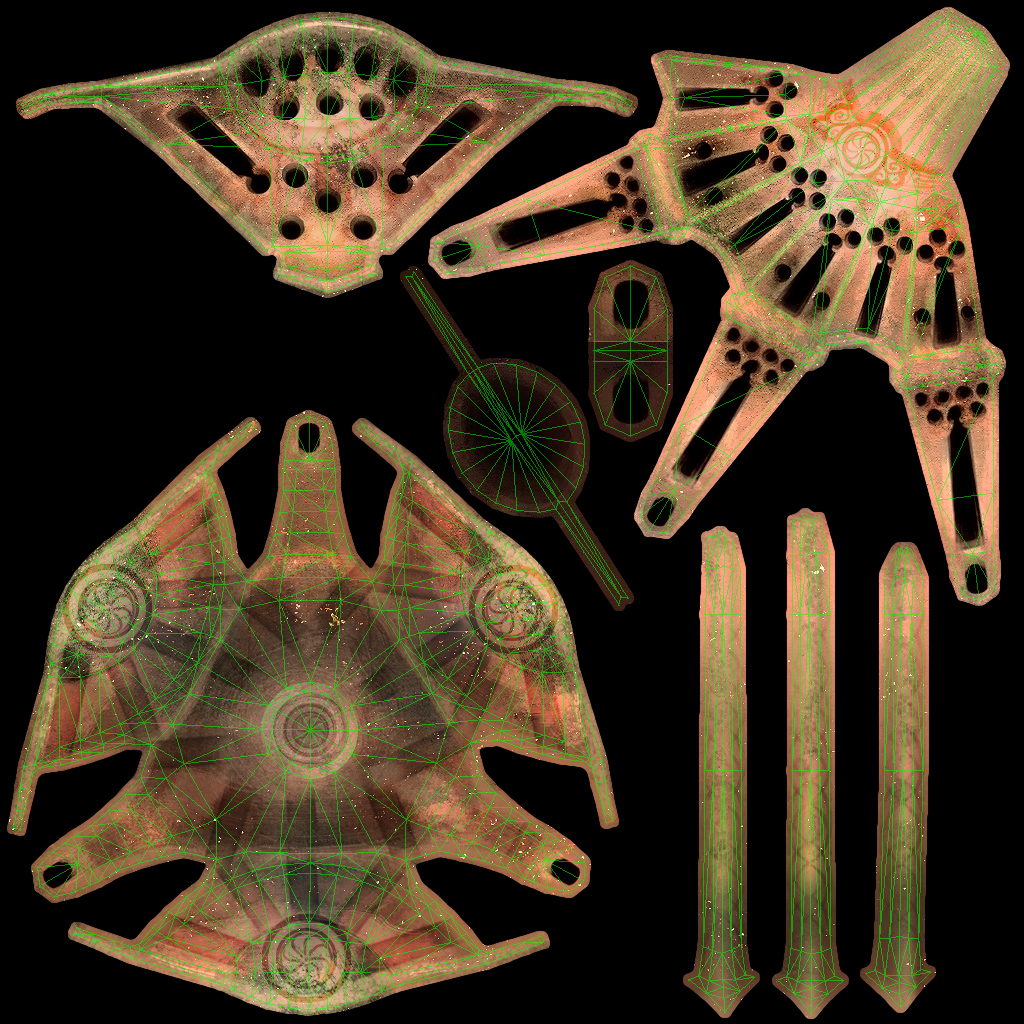
This is an assortment of pictures showcasing the initial UV map as put together in 3d Coat, the final UV map as put together and sorted in my chosen 3d suite and also some images of the mesh with its UV checker material applied both to the final and initial UV map.
That concludes what I should’ve reported during week 5’s blog post, so I’ll now move on to what the instructions call for regarding this assignment during week 6.
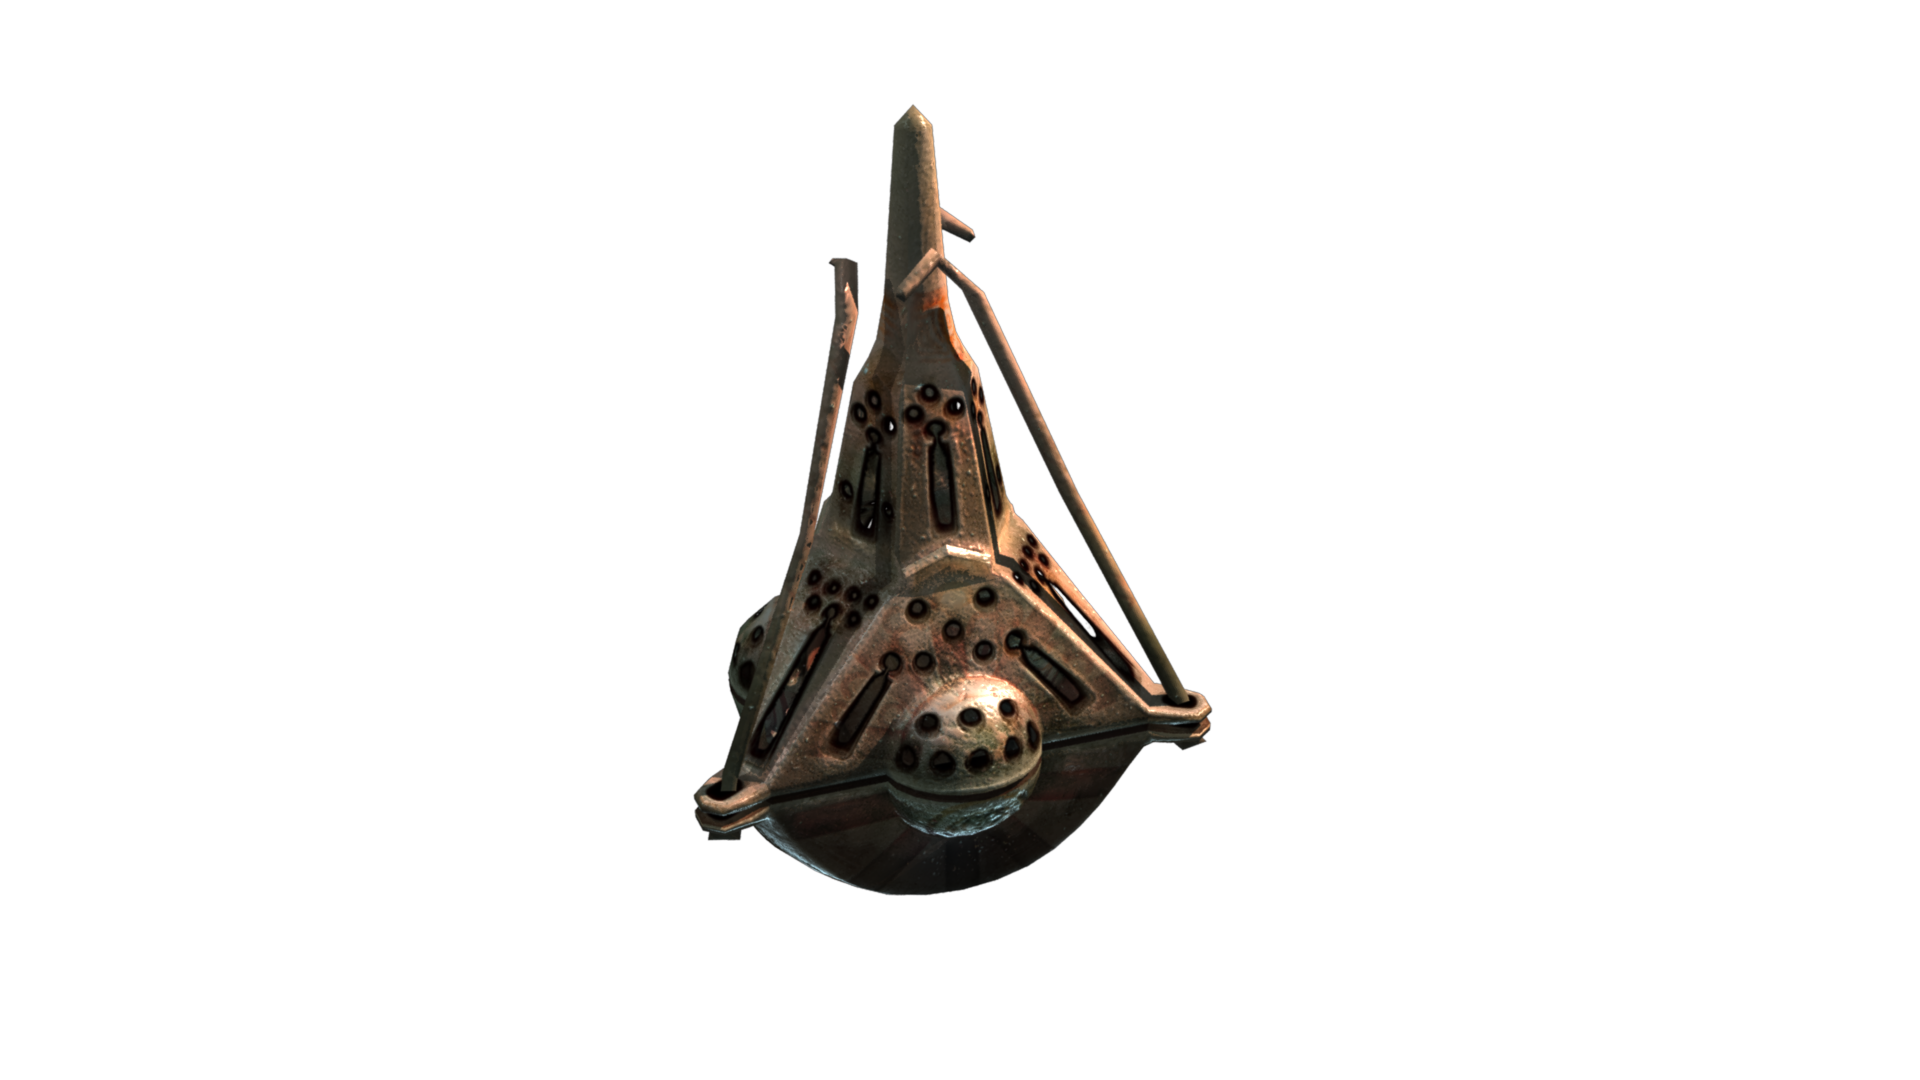
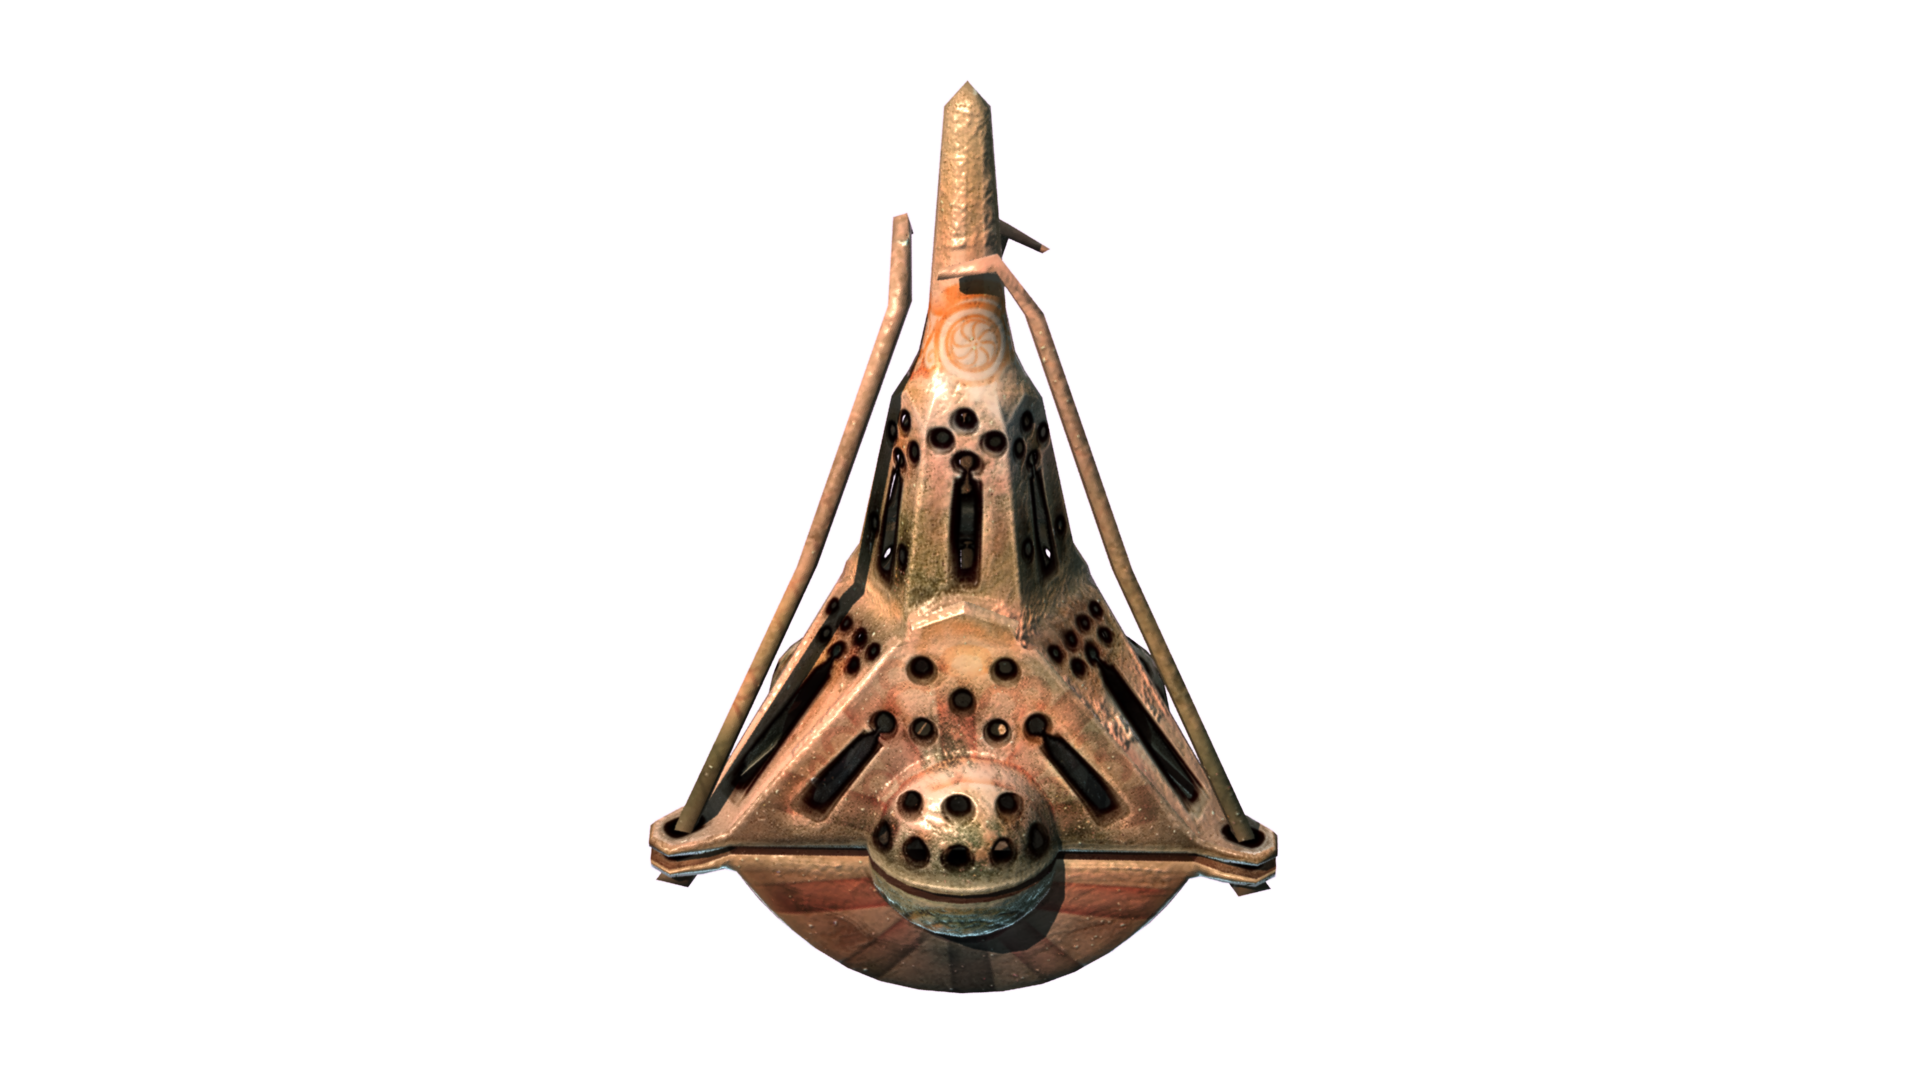
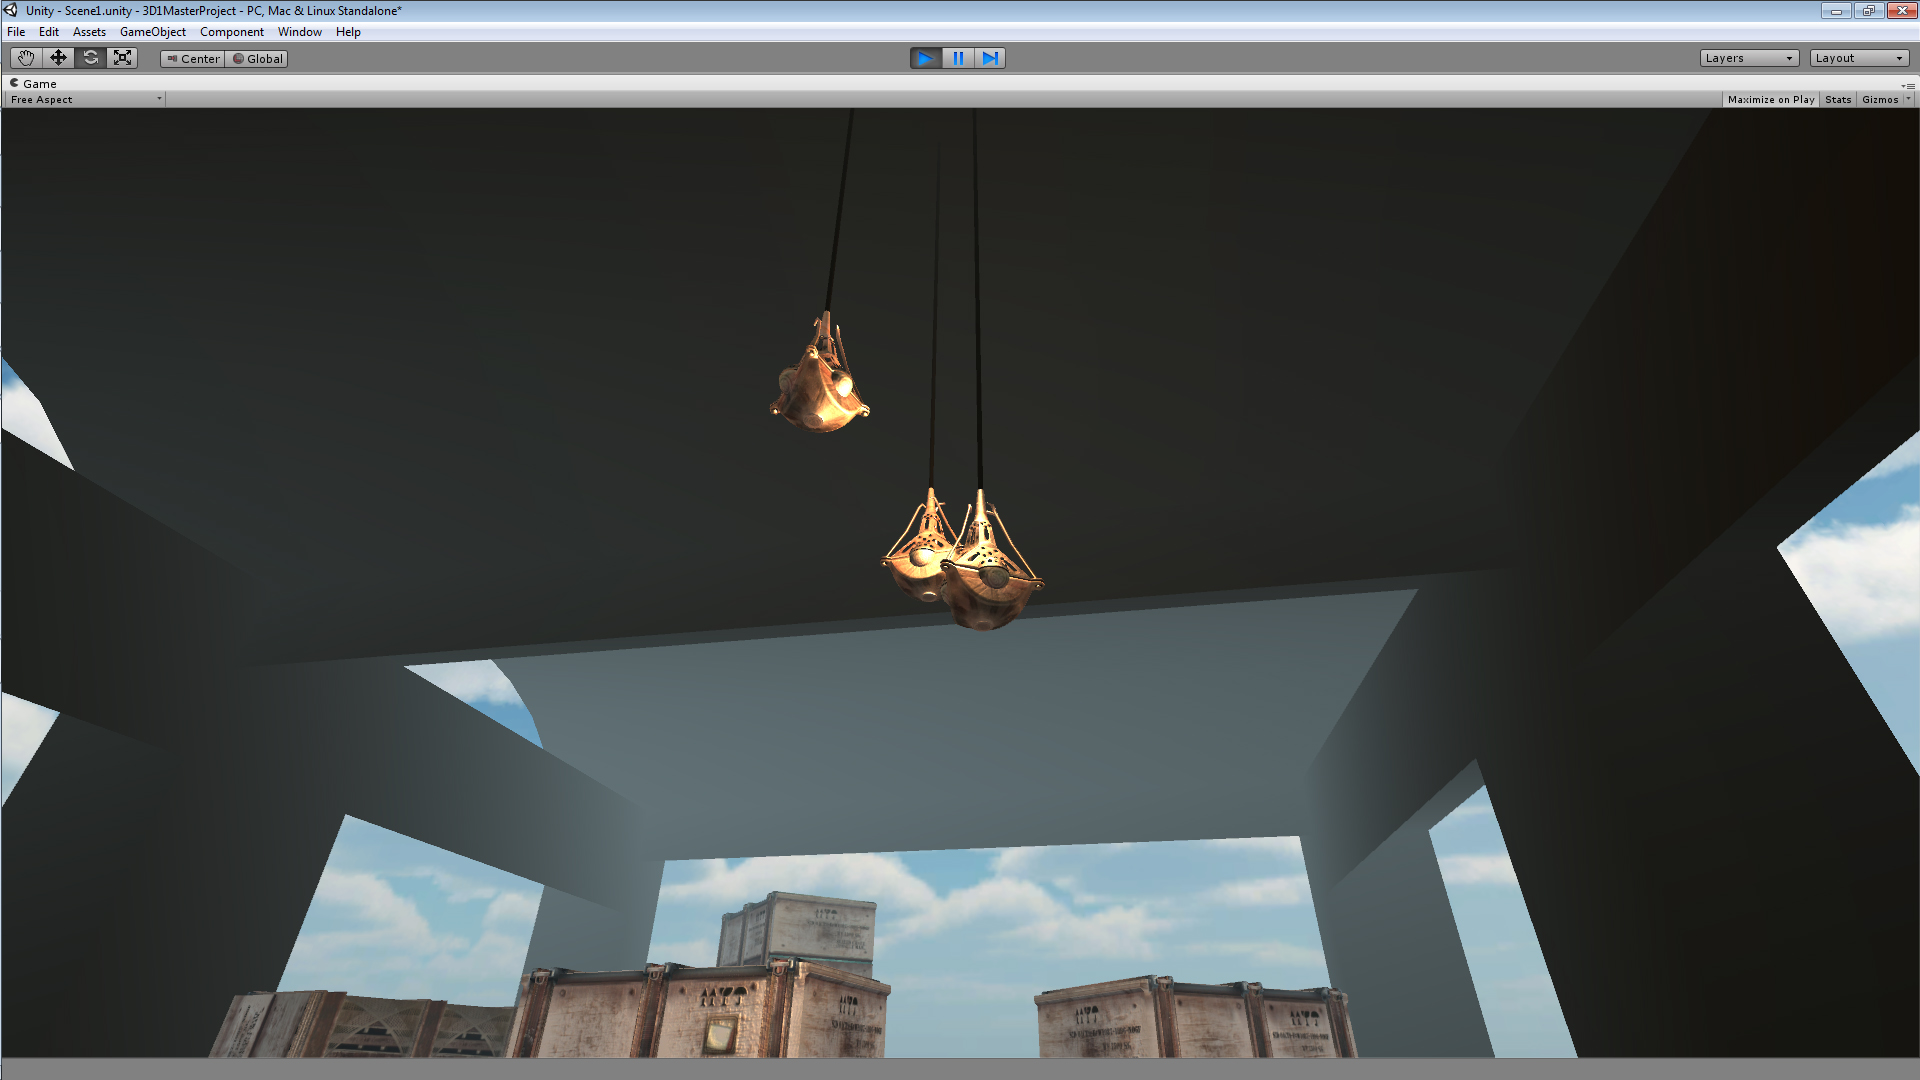
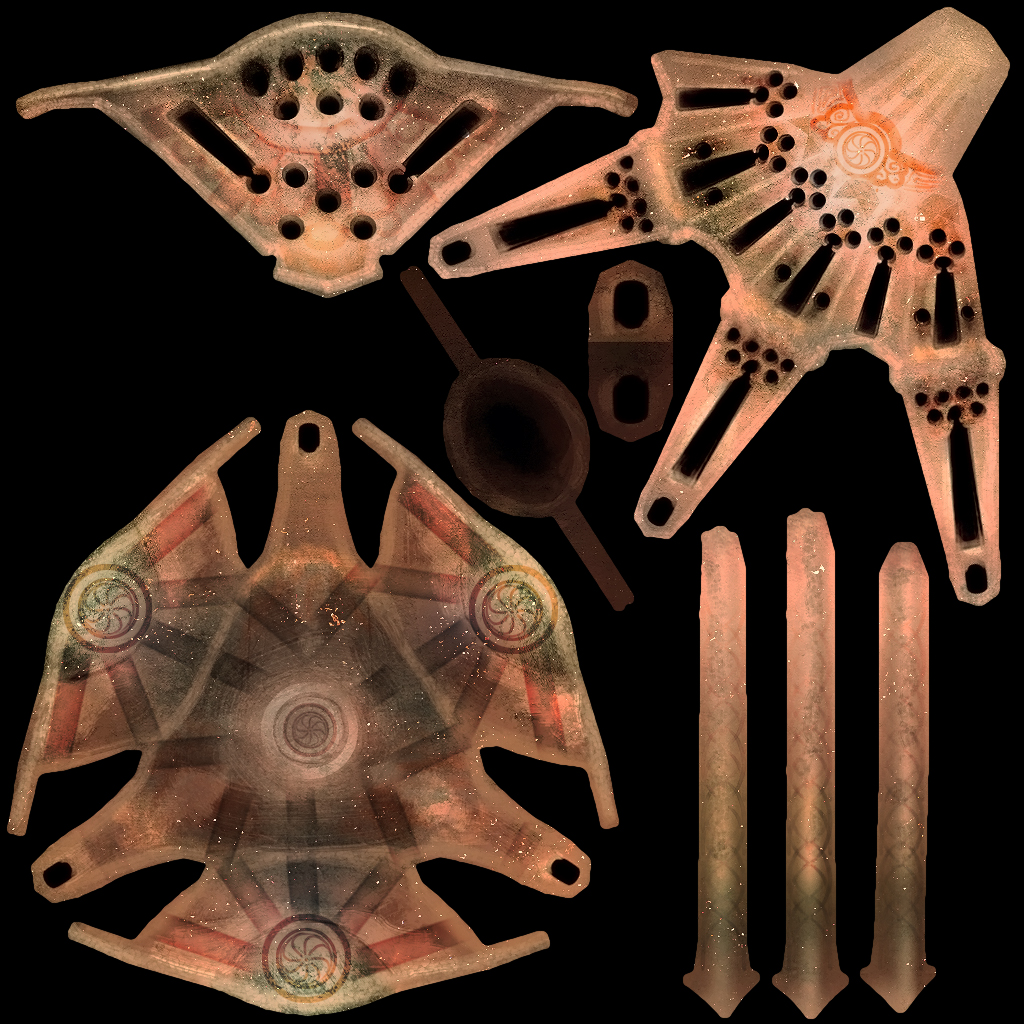
Visual update, not entirely satisfied with it yet so some details might still change.
That’s all I’ve got for this time as I have yet to meet with my assigned colleague for assignment 3, therefore I’ll add part 2 of assignment 3 to its own separate post or embed it in next weeks blog report. Apples. |