Level Editor
|
Now when all of the features of our game is finally implemented we’ve been working hard on our levels. Our game is played on four floors where the first, top floor is the tutorial. After the tutorial the player is going down until he is on the first floor where the game end and he wins. The levels are loaded in from text files and those have become extremely hard to create since we have so much that needs to be loaded. Therefore I’ve been working on an editor to make level design much easier. 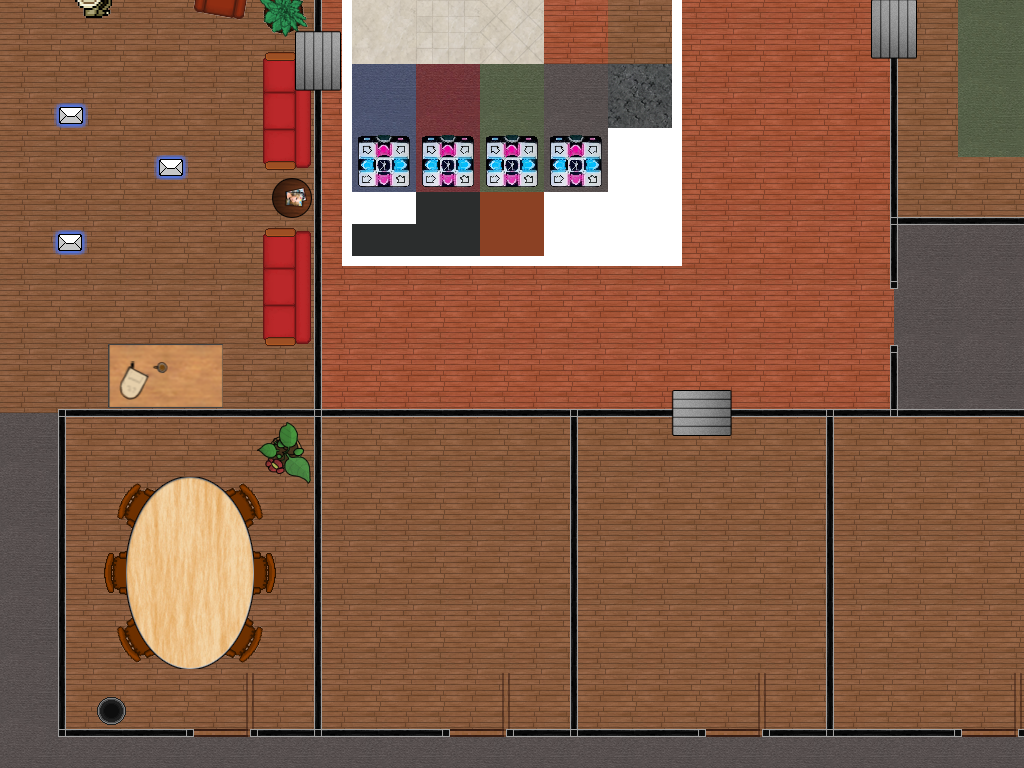 The main features of the editor are: Save and load to/from a file, place and remove objects from level. It seem simple, maybe it is, but I had to think a while before I started so that I made the easiest and fastest solution since we only had two week left before final. I also wanted it to be easy to add extra content to the editor so that I could send the new versions to our level designer and have him be able to load the levels he had already made and continue with the new features implemented. I started with tiles and the first problem was: How should I select the tile I want? There was either a UI that showed all tile available where you could click to select which tile to place down next, or it was to cycle between all tiles with a keyboard button. Since all tiles are in one single sprite sheet I decided to do the first one. I drew the sprite sheet on the top middle of the screen and when the user clicked on it the editor found out which specific tile was clicked and set the current tile to that tile. When I clicked anywhere on the background a tile identical to the current tile was place there. I had some trouble with several tiles added on the exact same place but solved it by first going through all tile to see that there wasn’t already a tile there. I also added so that the right mouse button removed the tile on the current mouse position. Finally I had the tiles finished, so I sent the version to our level designer and started working on the walls. The wall where a bit simpler in that they all have the exact same texture, but also harder since they had two points which had to create a perfect line. In the wall state update I made it so that the left mouse button set the starting point of the wall and the right mouse button created the end point. All I had to do was checking when an end point was placed to see if it had either the same x or the same y value as the starting point, but not both. For removing a wall shift had to be held down when right clicking and saving the walls was very simple since it didn’t need to be saved in any order, just a loop with a single write to file line inside it. After I had sent the new version away I started working on the props. These where like the tiles only I didn’t have to align them in a grid, but I had to rotate them. No biggie and saved just like the walls. I don’t have much more to add, thanks for reading and stay awesome! |