|
Today I am going to talk about game configurations and how they were implemented in the project. A configuration file is just a ordinary text file with game information that is loaded into the game. But I am not doing this the ordinary way, I am using something much better.
We start of this post by asking ourselves a question.
Why do we need configurations?
Every game needs some sort of configuration to make it easier to change things on demand and making it dynamic.
Say for example your player runs at different speeds and you want to control that speed in some way, you can write something like:
player_speed = 300
player_run_speed = 500
Everyone knows what this means. If we change the value of player speed the player will move faster.
Why is it important to have configurations?
Every game defines the configurations in multiple ways.
- Some defines it directly in the code, this is known for hard-coded values.
- Other creates a configuration file that is included in the game.(NOT a .txt file but a “programming-file”). Like for example: Configuration.h
- Other creates a .txt file and loads that into the game.
- Other uses more advanced stuff like files that uses markup languages. (This is the one we uses and the one I will talk about.)
It is also good for our non-programmer so that they can easily change attributes so they not have to edit directly in the code. Here is an image showing different “nodes” in our configuration file.
How was it done?
Now you already know what configurations are and why we need them. It is time for the implementation.
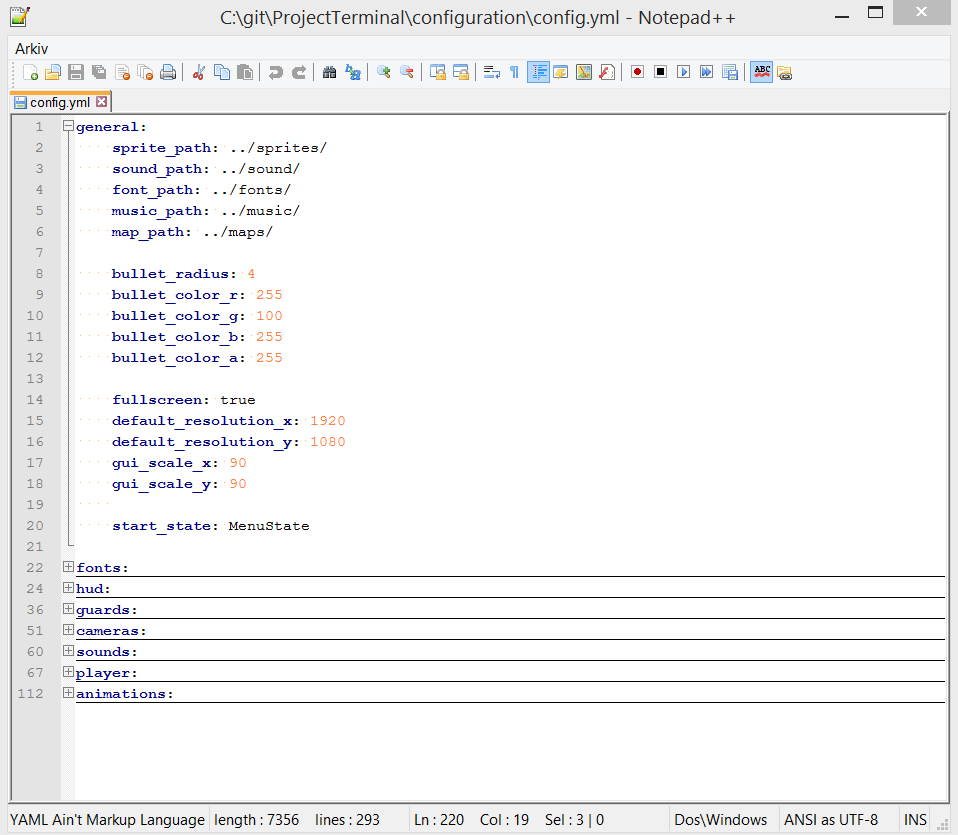
First off, I would like to show and image of how our configuration file looks like.
- As you can see on the image, we do not use a ordinary .TXT file, but instead an .YML file. YML is an abbreviation for YAML which stands for Yet not Another Markup Language. YAML helps us to manage categories and nodes for our configurations and it comes with support in Notepad++. If you do not have Notepad++ installed on your computer I feel sorry for you. It is a programmers best friend.
- As you can see on the image, we have toggled the category general. In this category we have put the most miscellaneous nodes. We define paths to everything and we tell the game how our game how bullets are done. We also tell if we want to start with full screen and the default resolution of the game etc.
To load a .YML file into the game we use an external library called yaml-cpp. Which is just a parser and emitter written i C++. I will put a link into the description and I will also include a sample of how it is used in our game.
Now we have a configuration file and not we must load it into the game.
I create a variable with type std::ifstream, which is an input stream which can read files. The only usage of std::ifstream is to check wether the configuration file exists or not. If the file exists, we load it by using the library own functions.
YAML::Node root_node = YAML::LoadFile(“path/to/configuration_file.yml”);
Now we can use root_node to access every property in the file.
Say we want to grab the fullscreen property as we saw in the first image.
Easy peasy!
Notice how I used .as() to get the property as a Boolean. We can also use int, floats or strings etc.
Lets advance!
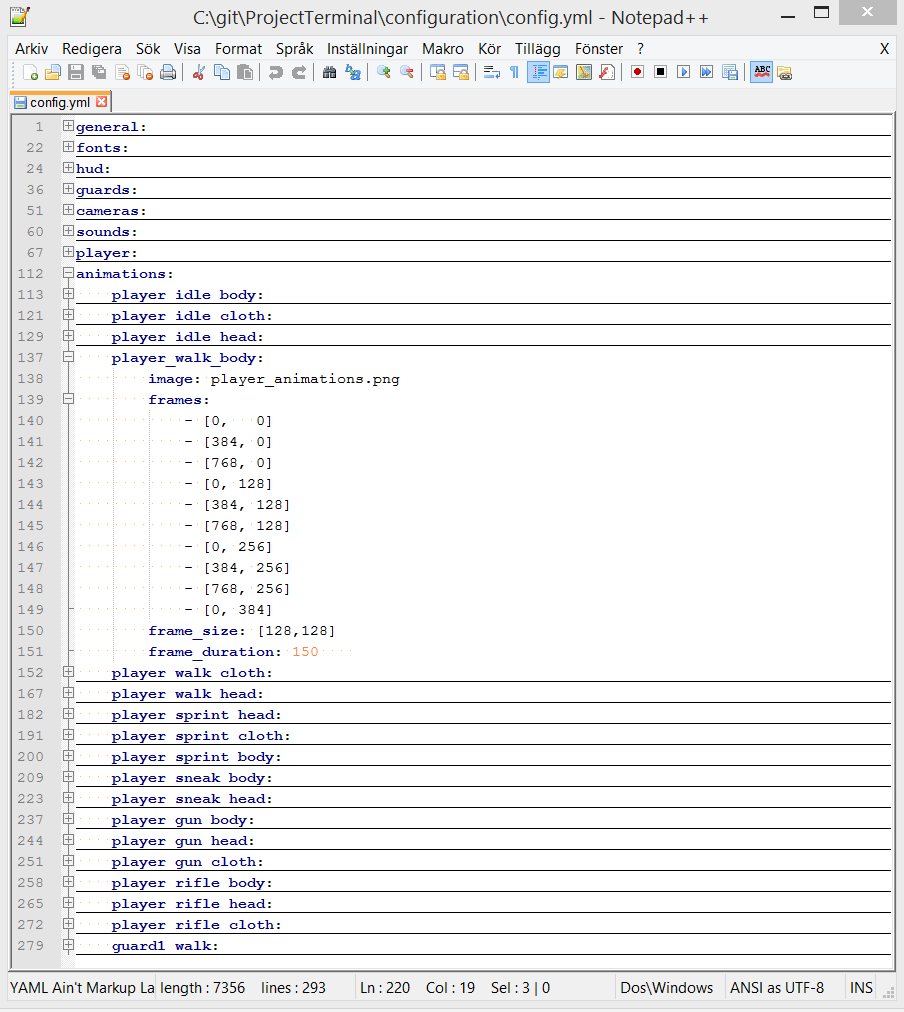
We also use the same file to define all animation throughout the game.
Now I toggled the animations category and I also toggled the animation called player_walk_body.
This node has 4 children.
- image. This defines the image from which the animation is taken from.
- frames. This defines all the frames of the animation in any order.
- frame_size. This defines how large one frame is.
- frame_duration. This defines how long time it takes for one frame to switch to another.
I all now show you how to load all these animations into the game. This is done in several steps.
- Make sure the animations category exists before we try to load any animations.
- Loop trough every category(loop trough every animation).
- Create an animation object on every iteration.
- Fetch the image, frame size and the frame duration and put these into variables.
- Loop trough every frame and save each frame to a vector of frames.
Voila! Now go check the source!
The library must be built in order to use it!
Do you want me to make a tutorial on how to build something? Then reply to me! 🙂
Note! Although I think .yml is really good to edit in, I have to recommend using JSON instead. Its a little bit more things to write but it is far better developed and supported by the community than YAML is. Anthon Fredriksson
About Anthon Fredriksson
2013 Programming
|